Table of contents
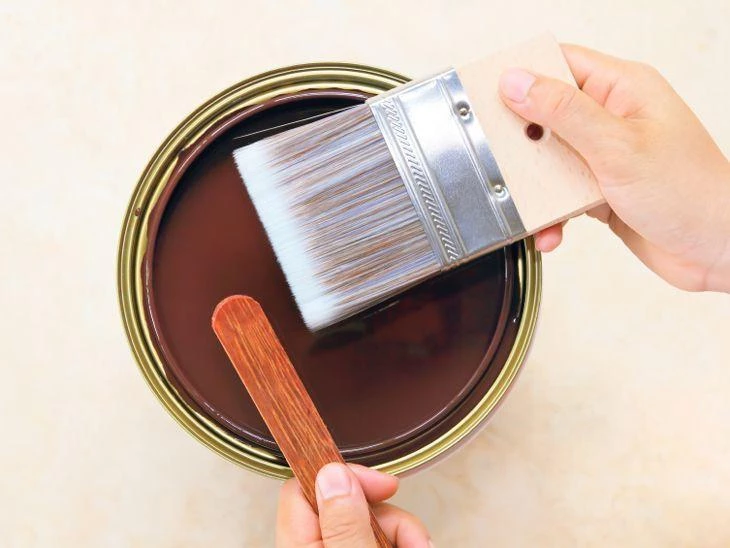
A good coat of paint can change the look of an environment. The variety of colors, finishes, and possible combinations ensure personality and style for each room of the house. With the resource of painting, the house gets a new look quickly, easily, and cheaply.
See_also: Blue sofa: 55 enchanting models to use the color in your decorationIn addition to finishing the walls, doors and windows, painting reflects the personality of the residents in the environment, complementing the decoration and the style chosen. After the choice of paint shades, the execution of the painting is the kickoff to ensure charm and warmth to the home. The best thing about this stage of construction or remodeling is that it can be done without professional labor, as long as it is done in a professional manner.be careful.
21 tricks that make painting easier
Although there are companies that specialize in providing this service, it is possible to do the painting yourself, with care, and guarantee a beautiful and professional-looking result. To assist in this endeavor, some tricks (or life hacks, as they may also be known) can make the painting process even easier. Check out some tips and get to work:
Before you start painting
Get the color right: Many times the color of the desired paint is quite different from the showcase when applied to the wall. Therefore, if possible, apply samples of the desired colors on one wall, thus making it easier to visualize and make the right decision.
Find out the pre-existing ink type: to find out if the pre-existing paint is oil based, soak a cotton pad with alcohol and rub it on the wall. if the paint comes off, it is latex based, i.e. it is water soluble, making it easy to clean if it splashes in unwanted places. if the paint remains intact, then it is oil based, not water soluble, making it difficult to clean and requiring a primerbefore applying the new coat of paint.
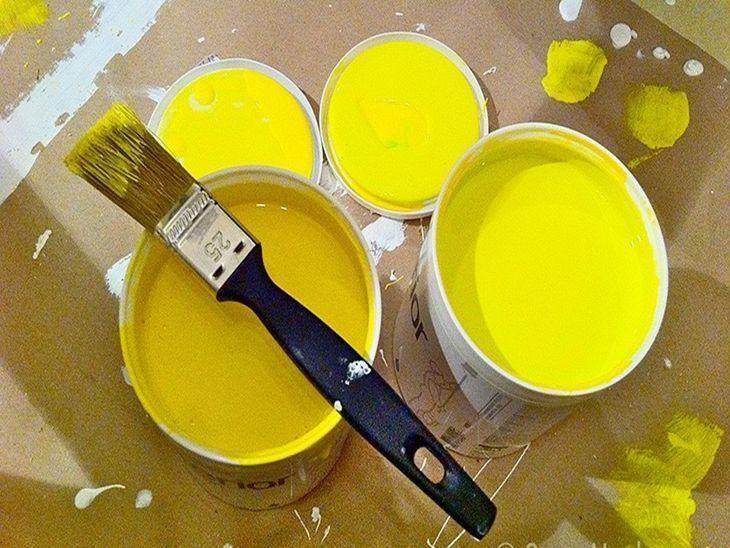
Mix paints of the same color: If possible, mix paints of the same color but from different cans in a container before applying them to the chosen surface. Small changes in hue are possible with different manufacturing batches.
See_also: How to use granilite in decoration with tips from architectsGet rid of the paint smell: To get rid of the strong, unpleasant smell of fresh paint, add two or three drops of vanilla extract to the paint can. This will ensure a more pleasant aroma during painting.
Fill the handle: To avoid dirtying the doorknob, cover it with aluminum foil, and when painting is finished, simply peel it off and throw away the paper. This simple procedure avoids splashes and unwanted stains.
Protect the areas that you do not want to paint: Apply petroleum jelly to the areas you do not want to paint, such as door and window jambs or baseboards. This will ensure that the paint does not stick, avoiding later headaches. Another option is to cover these areas with tape.
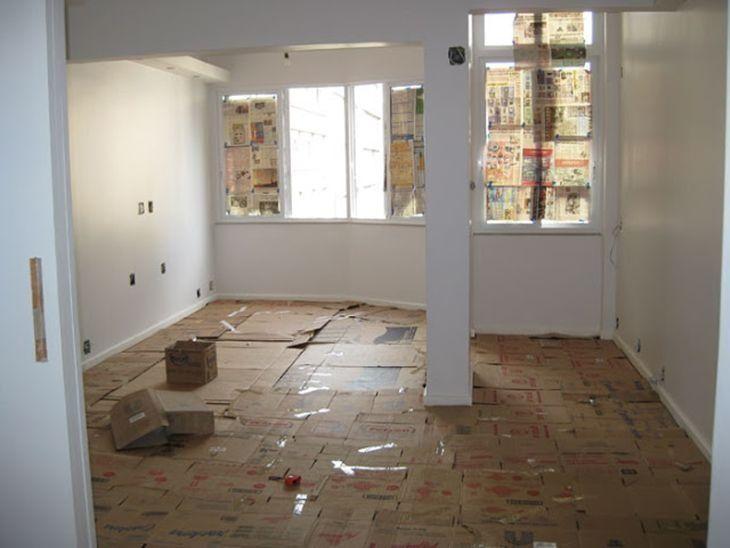
Cardboard is the best option: Plastics take time to dry, are sticky, and, like newspapers, can tear easily. The best option for lining the area to be protected is cardboard, which is easily accessible and quickly absorbed.
8. choose the day when the painting will be done: Very wet days make it difficult for the paint to dry, delaying the completion of the project, while very dry or hot days cause the paint to not spread properly, causing stains when drying.
Prepare the surface to be painted: If necessary, sand or clean it. This will ensure a more uniform application and a more beautiful job.
Clean the paint roller: To ensure that the paint is evenly distributed along the wall, before using the paint roller, rub an adhesive roller (the kind used to remove lint from clothes) all over the paint roller. This will ensure that any dust or lint is removed before using the roller.
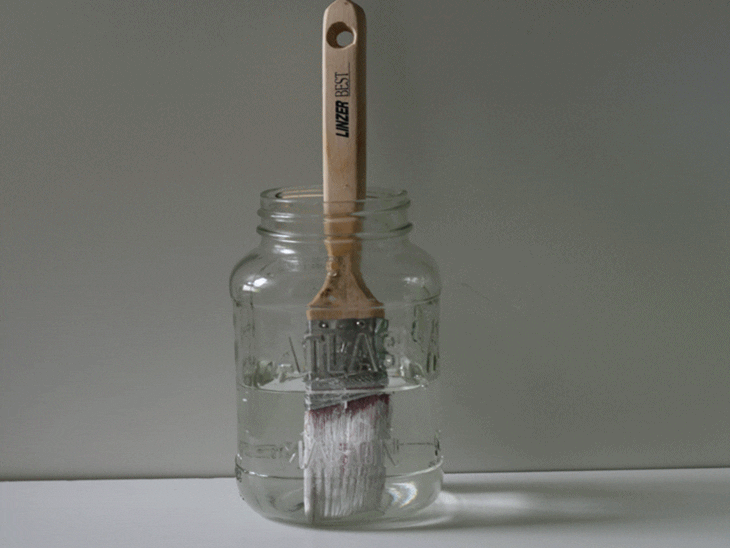
Remove dried paint from the brushes: If you have a used paintbrush with dried paint, you don't have to throw it away. To clean it, simply dip it in a container of vinegar and the old paint will come off easily.
Avoid getting dirty with paint splashes: To keep the paint splashes from getting your hands dirty, take a plastic cap and make a cut in the center. Now simply fit the brush handle into this hole, ensuring protection from dirt.
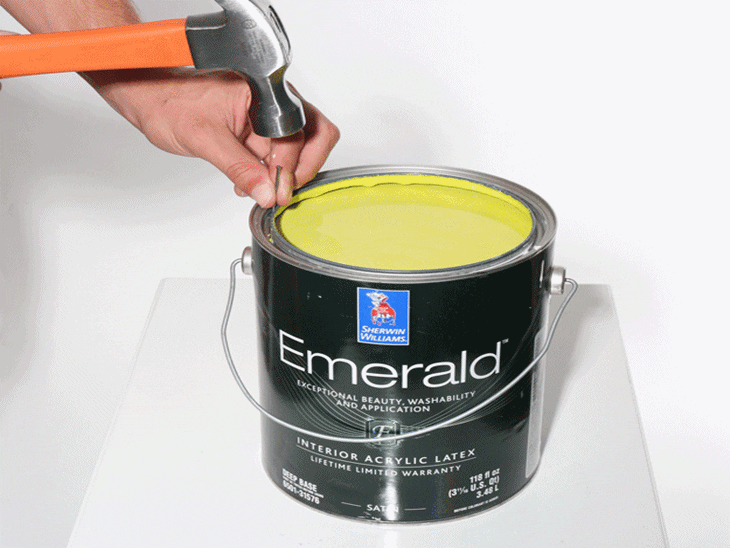
Prevent the paint from drying out and seal the can: It is very common to find new paint cans with the lid sealed due to a buildup of dried paint around them. To prevent this from happening, simply drill small holes all along the inner rim of the can lid.
During painting
Use the appropriate tool: for large areas, the best option is the foam roller, but for small areas, such as corners and other parts that the roller cannot reach, the ideal is to use a brush for a better finish.
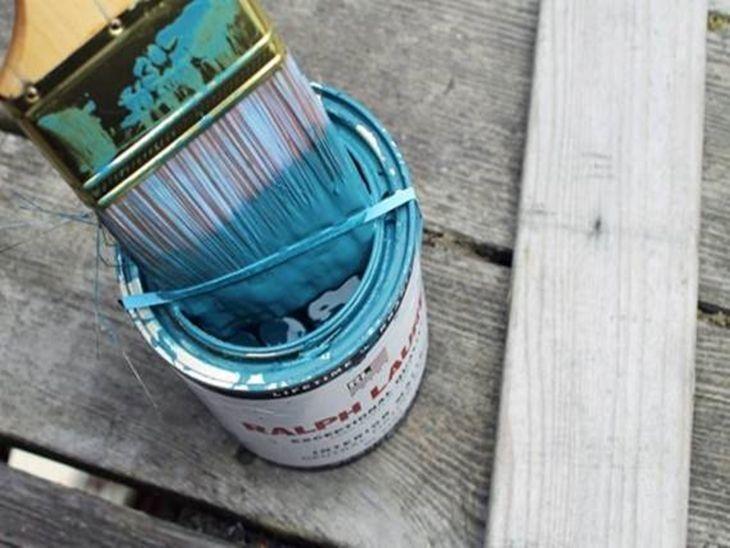
15. don't waste ink: Wrap the can with a rubber band placed vertically. When dipping the brush into the paint, pass it lightly through the rubber band, avoiding paint waste.
Prevent dried paint stains: when passing the paint roller through the paint, do not dip it directly into the paint, because the foam will absorb excess paint, soaking it and settling inside. over time, when passing the roller over the surface to be painted, the dried paint will adhere to it, resulting in uneven painting. the correct thing to do is to use a paint tray and make back and forth movements, removing the excessof paint before application.
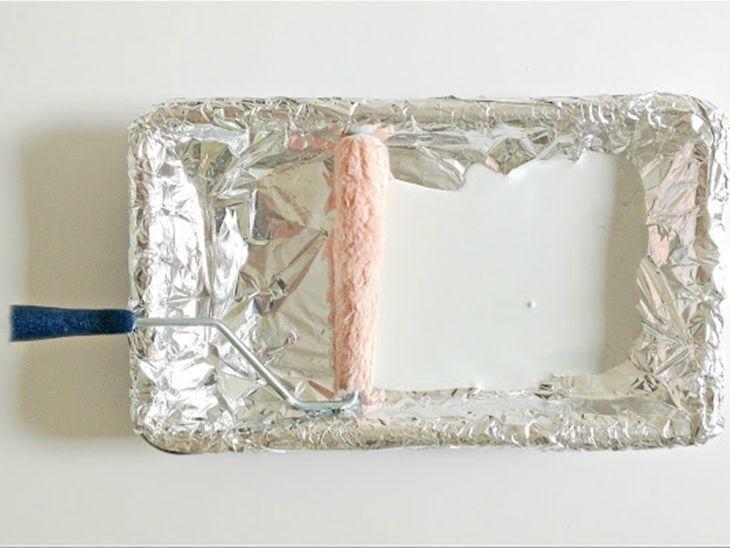
Protect your paint tray: using aluminum foil, wrap your paint tray before you start painting, so that when you are done, remove and throw it away. Result: a like-new tray.
Use the zigzag pattern: the moment you apply the paint roller with the paint to the wall, is the moment when there is the greatest concentration of paint on it. using a zigzag pattern ensures a more uniform application, spreading the paint evenly.
After painting
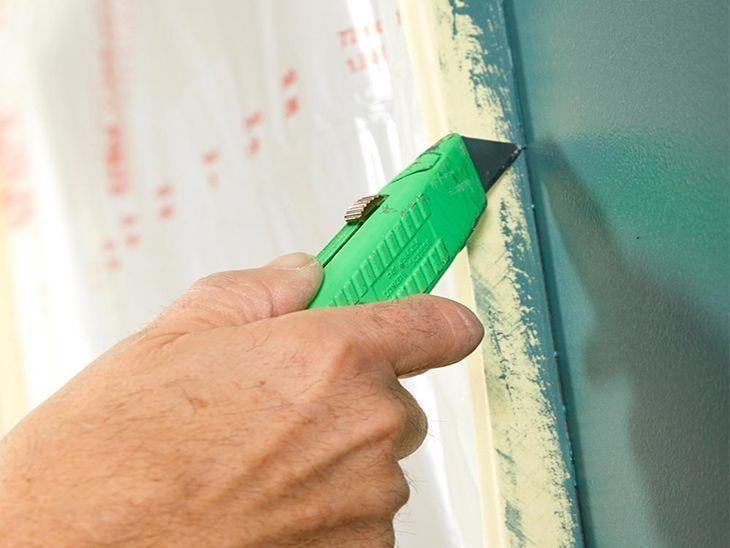
19. "Cut" the paint before removing the protection tape: to avoid the risk of the paint peeling off when removing the protective tape, "cut" the paint using a stylus. this procedure will ensure that only the tape comes off when pulled, keeping the paint intact.
Use baby oil to help clean: If your hands and fingers have become soiled with paint, apply some baby oil and rub one hand over the other. The paint marks should come off easily.
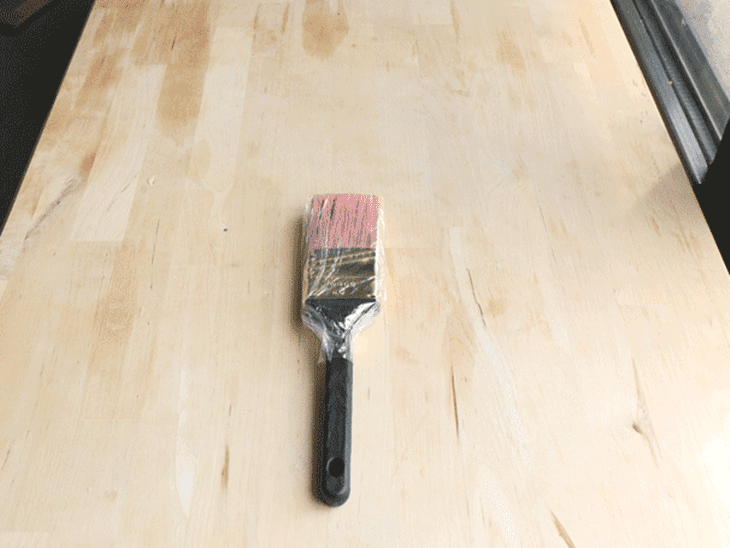
Prevent the paint from drying on the brush: if painting takes longer than desired, there is no need to clean the brush before continuing the process. just wrap it in plastic and store it in the refrigerator. this will prevent the paint from drying out, making it easier to resume the project. this procedure can also be performed with the foam roller.
With these tips, giving your home a new face becomes even easier. Enjoy the cleaning tricks, follow the tips for an even more beautiful and professional result, and start painting now!


