Table of contents

Embroidery is on the rise, and one of the most traditional techniques is cross stitch. This method of embroidery is very old, and allows you to venture into endless possibilities, embroidering things like letters, various designs, characters, and even detailed compositions.
In this technique, the stitches form an X and are uniform in size and appearance, which makes the embroidery symmetrical and very beautiful. Check out the materials needed to develop this method, as well as tutorials and various inspirations to get you started today.
Materials needed for cross stitch embroidery
- Needle with a thick point: The needle used for cross-stitch is different from the others. It has a rounded point and no beak, so it does not pierce the fingers. It is always good to have at least two extra needles to spare, because, being very small, they tend to disappear easily.
- Etamine: also known as aida canvas, quadrilé and talagarça, is the most used and simple fabric for cross stitch. It contains small squares that make counting and embroidery easier. It is a 100% cotton fabric and with different wefts (space between the threads of the fabric), whose unit of measurement is the count. It can appear in 6 count, 8 count, 11 count, 14 count, 16 count, 18 count and 20 count and has toto do with the holes that are formed in the weft (horizontal and vertical) of the fabric. The fewer count the wider the fabric.
- Large scissors: The large scissors are only and exclusively for cutting the fabric, because this way they will have a longer life span. They must be large because they are firmer to fulfill their function.
- Skeins (balls of thread): When the fabrics used for embroidery are thin, with a very tight weft, it is recommended to use 1 or 2 strands of skein, but if the weft is wide, use 3 to 5 strands of the same skein. The more strands are used, the more separated the cross-stitches will be, making the embroidery more delicate.
- Small scissors: The scissors you will use to cut the threads should be a small one with a point. Its blade is very sharp and cuts the threads easily.
- Graphics: The charts will guide you in your embroidery. You can find them in magazines or on websites. For beginners, it is good to opt for simpler charts and, as you improve your technique, venture into more complex works.
- Behind the Scenes: Not everyone uses them, but they are great for securing your fabric. They are made of wood, plastic, or metal, and hold the fabric taut, allowing you to balance the thread tension.
- Organizer box: The organizer box is a very nice tip to make your life easier. It will store the materials you will use for embroidery. Opt for boxes with dividers to help with the organization even more.
Cross Stitch: Tips and Steps for Beginners
Now that you know what materials you need to get started, it is time to get your hands dirty:
1. how to cut the etamine
This video teaches you the first step in learning how to embroider.
2. how to start, end, and unravel the skein
Now you are really going to learn how to cross stitch. With this step by step tutorial you will learn how to take the thread out of the skein, and also how to start cross stitch and how to finish it.
3. how to read cross-stitch charts
Knowing how to read the charts is fundamental for further learning. Find out the function of the black threads, identify the size of the embroidery and other important information.
4. how to cross stitch inside out
Start by doing some simple exercises to train. In this one you will learn how to do the reverse stitch.
See_also: Marble table: 55 elegant models to sophisticate the environment5. vertical and horizontal rows
Learn to do the up and down motion, and to change the direction of the embroidery when doing some more elaborate design.
6. technique for embroidering names
To embroider names, you need to count the stitches and mark the space that will be used on the fabric.
7. how to contour
Learn how to make outlines in your cross-stitch designs to make your embroidery even more beautiful.
Now you know the basic techniques to start embroidering, so all you have to do is practice and advance little by little, and soon you will be doing complex and beautiful embroidery.
10 cross stitch charts for you to print
Nothing better to evolve in your learning than to put it into practice. We have selected several graphics with different models for you to start working on. Do it in your own time and improve little by little. And get inspired with different ideas.
1. heart
Level: beginner
Where to apply: napkins, tea towels, comics, key rings, towels.
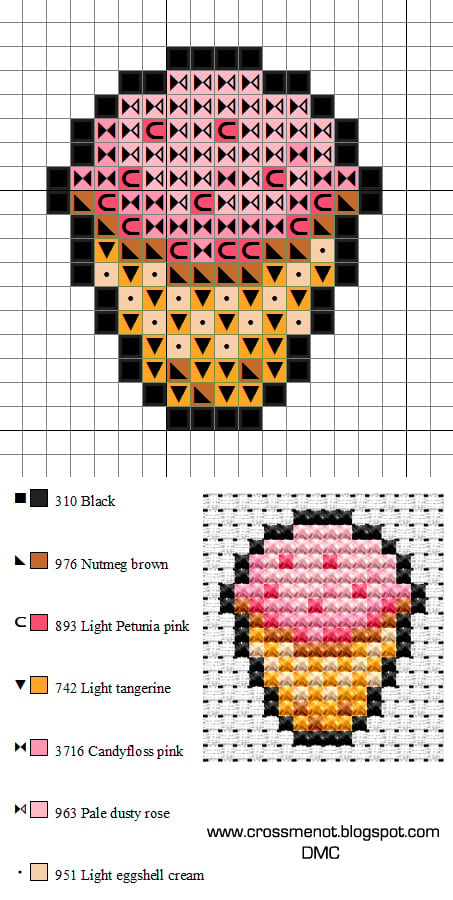
2. ice cream
Level: beginner
Where to apply: napkins, tea towels, comics, key rings, towels.
3. rainbow
Level: beginner
Where to apply: napkins, tea towels, comics, key rings, towels.

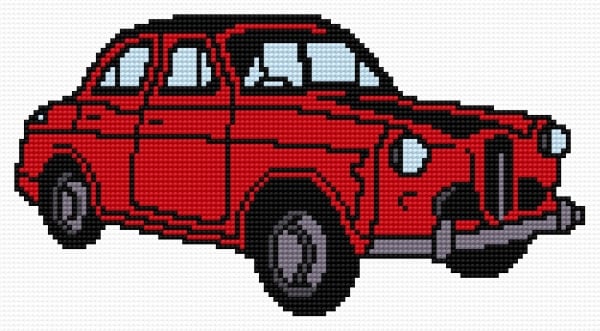
4. carts
Level: beginner/intermediate
Where to apply: bath towel, nose diapers, comics
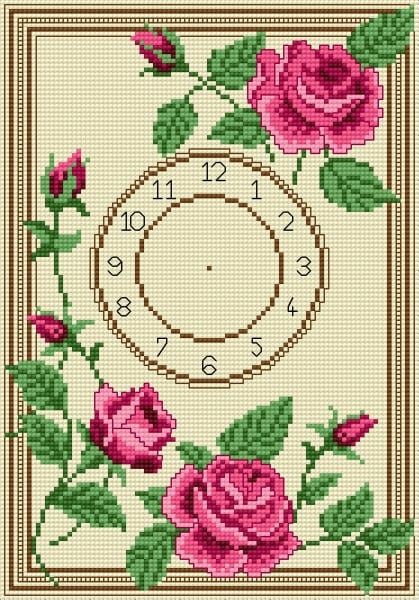
5. clock with flowers
Level: intermediate/advanced
Where to apply: watches, towels, etc.
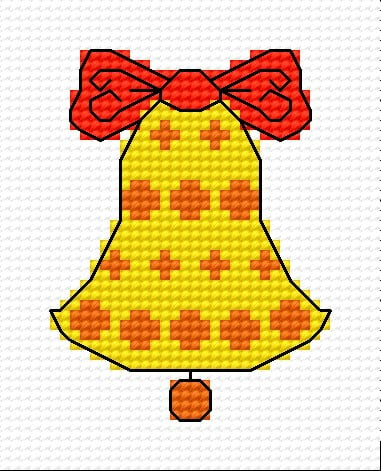
6. Christmas Bells
Level: beginner/intermediate
Where to apply: tablecloths, comics, ornaments, key chains.
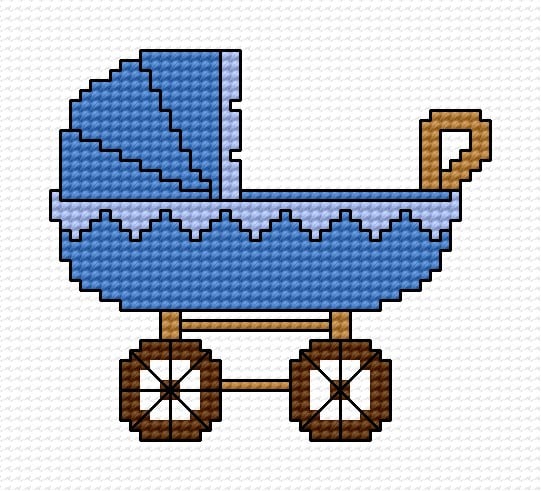
7. stroller
Level: beginner/intermediate
Where to apply: bath towels, face towels, baby's trousseau.
8. babies
Level: beginner/intermediate
Where to apply: maternity pictures, towels, sheets, baby shower gifts
See_also: Crochet Kitchen Set: 80 patterns to copy and tutorials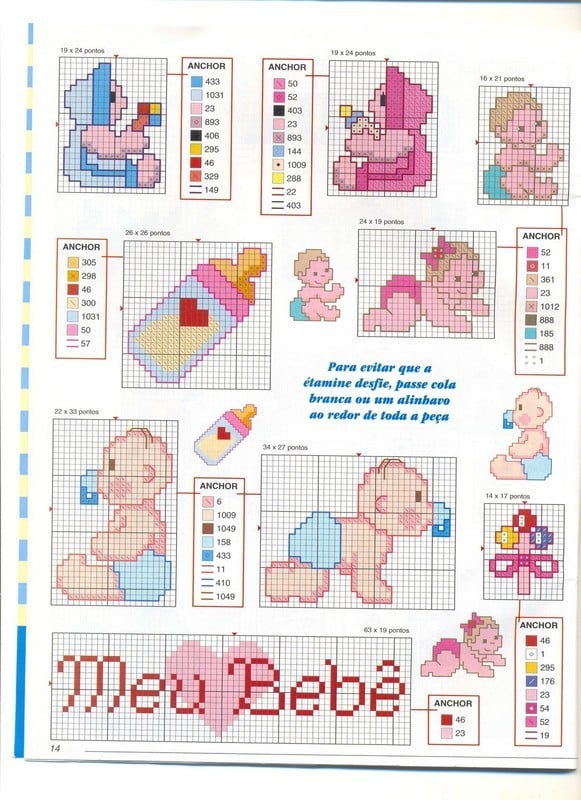
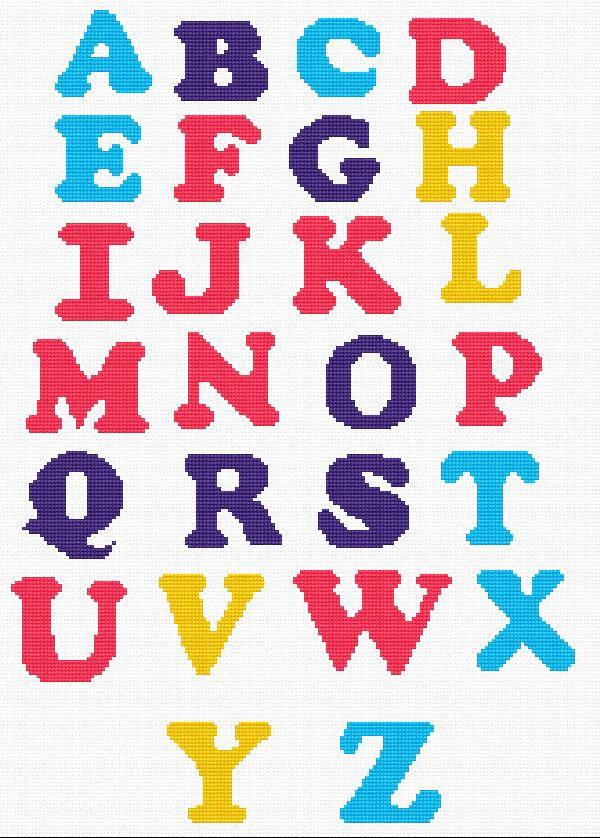
9. alphabet
Level: beginner/intermediate
Where to apply: any application surface
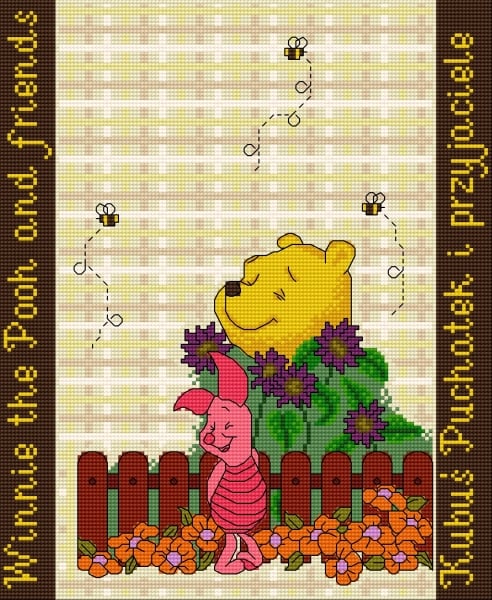
10. Pooh Bear and Piglet
Level: advanced
Where to apply: comics, bath towels, ornaments for children's rooms.
Start with the easiest designs and then move on. Choose which one you want to start with, gather your materials, and start embroidering today.
40 cross stitch embroideries to inspire you
Seeing other people's work can encourage you to learn even more. Check out this selection of beautiful cross-stitch embroidery and get inspired to start your own.
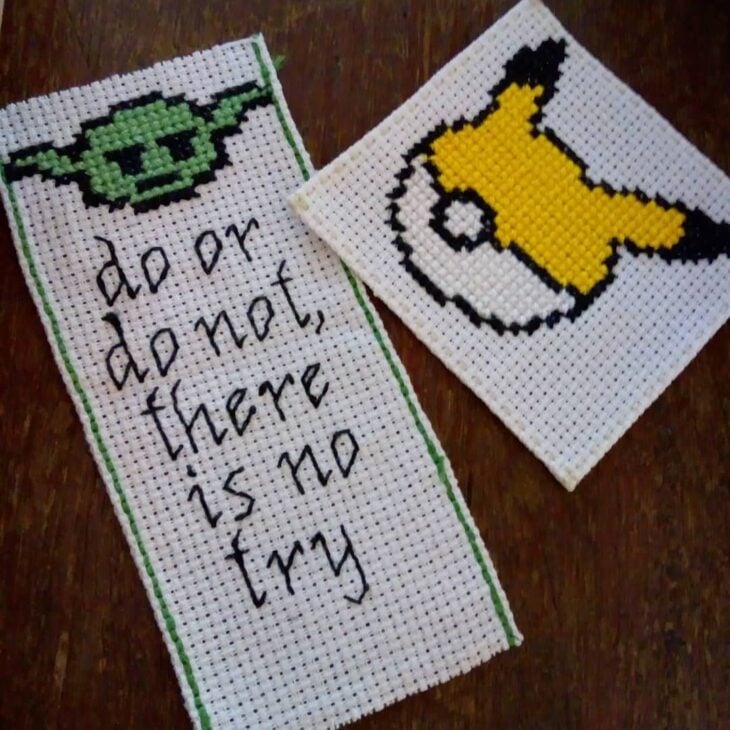
1. for fans of great film productions
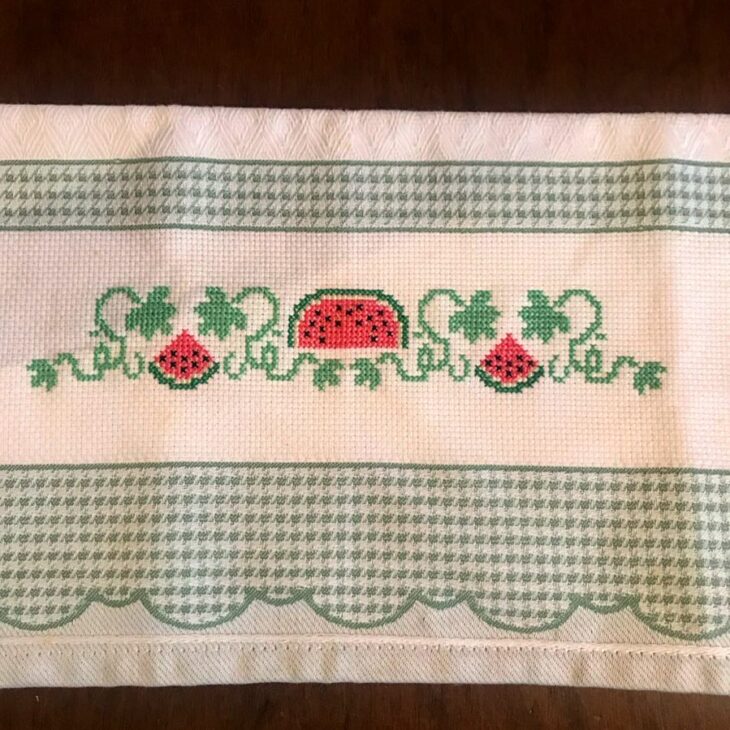
2. joining dishcloths with food designs is the perfect fit
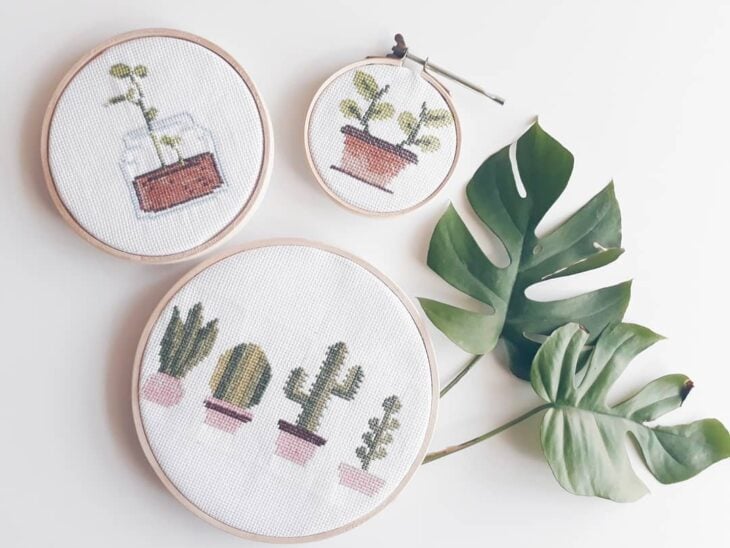
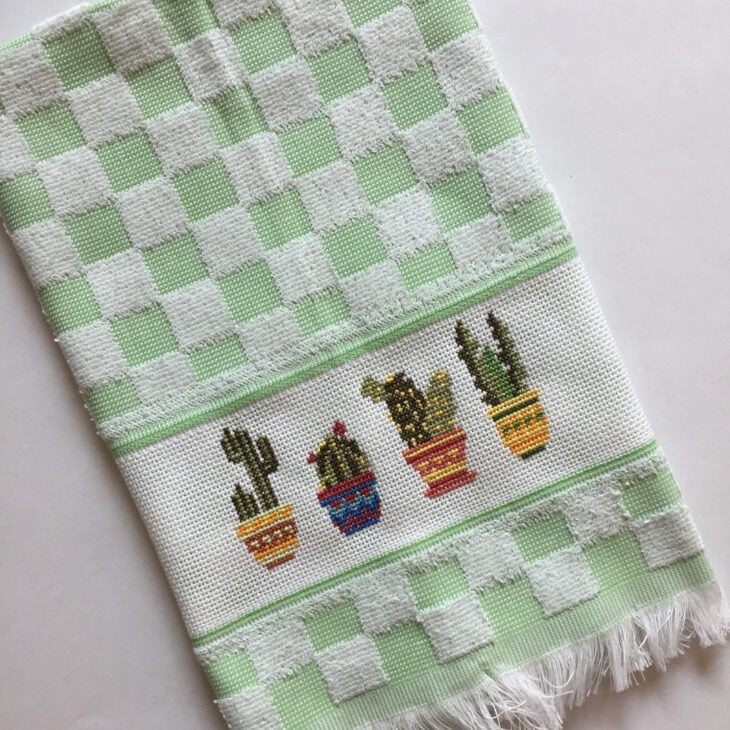
3. beautiful cactus pictures
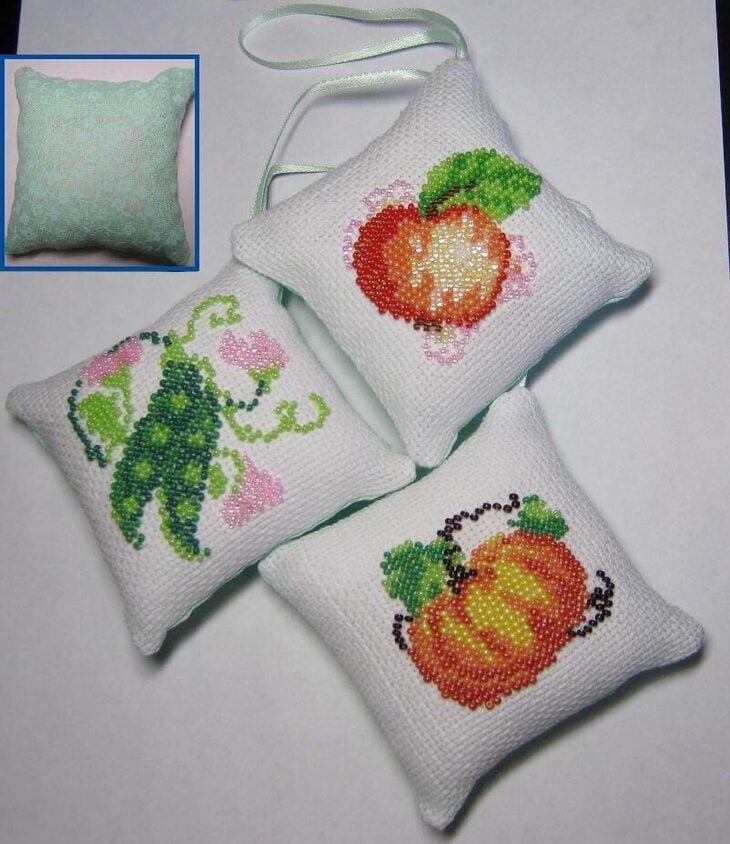
4. how about embroidered pillows?
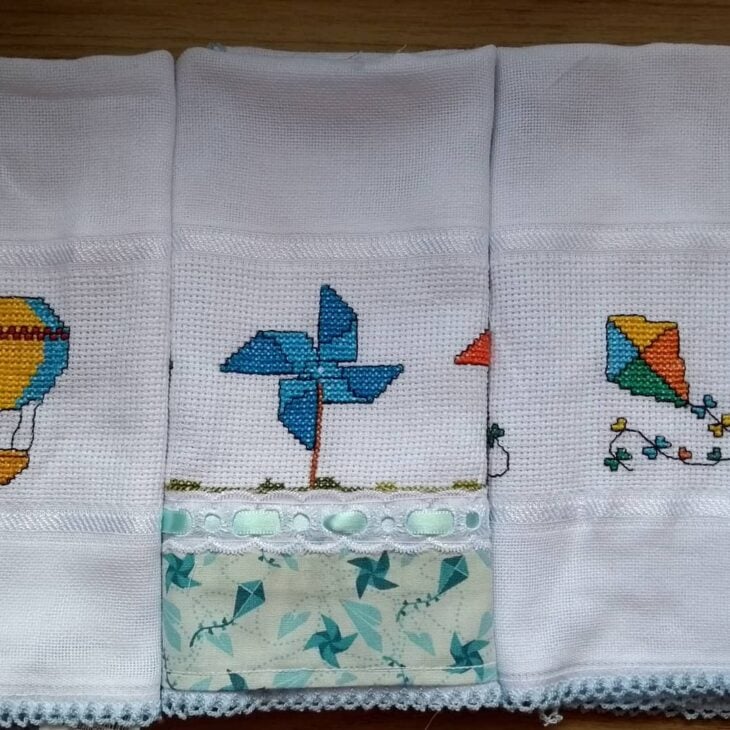
5. a beautiful model for children
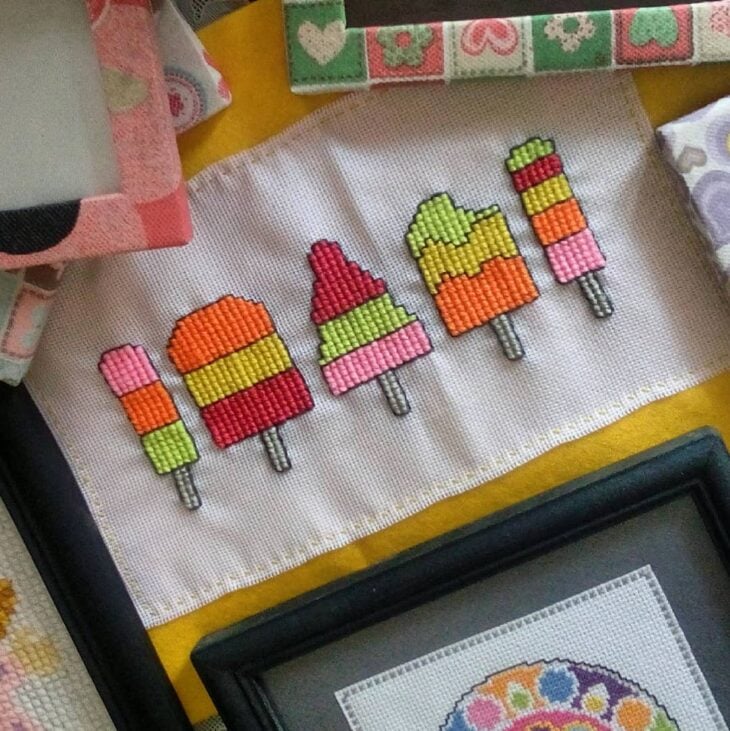
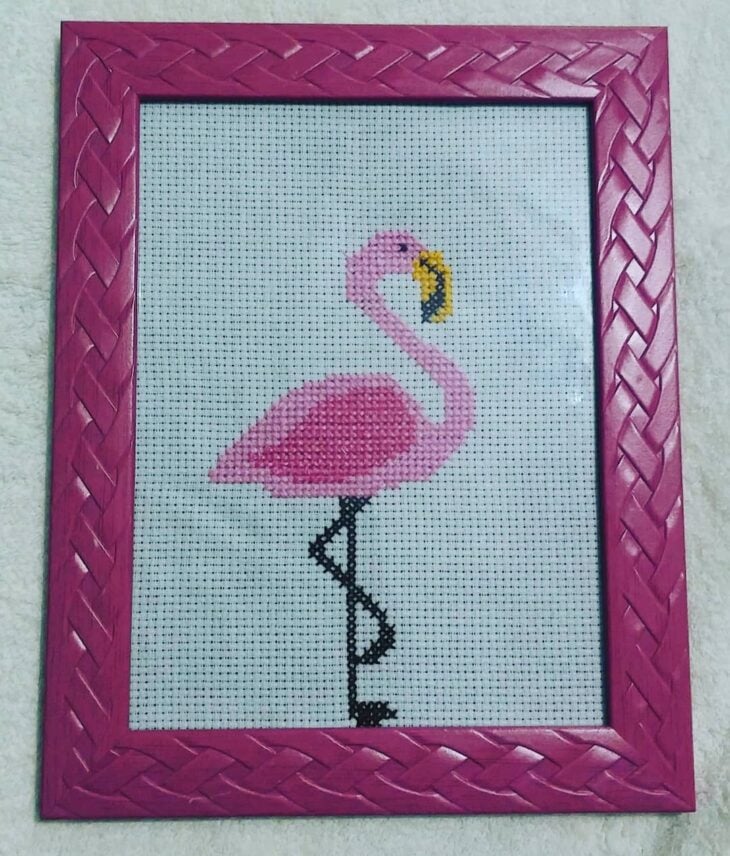
6. for summer days
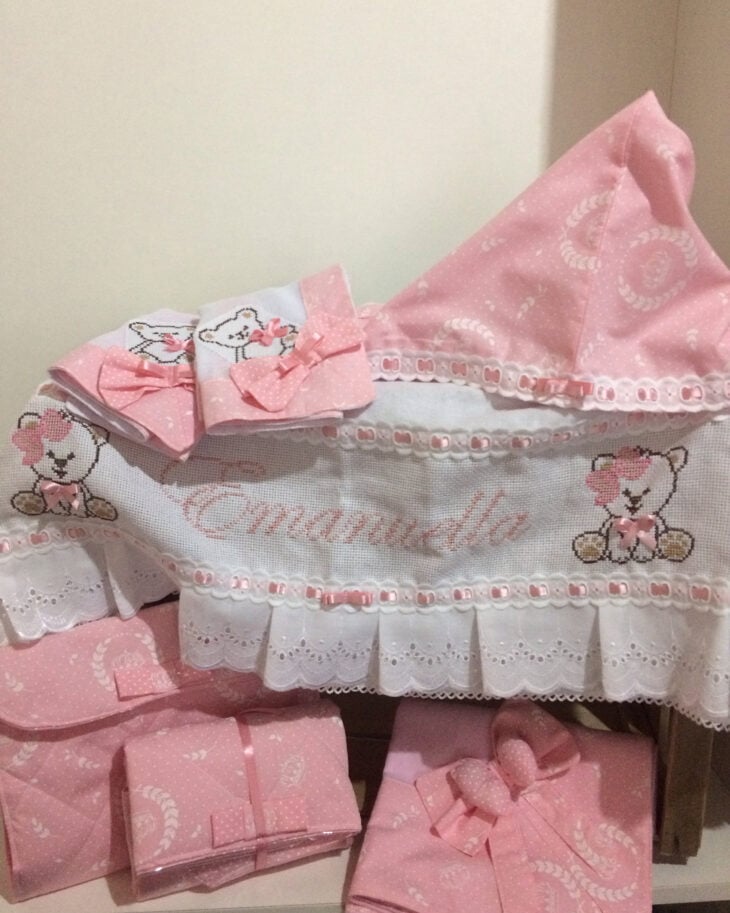
7. maternity name tags

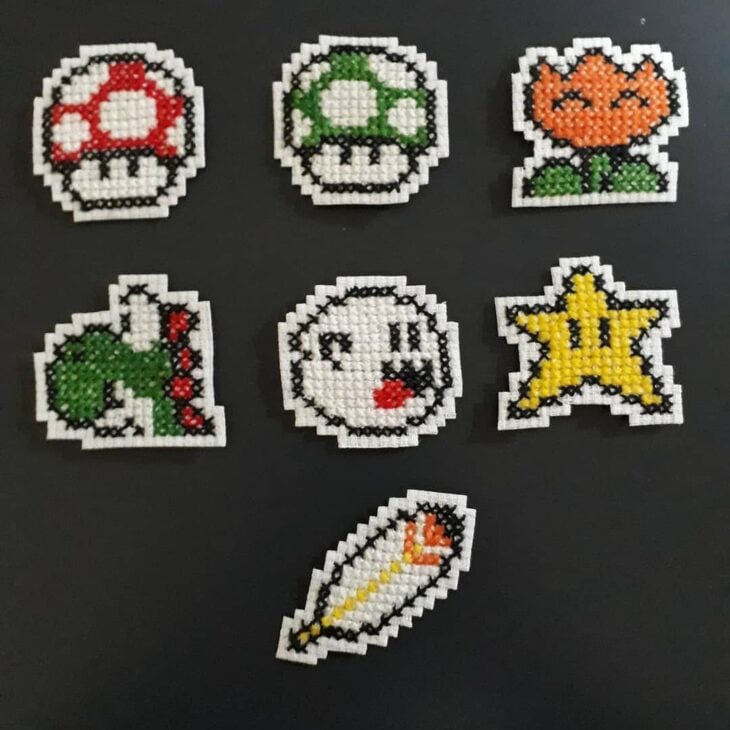
8. you can make cross-stitch refrigerator magnets
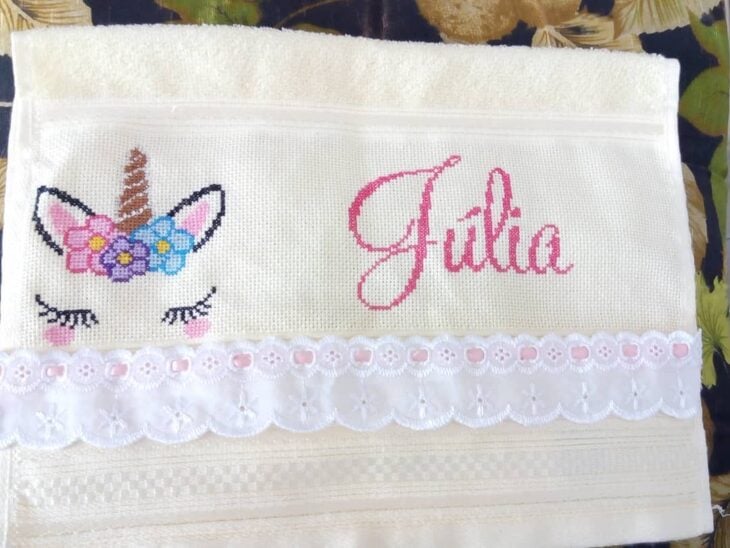
9. unicorn fever is everywhere
10. the dishcloths are cuter like this
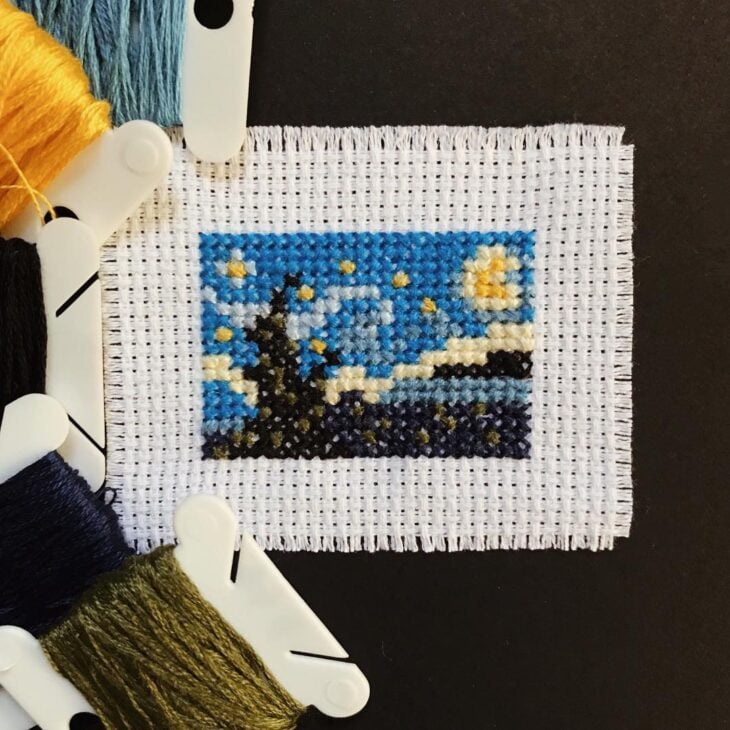
11. you can embroider real works of art
12. look how beautiful these baby diapers look
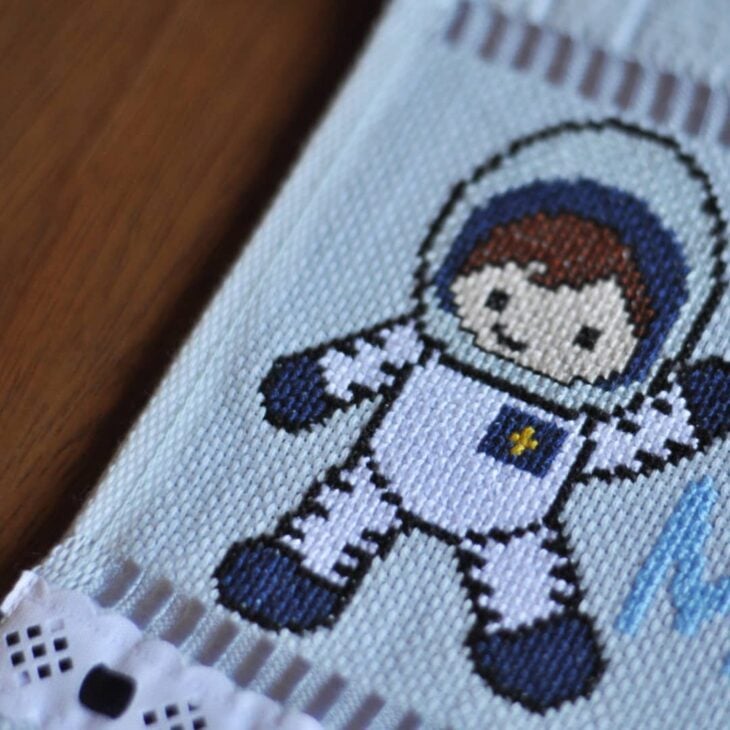
13. direct from space
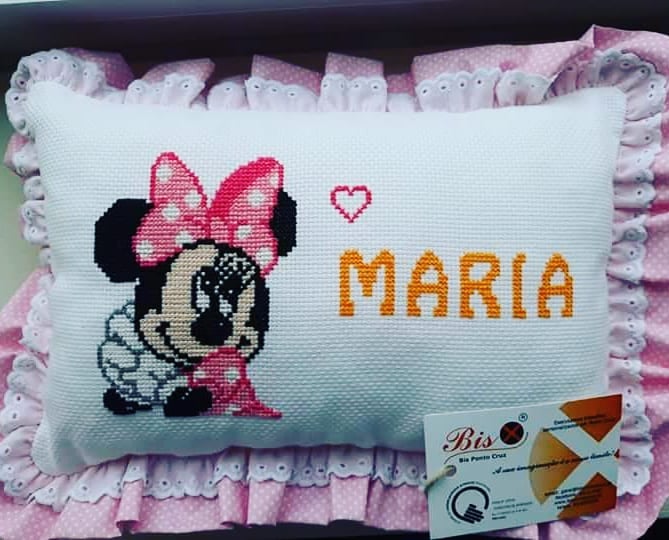
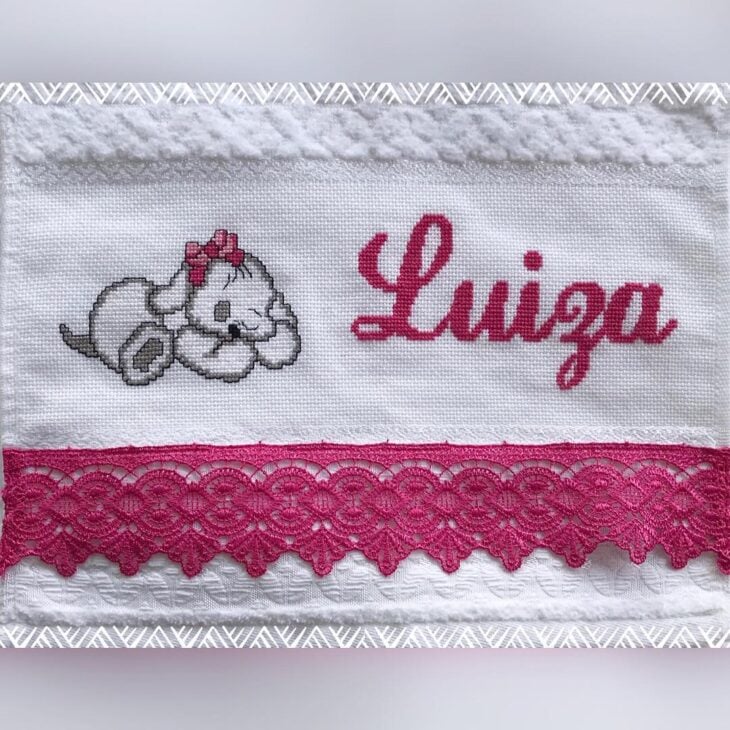
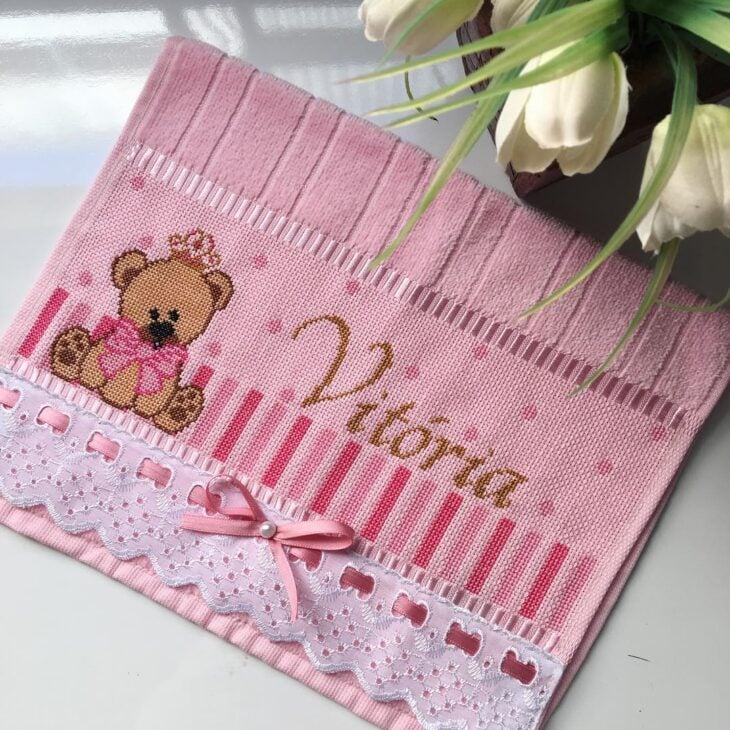
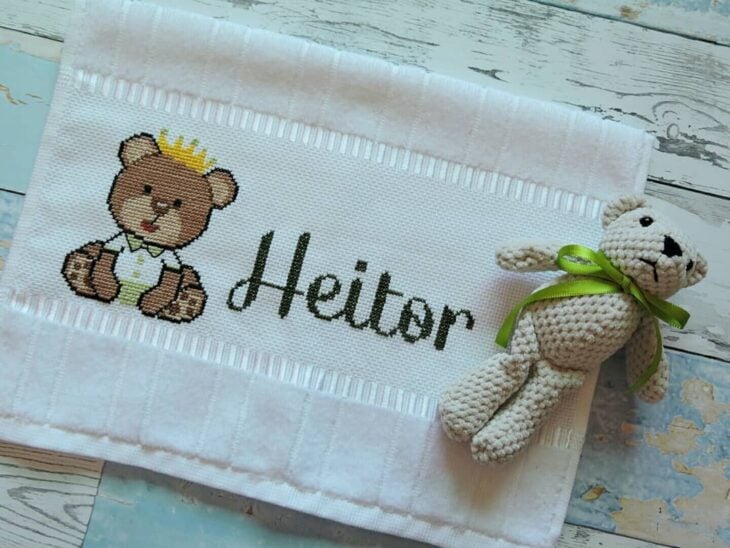
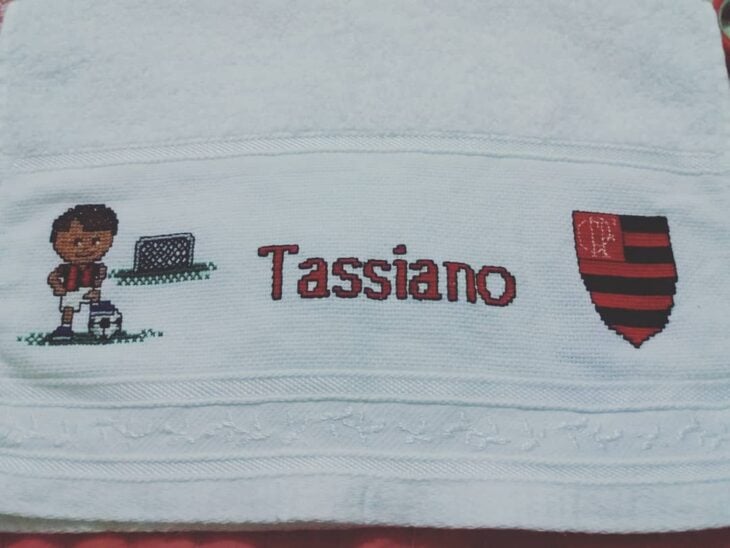
14. embroidering the children's names is great for not losing the towels
15. an embroidery of faith

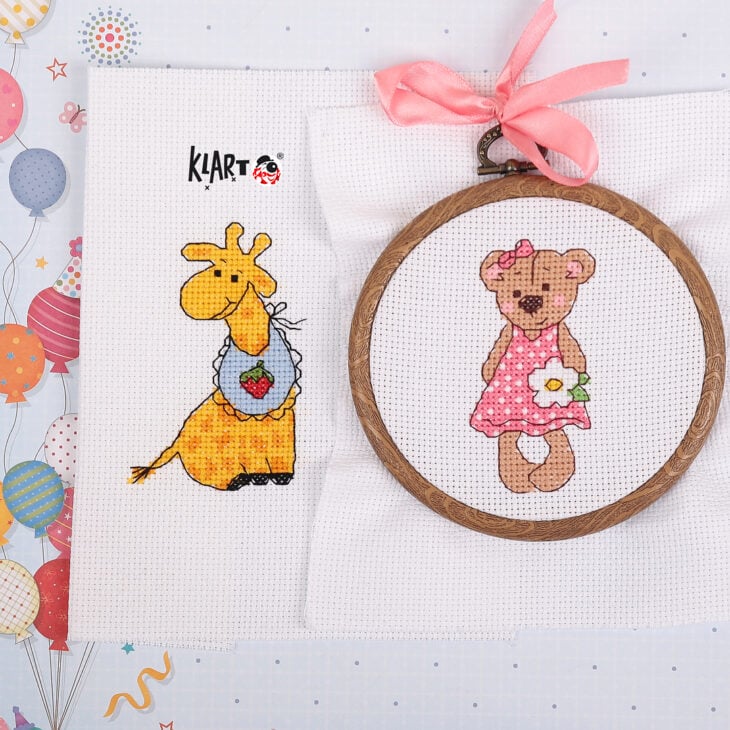
16. cute little animals to decorate the children's room
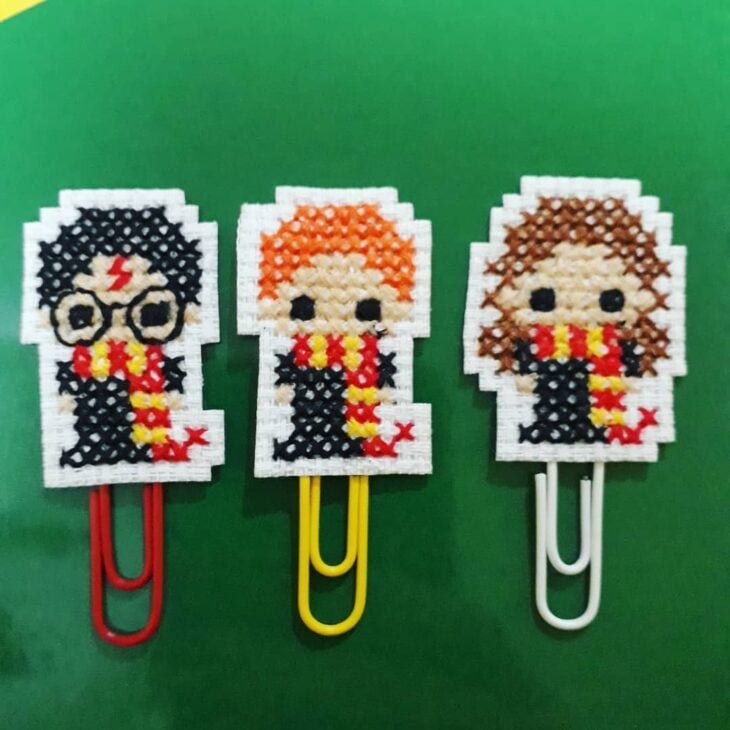
17. for the Potterheads
18. what a nice idea to give as a graduation gift
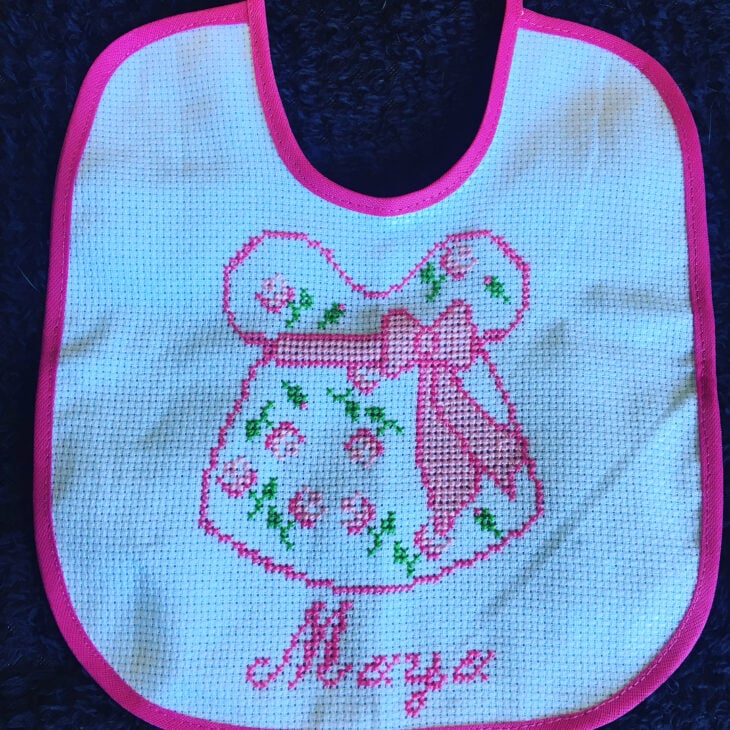
19. what a beautiful thing this bib is
20. you embroider whatever you want
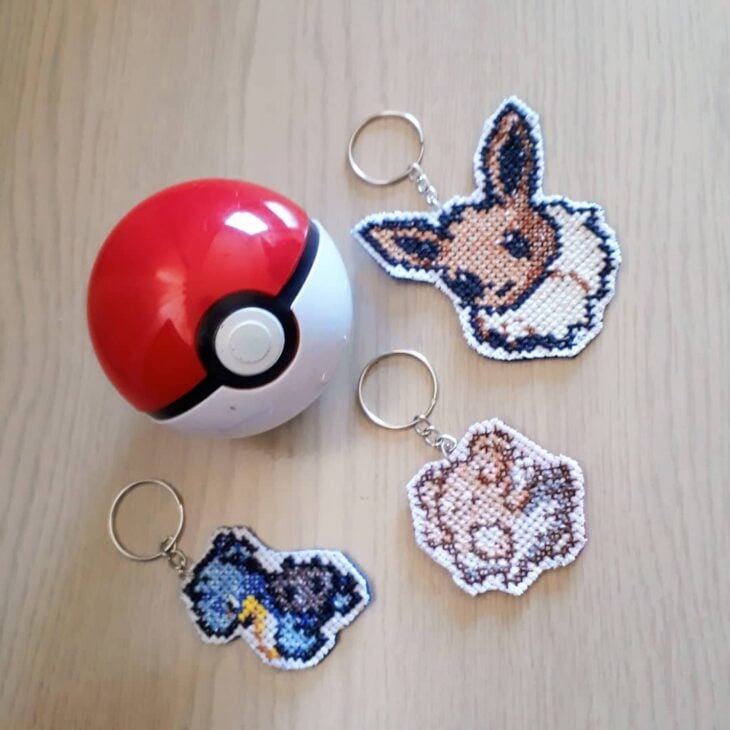
21. keychains for Pokémon fans
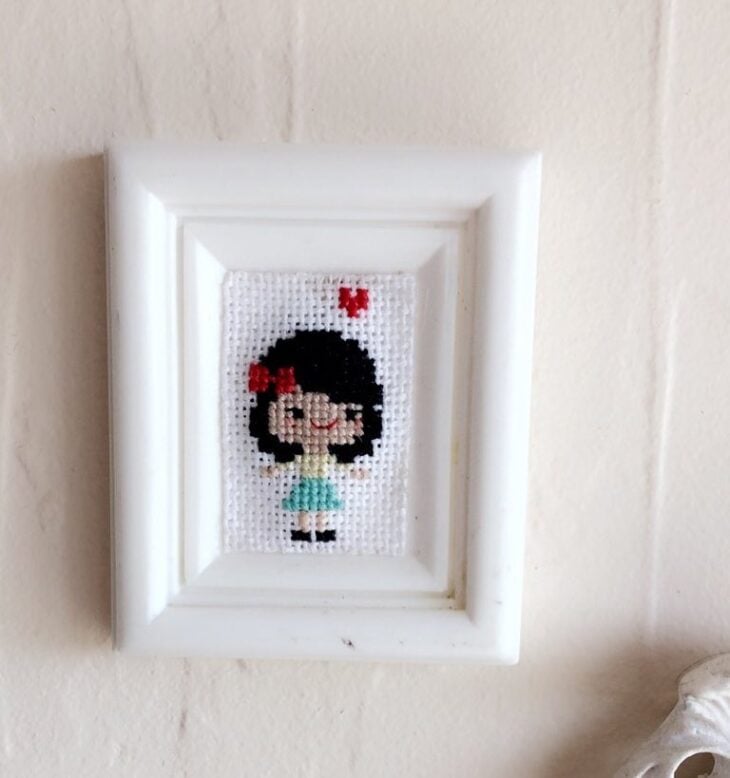
22. personalized and even framed picture
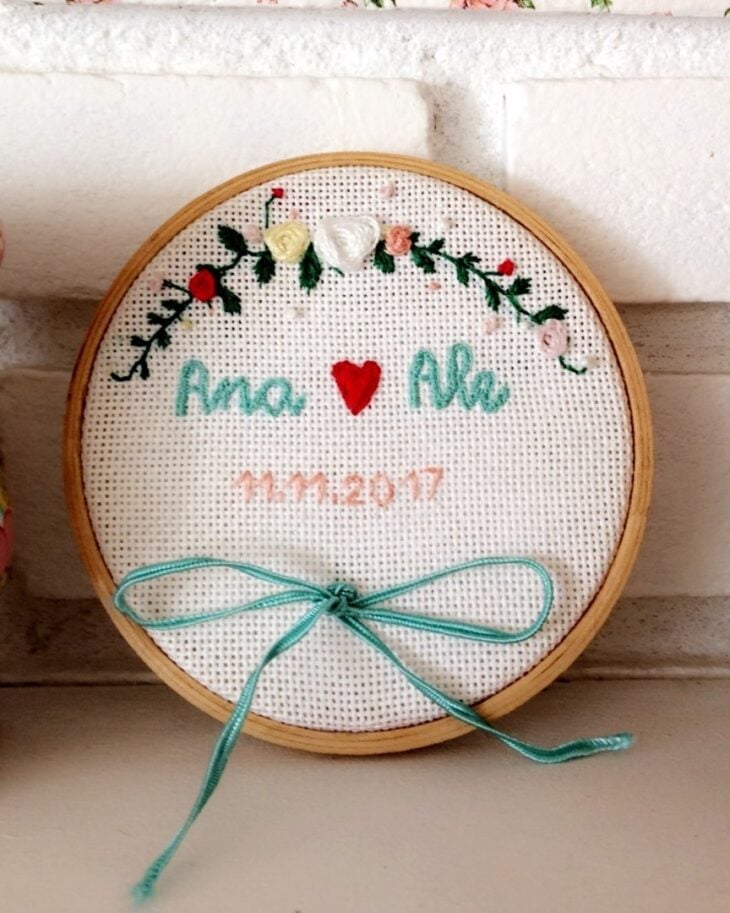
23. to eternalize the couple's date
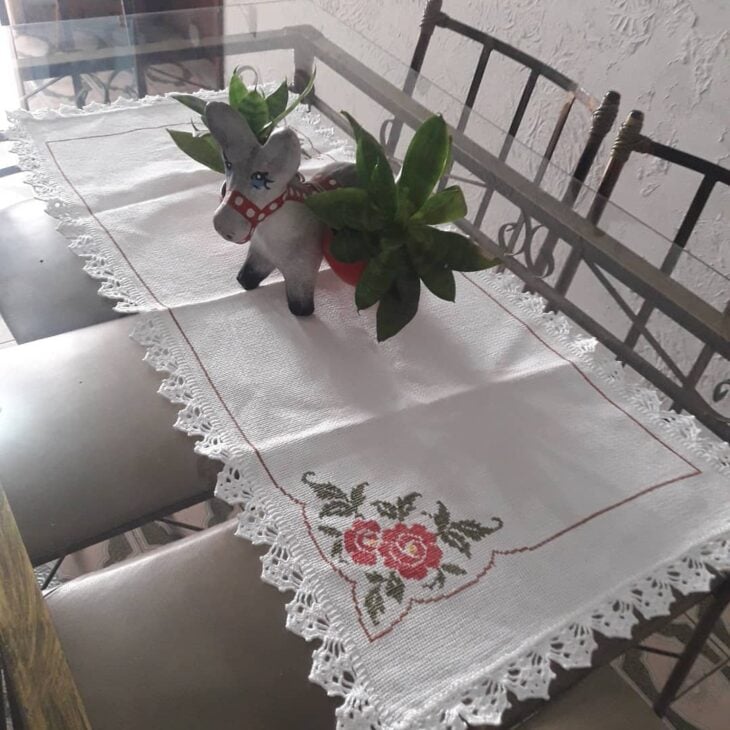
24. it looks very nice to embroider table runners
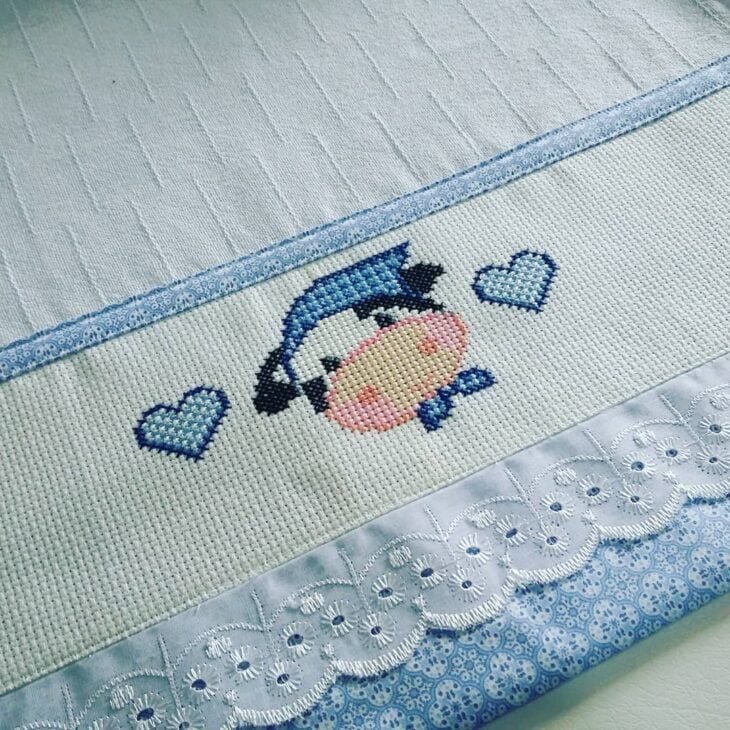
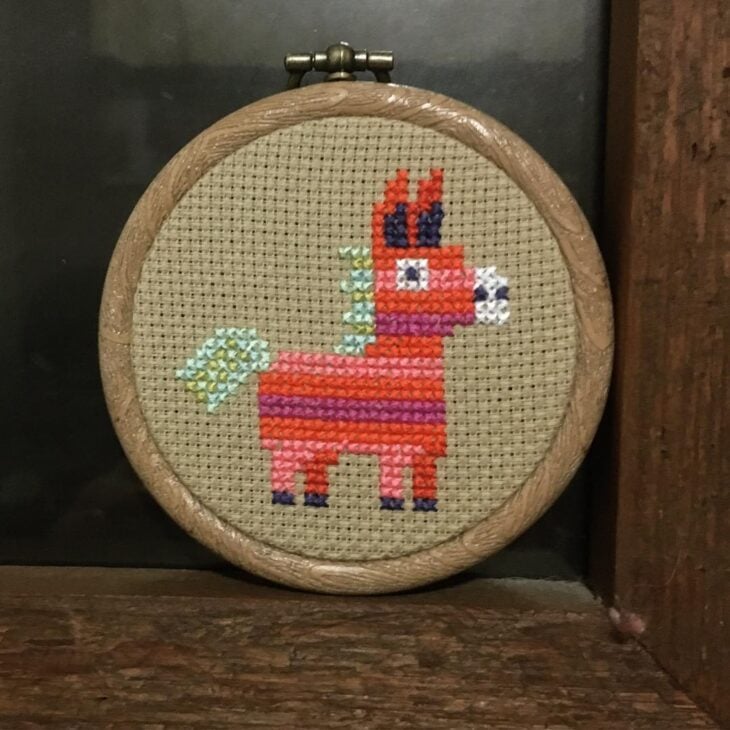
25. such a cute little cow
26. personalized towels with name and pets
27. the whole game customized
28. it is a unique and exclusive gift
29. marking the pages of your books this way will be much more fun
30. one example more beautiful than the other
31 You can decorate your whole house with new comics
32. funny animals look very cute
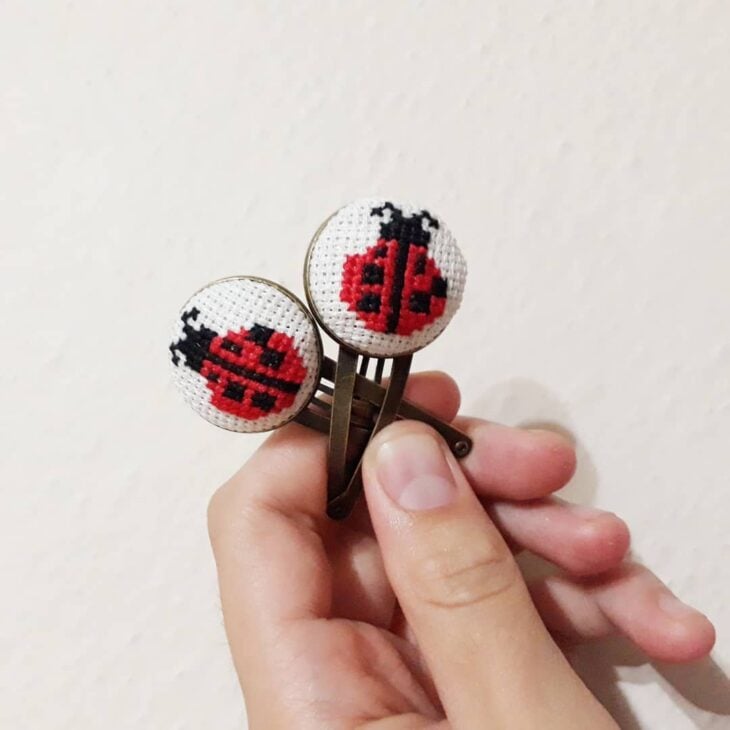
33. embroidered hair clips are beautiful
34. you can embroider your favorite stories
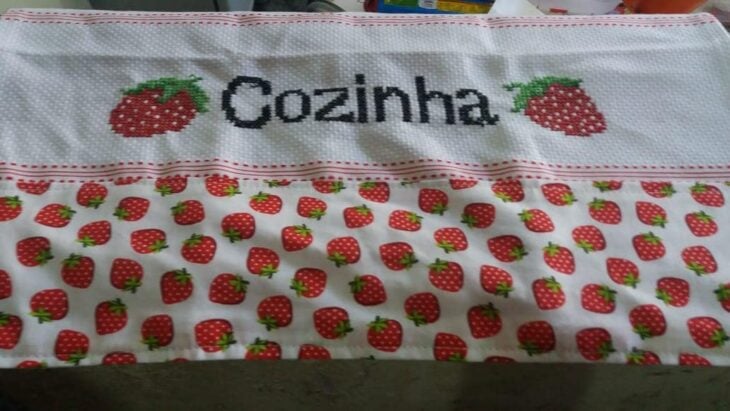
35. you can identify the rooms where the pieces will be used
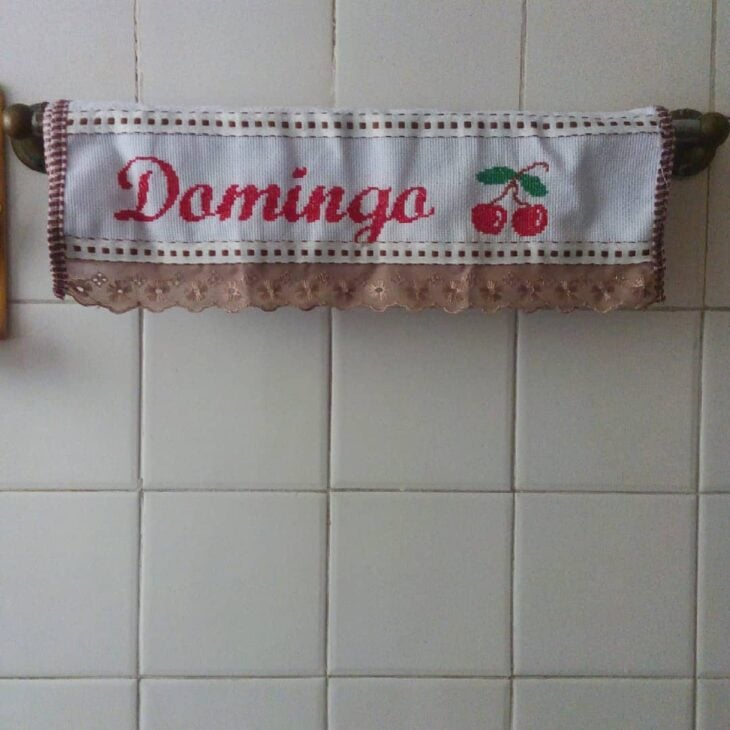
36. or the days of the week
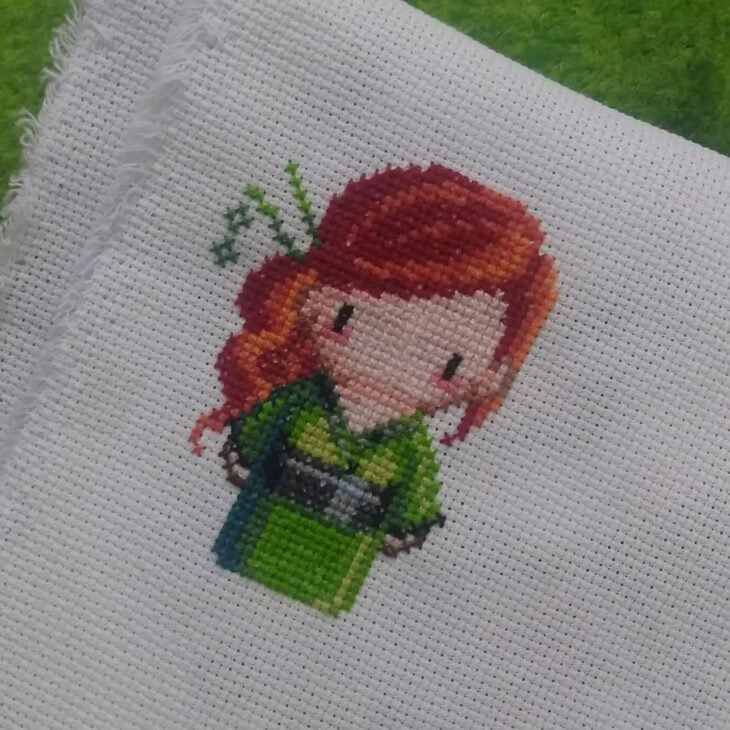
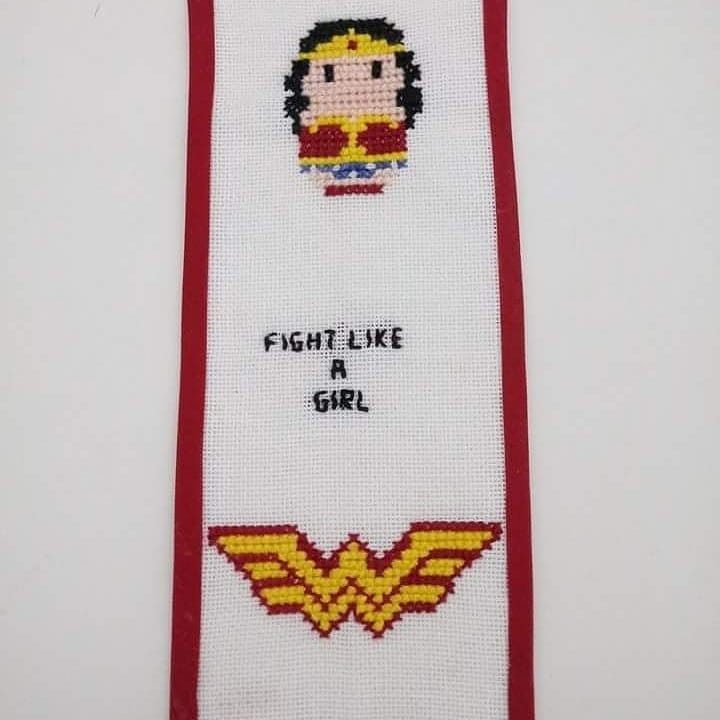
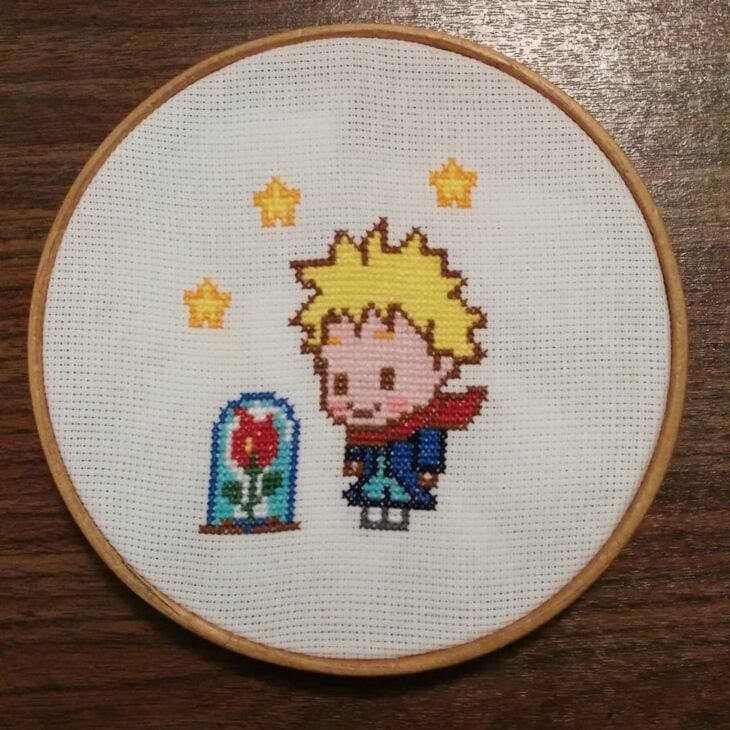
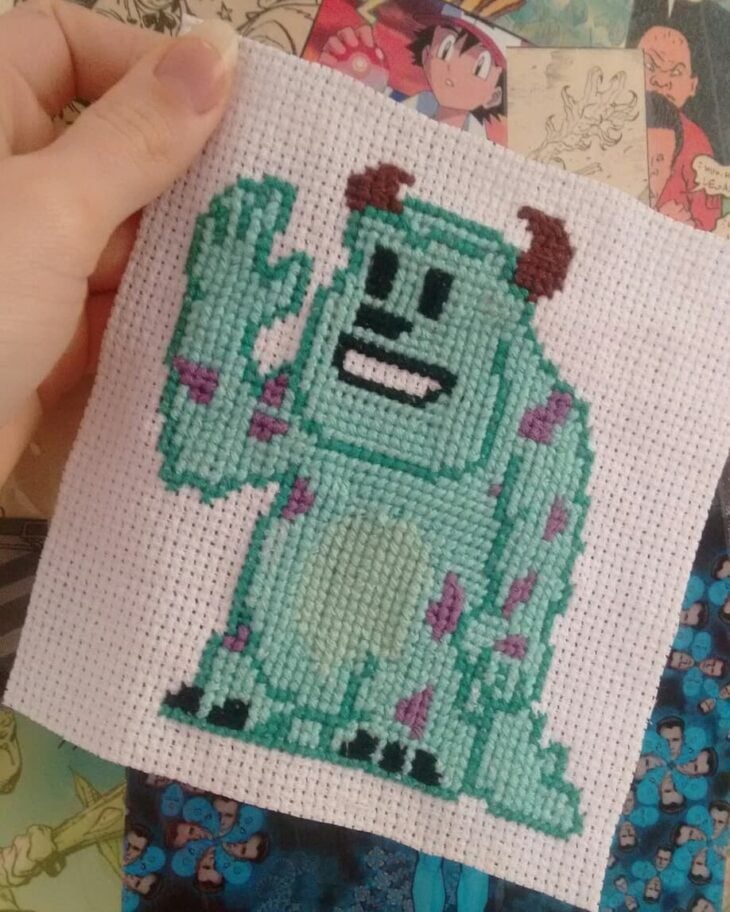
37. your favorite characters can become embroidery too
38. you can express all the passion for your favorite team
There are so many inspirations that you feel like making them all right now, don't you? Also check out the step-by-step instructions for making beautiful crochet flowers
and learn something new every day!