Table of contents
For some time now, decoration is no longer attributed only to furniture and decorative objects in general. walls have gained a prominent role and are the golden end of the most versatile and innovative projects of architects and interior designers. after all, as a blank canvas, professionals can abuse their creativity and take advantage of market trends to create compositions that leavethat personalized touch.
The 3D plaster panel is a new style in interior decoration that brings elegance and sophistication to the environment. It is a system of plaster plates that, when joined, form a uniform panel, with a personalized effect. It can be applied inhomes, stores, hotels, offices, among others," explains Marcela Janjacomo, from Home Design Decorations.
Usually, 3D plaster panels are made over a masonry wall or a drywall wall, composed of a galvanized steel structure and plaster sheets covered with cardboard. There are two ways of applying it: through a structure mounted against the wall or with direct application on the wall itself. The closing is done on the inside. In the case of drywall, it is recommended to useThe design that causes the 3D effect is made according to the size of the wall. Generally, the design does not change, there may only be a change in the size of the plates that compose it," adds the professional.
The difference between 3D plaster and regular plaster is in the visual and aesthetic effect, since the former gives extra dimension to the walls, ensuring a different, elegant, and modern aspect to any environment.
How to use plaster panels in decoration
Plaster is a practical, versatile and economical material, which can be used in decoration to highlight a wall or to cover beams and pipes.affordable than if made of wood, a material with which it is not always possible to achieve the desired effect.
The most common models still include the "canjiquinha", composed of unequally sized ceramic fillets; the "frisado"; the "acartonado" (drywall); the horizontal and vertical niches, to accommodate decorative objects, with or without lighting, among others. Regardless of your preferred style, learn how to apply 3D plaster in each environment:
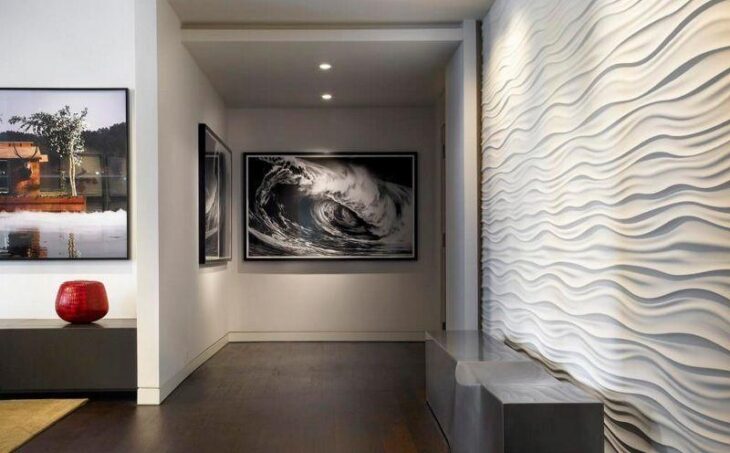
Rooms
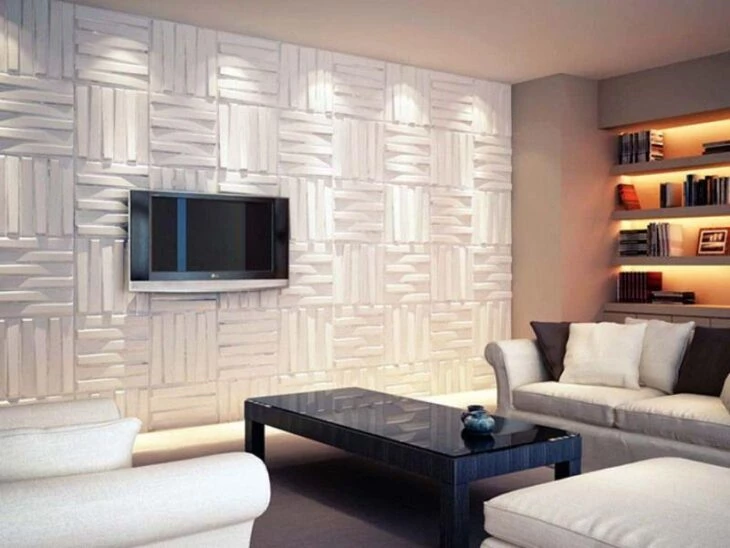
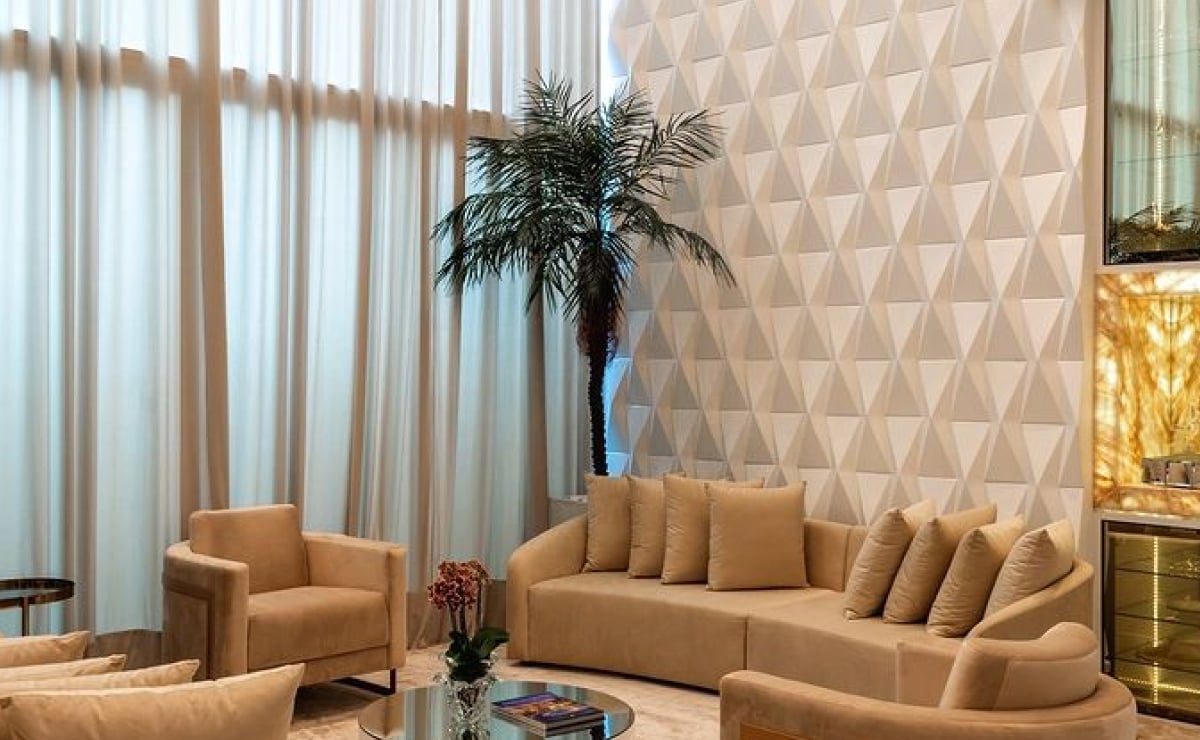
In living rooms, 3D plaster decoration is usually applied to the wall where the TV is located, while in dining rooms, the finishing touches can be applied to any wall where you want to highlight it.
Rooms
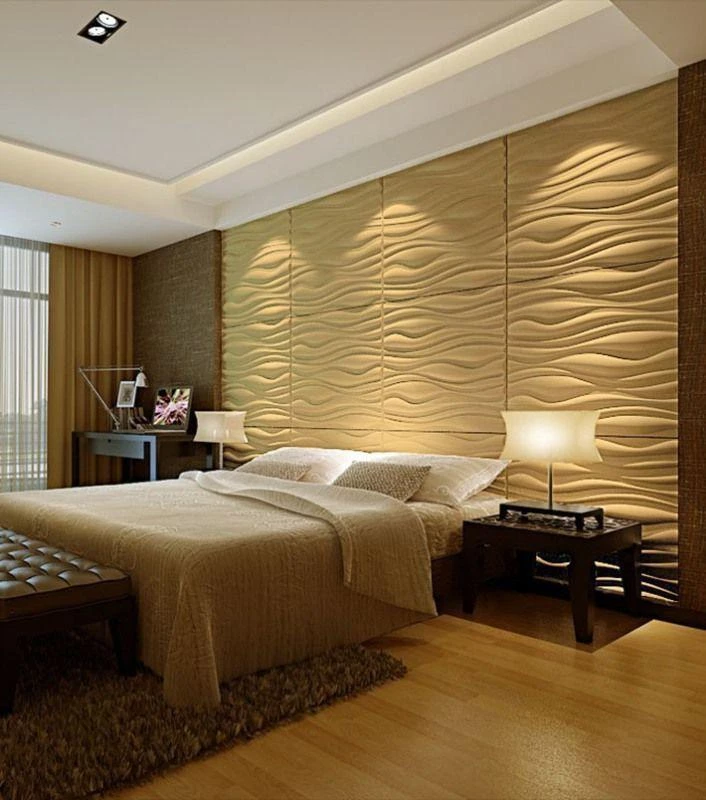
In bedrooms, the same rule: choose a wall to receive the effect that will gain decorative prominence in the room. Even the ceiling is worth it. In this case, it goes very well with accompanying lighting.
Bathrooms
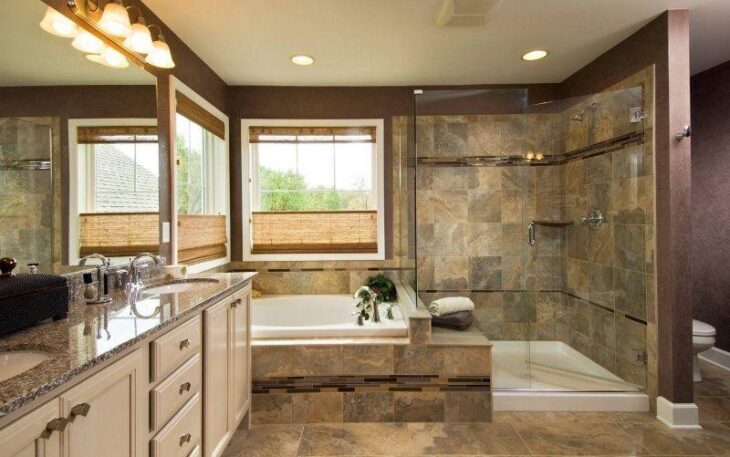
In bathrooms, 3D plaster is not usually used much, since it is a humid area. But if you want to apply it anyway, opt for models with green sheet, better known as "RU sheet" (moisture resistant).
External Areas
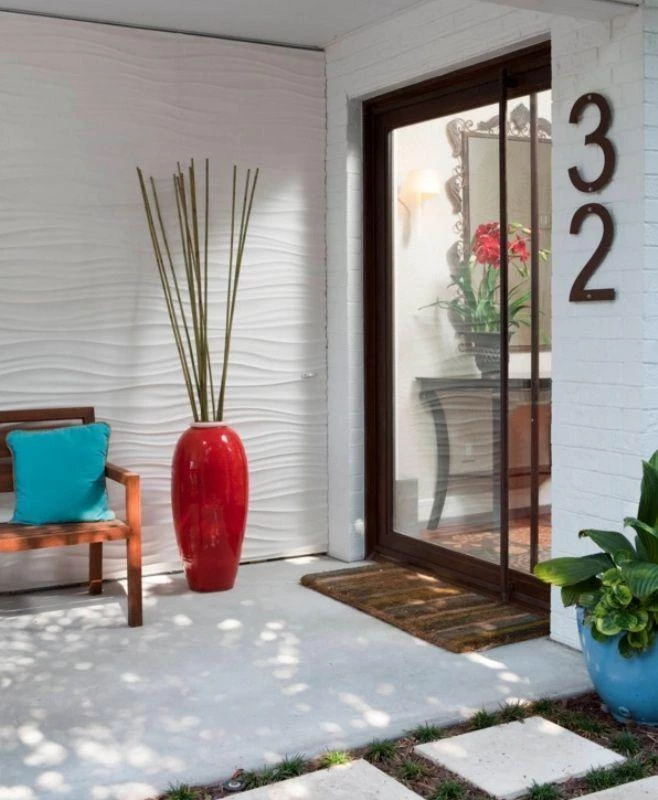
In external environments, 3D plaster is not recommended due to climatic factors, such as sun and rain: "The rain can damage the plaster, while the sun can burn the paint applied as finishing", says the professional.
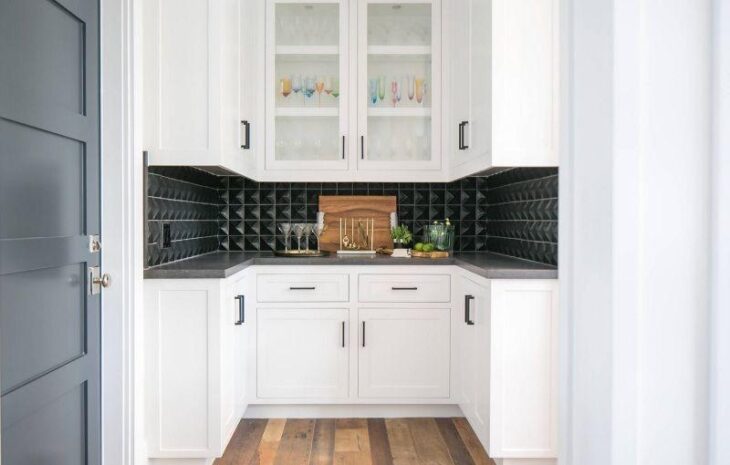
See_also: Patati Patatá Cake: 45 models to make your party a spectacleDespite the recommendations, plaster can be used in houses or apartments to decorate balconies, kitchens, game rooms, in short, any environment, as long as the proper care is taken with exposure to sun or rain, depending on the chosen area. Commercial rooms can also adopt the style in meeting rooms, cafeterias or reception areas. The same goes for stores, which can use the plaster in theirOffice, hotel, doctor's office, and other public environments also go well with 3D plaster.
Learn how to install 3D plaster panels
The installation is very simple and requires no specialized help, especially for those who work in the area or already know the material, but it can be done by anyone who likes to tinker with things around the house, has a desire to learn, and wants to get down to work. Marcela Janjacomo teaches a simple, easy, and quick step-by-step.
Step 1: define the wall where the 3D plaster will be applied. With the choice made, evaluate the best way to mount the three-dimensional plates, remembering that you can make the structure against the wall or arrange it directly on the masonry wall.
Step 2: start gluing the plates together until the design of your choice is formed to create the desired 3D effect.
Step 3: With all the structure assembled in the chosen format, it is time for the final finishing, which consists of three steps - sanding, masking, and painting. In this case, it is recommended to count on the help of a team of qualified painters.
Now, if you want to make your own plasterboards (DIY), this step by step gets a little longer, since plaster can be a bit messy. So, if this is your option, start by lining the floor where you will touch the plaster. It can be with cardboard or sheets of newspaper. Some videos on the Internet teach the whole process. You will need water and plaster to dilute the powderStir well, interspersing the two ingredients, until the mixture loses its transparency and turns completely white.
Once the mixture is ready, pour it into a silicone mold. The molds can be found in many specialized stores, craft stores and also on the Internet. After putting the "dough" there, do not move the mold until it dries completely. Just level it with a piece of cardboard to leave a smooth surface and all corners covered, avoiding flaws. Drying cantake some time, so usually the plasterboard is not removed from the mold until the next day.
Finally, to install the plasterboard, you will need a can of latex paint, a paintbrush, a ruler and a tape measure. Remember to have the wall measurements at hand before installation. Wear gloves so as not to get the board dirty and start gluing the plaster in the center. With the brush, apply the glue smoothly and evenly both on the wall and on the back of the 3D plasterboard, and wait 15 to 20 minutes. Thenjust glue it on, aligning the edges to form the composition.
If you want a colorful decoration, fill in the spaces between each board with PVA putty or plaster. Add white latex paint to increase elasticity and sand the surface. Use spray paint to color and let it dry for 1 to 3 hours. Repeat spraying until you achieve the desired color. It's done!
Ideas to enhance 3D plaster in decoration
If you like the idea, but still don't know how to apply it in your decoration, nothing better than a gallery of images to open your mind and inspire creativity.
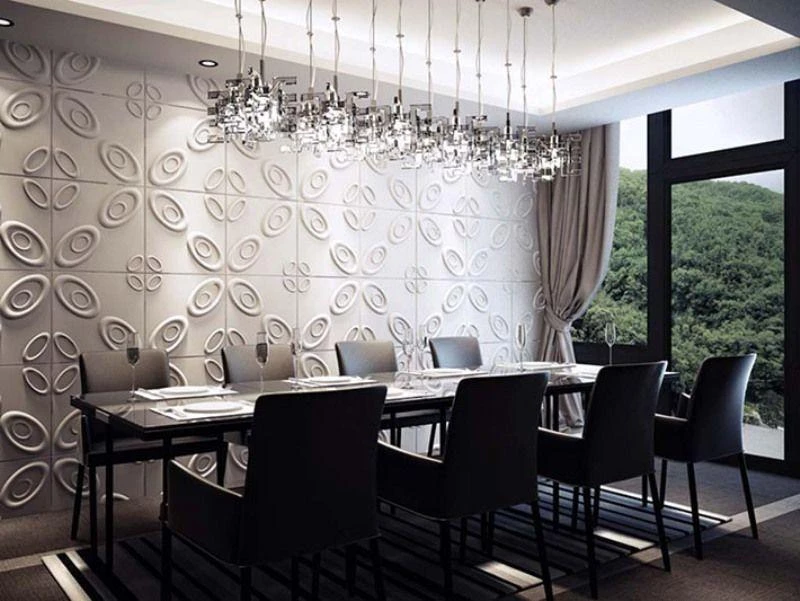
Photo: Reproduction / Comprando meu Apê
See_also: 45 winter garden ideas in the bedroom to get in touch with nature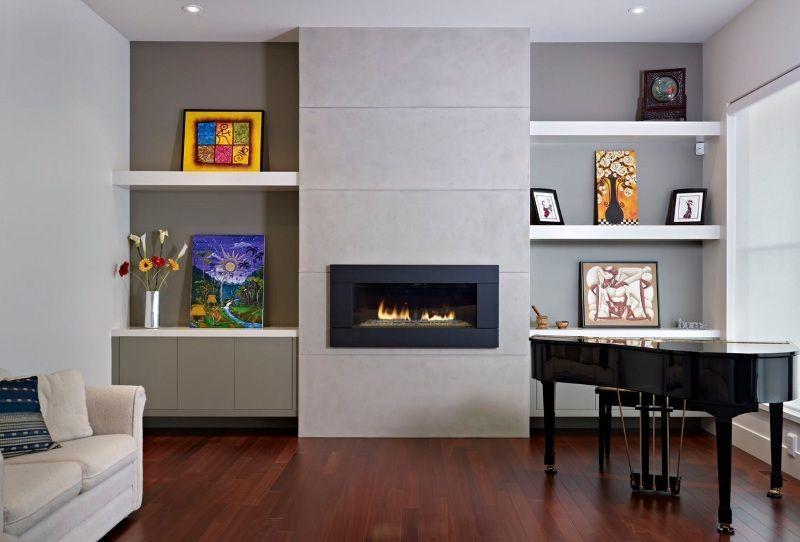
Photo: Reproduction / Habitat Studio
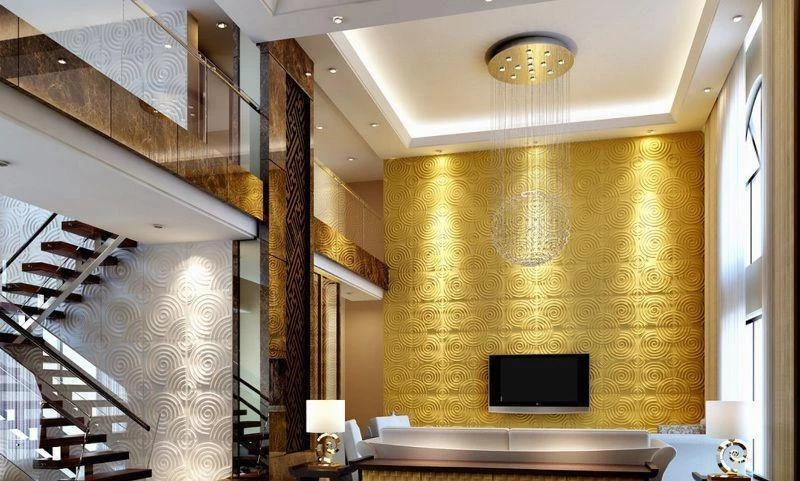
Photo: Reproduction / MW
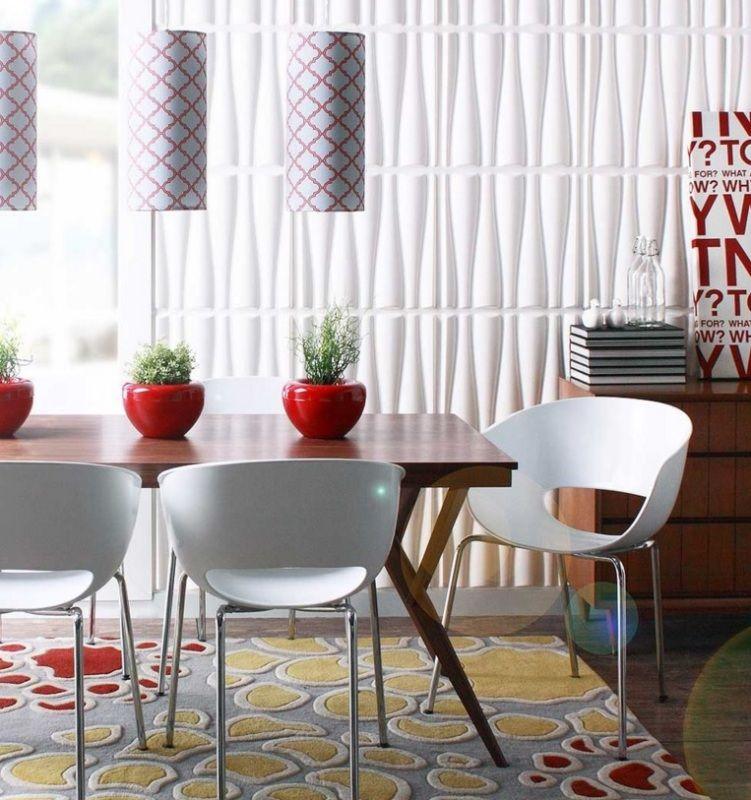
Photo: Reproduction / Inhabit
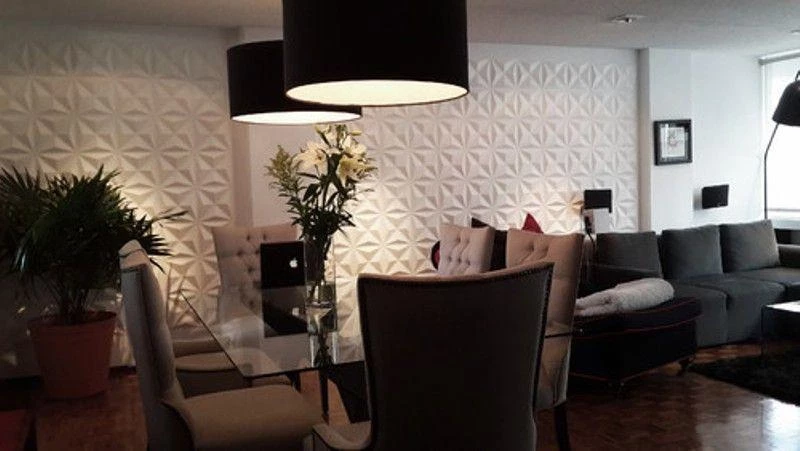
Photo: Reproduction / Inhabit
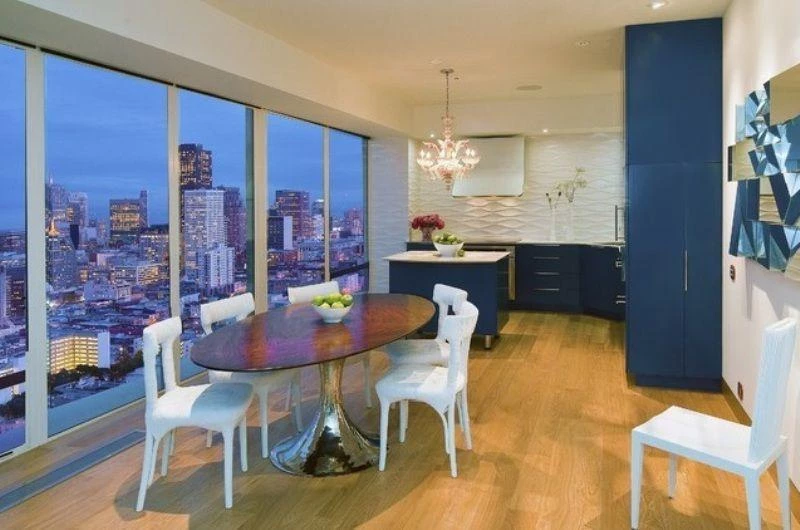
Photo: Reproduction / McCutcheon Construction

Photo: Reproduction / dSPACE Studio
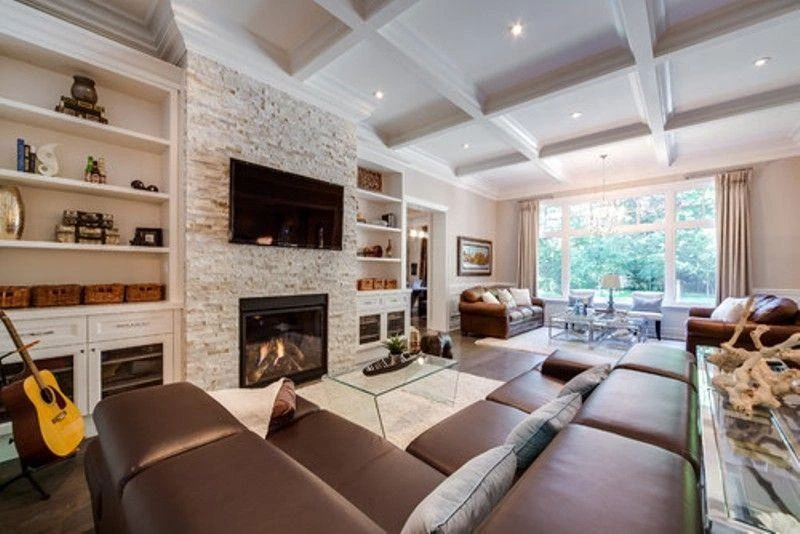
Photo: Reproduction / Lionsgate Design
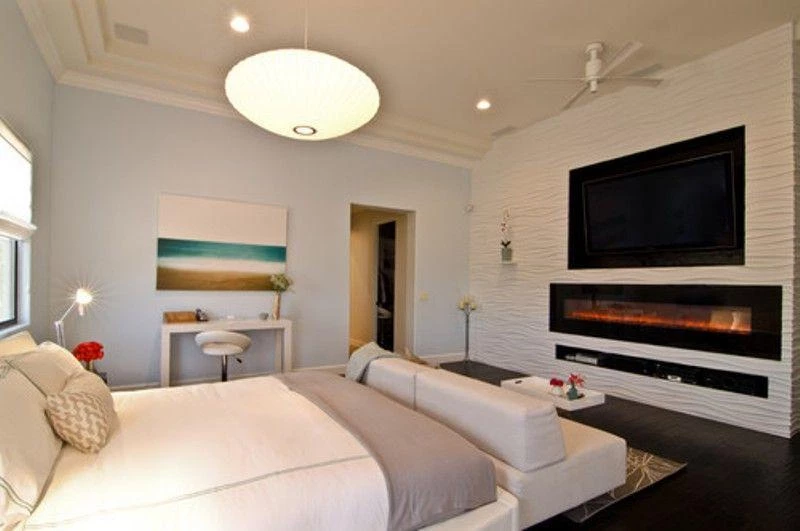
Photo: Reproduction / Mackenzie Collier Interiors

Photo: Reproduction / MyWallArt
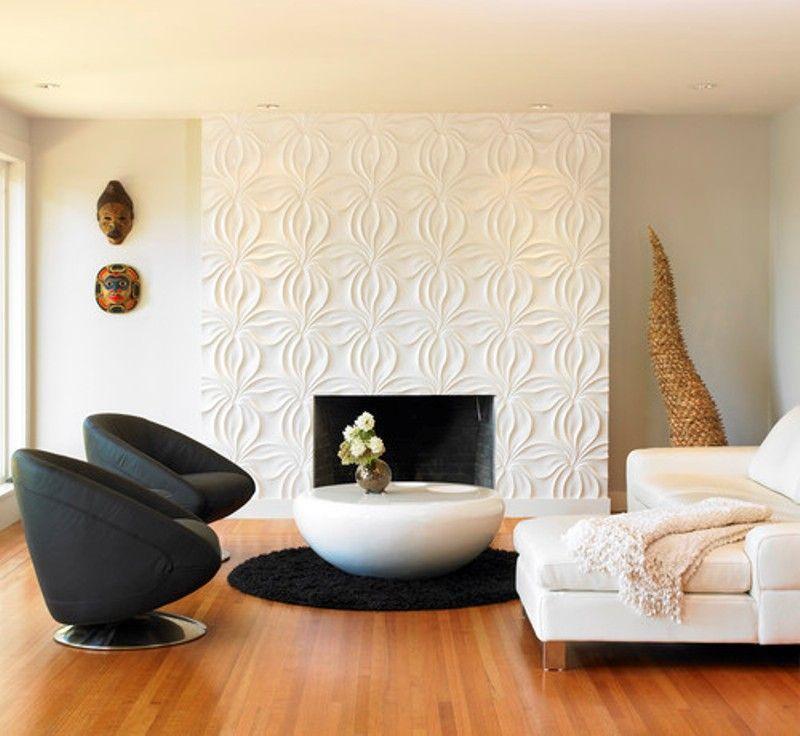
Photo: Reproduction / The Sky is the Limit Design
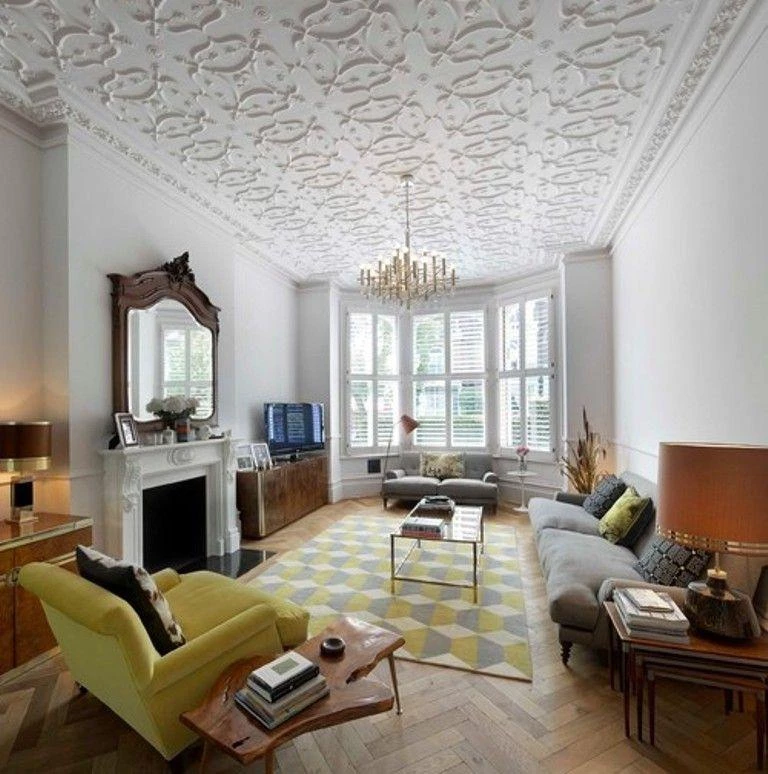
Photo: Reproduction / Found Associates

Photo: Reproduction / Designer Touches
Photo: Reproduction / Charles Neal Interiors
After all these photos with the application of 3D plaster in practice, it's time to get your hands dirty and take into your home an idea that has been gaining more and more evidence in projects prepared by architects and interior designers by giving texture to the walls. Although white is more common, you can also put colored panels to create a different effect. Very simpleTake a look at some ideas for textured walls.