
Table of contents
Many times we want to give our home a new look, but we think that this always means making high investments and we end up putting the idea aside, without considering that there are several things that can be reused at home. With patience and dedication, it is possible to change environments by making small adjustments to existing furniture and items.
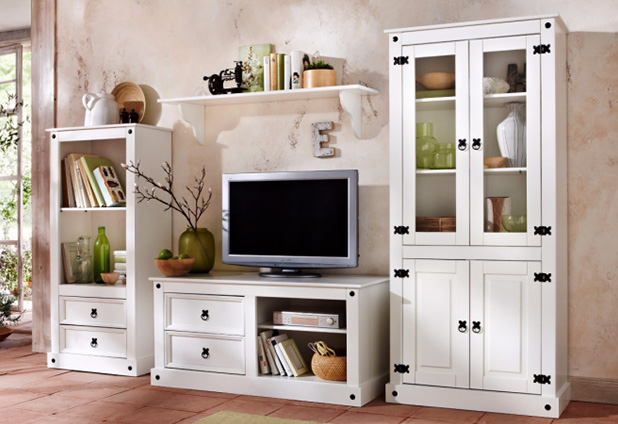
Wooden furniture, in particular, is very durable furniture that can wear out over time, but is easy to refurbish and can be reused. Its high durability and the possibility of refurbishment make it worth the investment.
See_also: Glass partition: an essential item to organize environments"Wooden furniture, especially the antique ones, usually have a design capable of surpassing generations and giving a unique identity to the environment. Besides, many of them were produced with woods that no longer exist, of excellent durability, capable of enduring many years of life and countless transformations", says Helka Velloso, antique furniture restorer.
What you will need
Velloso says that this list depends on the state the furniture is in, but that some items are indispensable. Check out a basic list to start your renovation:
- Sandpaper of different weights;
- Wood glue;
- Putty for wood finishing;
- Rolls and brushes;
- Water-based or solvent-based wood paint in the desired color;
- Damp cloth to clean the furniture;
- Preparing primer for metals and wood;
- Protective varnish for wood;
- Old newspaper to protect the floor.
Separating the materials that will be used in the renovation is a task that must be carried out before starting the work. Likewise, there are other measures that can facilitate the process, such as preparing the work site and checking the furniture's needs.
Tips before you start painting and restoration
According to Helka Velloso, the most important tip for the restoration of wooden furniture is to be patient, since the procedures require calm, caution, and time. Besides this, there are some other precautions that must be taken to guarantee a good job.
First of all, choose a well-lit and well-ventilated place to work. Cover this place with old newspapers or plastic sheeting to avoid dirt and paint splashes. Also, wear gloves and safety goggles so that you don't get hurt during the process.
See_also: Bathroom models: see 40 incredible projects for you to get inspiredAnalyze the piece of furniture. figure out what will have to be done during the remodeling. this task will help to list the materials that will be needed for the work. velloso suggests leaving the piece completely free before starting the remodeling. remove knobs and hinges, for example. "Although it is one of the most difficult and boring tasks, it is in this process that we really get to know a piece of furniture, we realize itsdefects and the parts that need putty or glue and we can admire their details", says the professional.
How to paint and restore wooden furniture - step by step
After preparing the environment and the necessary materials, it is time to start the renovation.
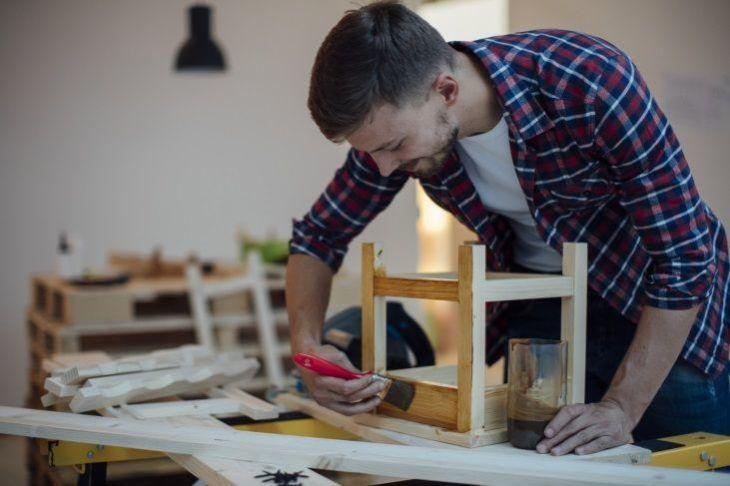
- Remove the accessories: The first step in starting the renovation is to remove all accessories from the furniture. Remove knobs, handles, hinges and other removable parts. This prevents the paint from splashing onto the accessories and the piece can be completely covered in paint.
- Clean the furniture: use damp cloths and flannels to clean dirt that has accumulated over time, making the piece completely ready for painting.
- Repair damaged parts: use wood putty to correct damaged parts, such as holes, chipped surfaces and dents.
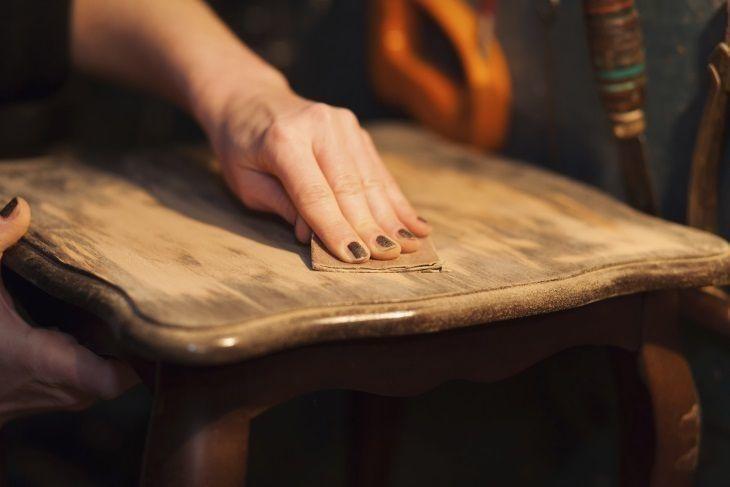
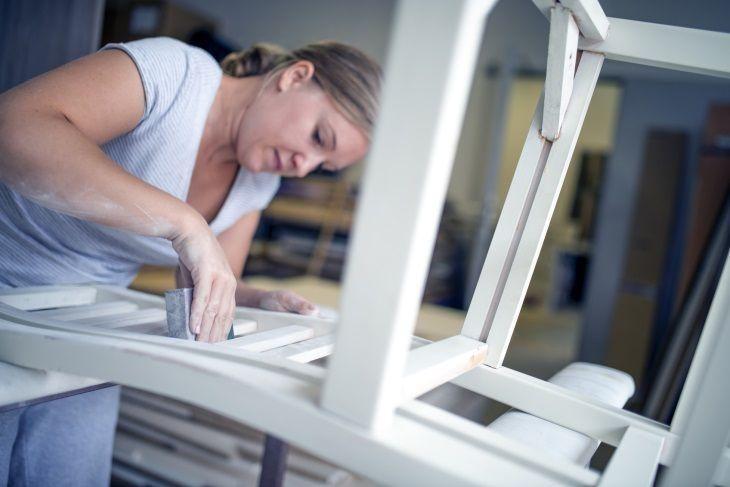
- Sand the furniture: sand the furniture evenly to remove dirt, paint, residue, varnish, and other old coatings. This step will make the new paint adhere more easily.
- Remove residues: After sanding, remove any residue, dust and dirt left on the furniture with a flannel or cloth.
- Paint the furniture: you need to choose the type and color of paint you want to use. with this defined, start painting. use the foam rollers and brushes, making movements in the same direction, in one direction only. wait for it to dry and apply another coat of paint, paying more attention to the details.
- Replace the accessories: After the second coat of paint has dried, put the fixtures back in place using a screwdriver.
After finishing these seven steps, your renovation will be ready. During the process observe the needs of your furniture, notice if more layers of paint or other products will be necessary to fix and finish it, for example.
5 Furniture Makeover Tutorials: Before and After
For inspiration, using it as a base and also as motivation to start your renovation, check out some video tutorials of furniture that has been renovated.
1. customize your furniture
The channel from the Meu Móvel de Madeira (My Wooden Furniture) store teaches you in a quick, practical, and visual way how to restore the desired piece of furniture, giving a new face to an old piece.
2. how to paint a piece of furniture
Karla Amadori teaches how to customize a dresser.
3. how to restore a dressing table
Maddu Magalhães brings shine and personality to a white wooden dressing table by sanding, painting, and customizing it.
4. how to restore a bedside table
Check out how to remodel solid wood bedside tables.
5. how to paint MDF
In this video, we can see the whole renovation process. The owner of the Bottomless Navel blog teaches how to sand, paint, and finish two different pieces of furniture.
In general, restoring antique furniture means saving money, valuing highly durable woods that may no longer exist, preserving the environment, and recognizing the existence of an affective decoration, linked to feelings and memories: "I can't see anything more representative than a piece of wooden furniture inherited by the family living in the house, for example", Helka Velloso points out.