
Table of contents
The heat is coming and summer promises high temperatures, so it is good to be prepared and adopt some measures to cool down on the hottest days. The ceiling fan is among the accessories that can help you face the summer, the option is more economical than air conditioning. Most models also usually offer an auxiliary lamp to illuminate your environment.
Electrician Marcus Vinícius, a specialist in residential installations, reminds us that to guarantee a safe installation, it is necessary to follow the installation step by step in the correct way and use first quality materials.quality during the service, a good insulating tape, good wires, and tools in good condition, will guarantee a safe result, without putting your environment at risk", explains the electrician.
With some simple care, tips from an expert, and care, you can install the ceiling fan in your home. Choose the place, a model that meets your needs, separate the necessary items, and get to work.
How to install a ceiling fan
Are you ready? Have you bought the materials, and the electrical part in good condition? Yes, now you can start your installation.
Essential precautions before starting installation
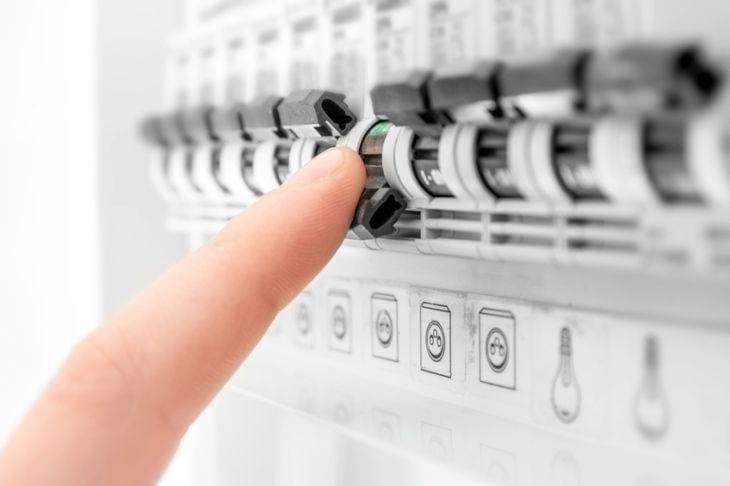
Before starting your installation, remember to cut the general power at the power box. This care can avoid shocks and short circuits. After that, identify the ground, neutral, and phase wires. Marcus Vinícius explains that the color of the wires may not always be correct, the ground wire is usually green, but it is safer to do a test with a multimeter or light bulb.
The ceiling that will receive the fan must support a load of at least 25 kg. A minimum height of 2.3 meters or more must be maintained between the accessory and the floor. Also ensure a safe distance between other chandeliers, walls and furniture.
The electrician warns that "avoid holding the fan only by the wires. Besides the risk of falling, this is not the best way to charge the device, you can damage the wires. The ideal is to use the installation kit and parts from the same manufacturer. It is also important to check that the blades of your fan are well attached to the casing (main part).
Your ceiling fan must be installed close to the fixed wiring. In two-phase connections, you must use the two-pole circuit breaker or any other option that guarantees the fan will turn off.
What you will need
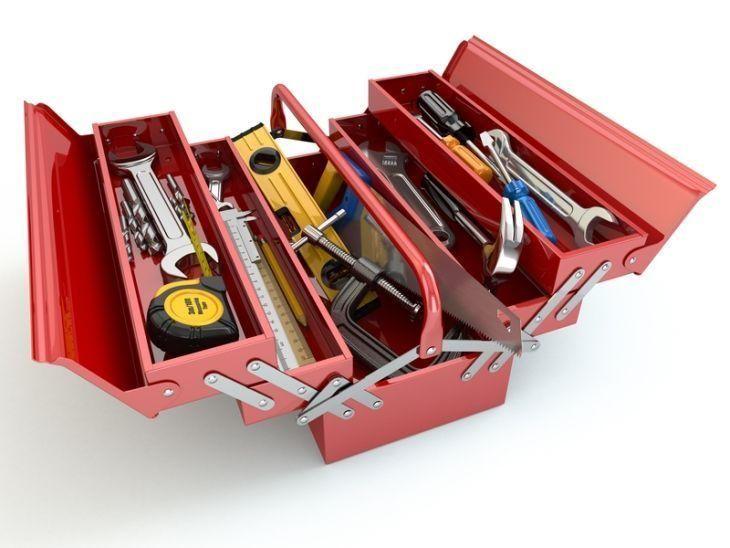
Take out your ceiling fan (already unpacked), wires (buy enough to go from the wall point to the ceiling point) and lamps (when necessary). Tools needed: tape measure, drill, ladder, Philips screwdriver, screwdriver, multimeter, universal pliers and wire stripper, insulating tape, wire stripper, screws and wall plugs.
See_also: 70 Sleeping Beauty cake ideas worthy of a princessStep 1: Preparing the wiring
You will need 5 wires for the connection of the power switch with the fan. There are two for the motor, two for the lamp and a ground wire. If you don't have any wires installed, run an extra wire from the wall to the ceiling, use a grommet to make your job easier. Marcus Vinícius reminds us that the ideal is to check the conditions of your wiring before starting the installation. If everything is in good condition, you can check it out.order, you will have no problems.
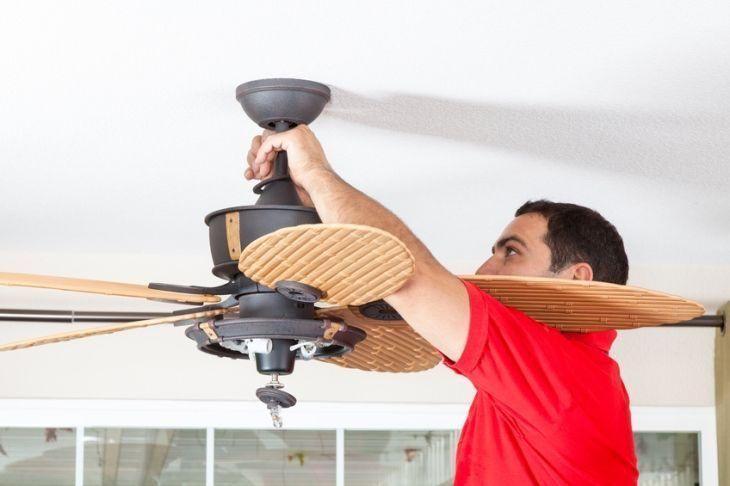
Step 2: Mounting the fan
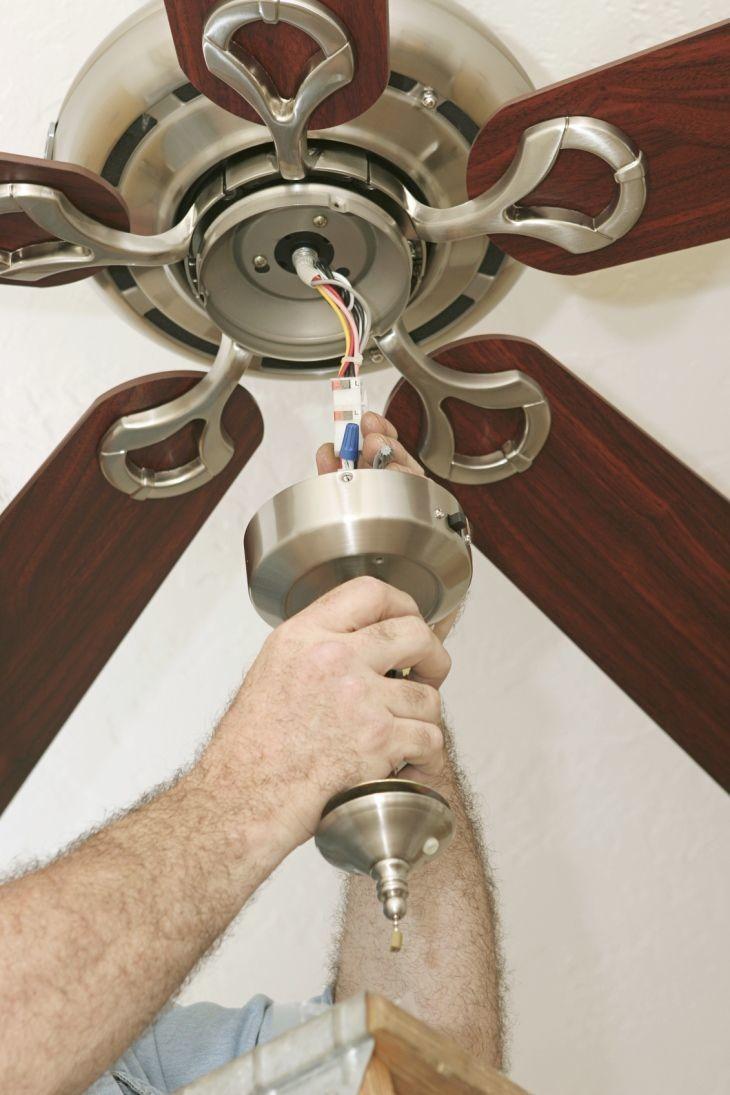
Use the manufacturer's manual to assemble your fan. If you have lamps or a glass chandelier, leave the installation of these items for the end of the whole process.
Step 3: ironing the threads
The fan and chandelier wires must be passed through the small rod sticking out from the base.
Step 4: Fitting the rod
Attach the rod to the motor leaving the larger opening to the wire side. Attach the locking pin. Run the motor and socket wire through the rod. Place the safety pin in the rod.
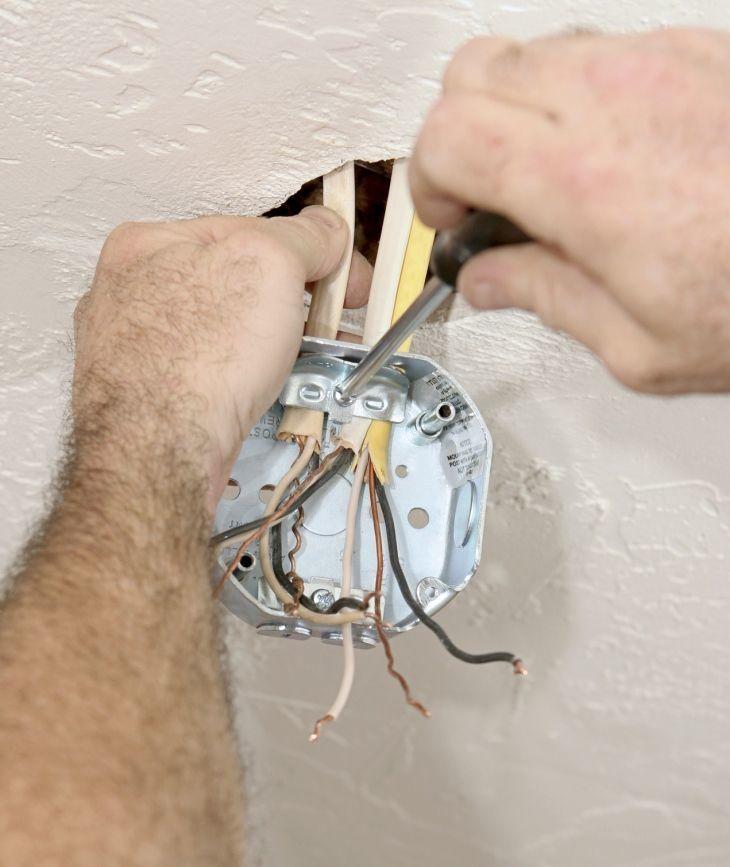
See_also: Hanging Shelf: 55 ideas to inspire your decorationStep 5: fixing the bracket to the ceiling

Using appropriate dowels and screws, drill holes in the ceiling and attach the bracket. Attach the fan to the bracket and check for clearance - the fan cannot be fully attached, you need to ensure movement when the unit is turned on.
Marcus Vinicius explains that it is always safer to attach the fan to the slab, but if you need to install it on a wooden or plaster ceiling, you can count on the help of an auxiliary support, which will hold the fan inside the ceiling. The parts, an auxiliary aluminum duct and the steel support, are sold in construction materials stores.
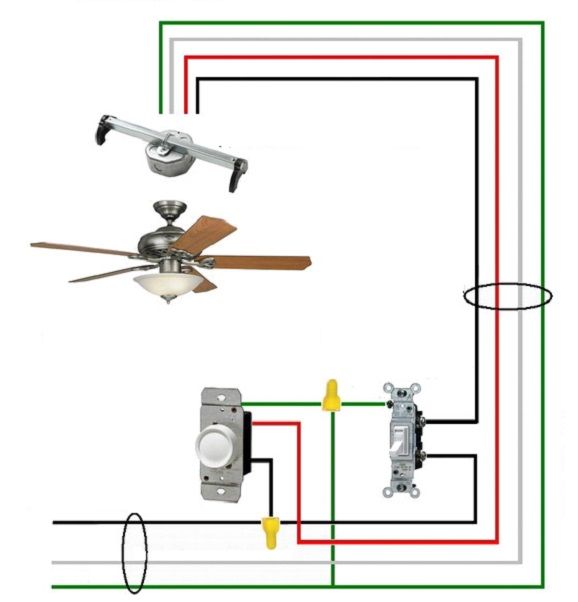
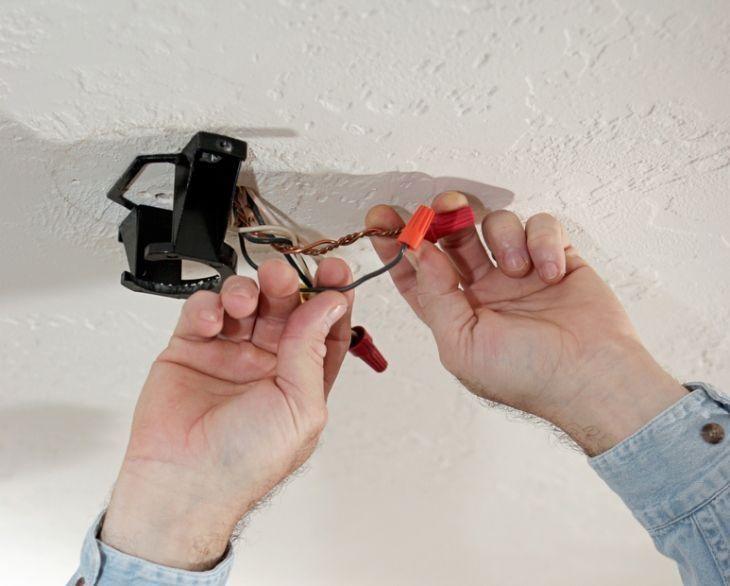
Step 6: Connecting the ceiling wires
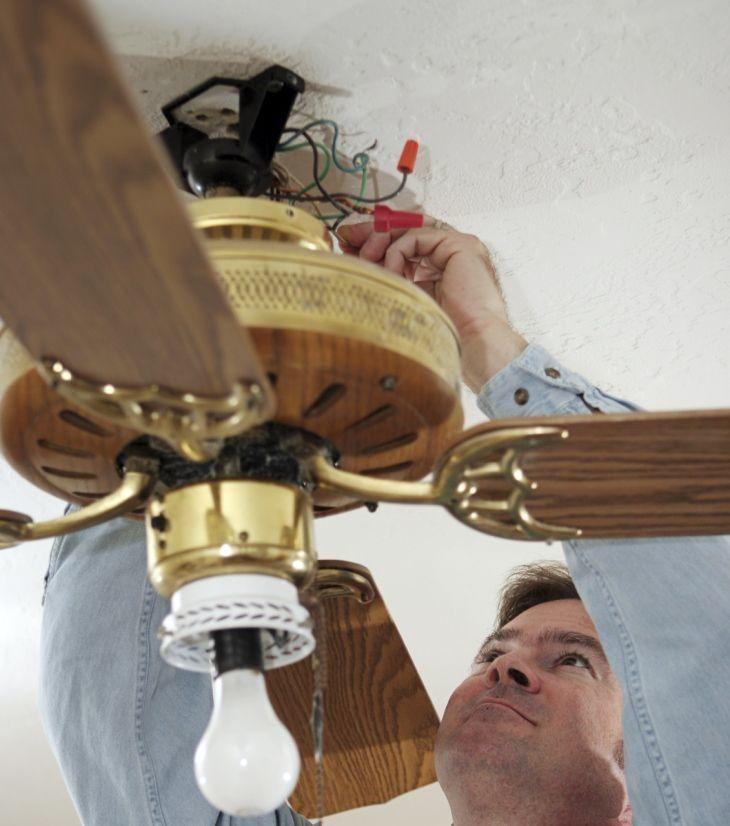
Connect the chandelier phase wire (black) and the motor phase wire (red) to the mains phase (red) - for 127V mains. Connect the lamp return (black) to the control key return (black). Connect the exhaust wire to the motor fan wire (white) to the capacitor. Finish by using insulating tape.
Step 7: Connecting the Wires in the Control Switch
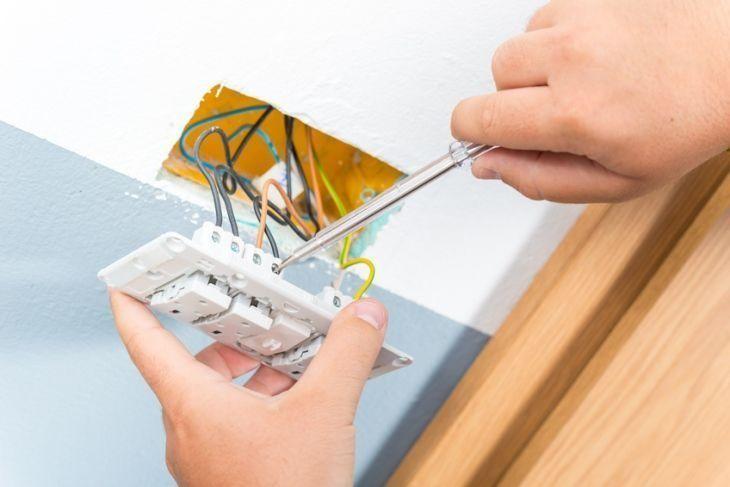
Replace the switch with the control key that comes with the fan. Connect the control key wire to the lamp return (black). Connect the 2 control key wires to the motor wires (white). Connect the power wire (red) to the mains. Insulate the other wire (black).
Step 8: Finalization
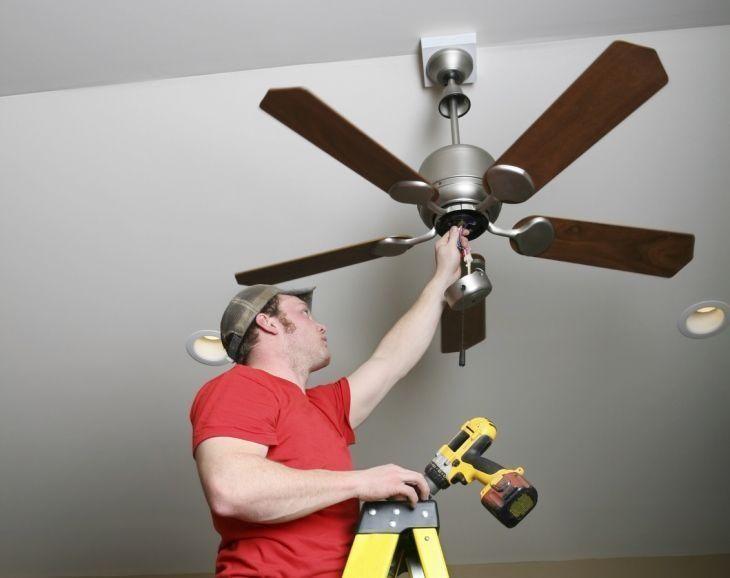
Place the lamps and fit the chandelier. With the help of a tape measure, measure the distance of each blade from the ceiling. If any are uneven, move them on the motor base until they are level. Check that the screws are tight and in good condition.
If at any time, the ceiling fan stops working, you must turn it off with the switch and consult the nearest technical assistance responsible for the product warranty.
10 ceiling fans you can buy without leaving home
If you were excited by the explanations and want to buy a ceiling fan, check out good options to buy online:
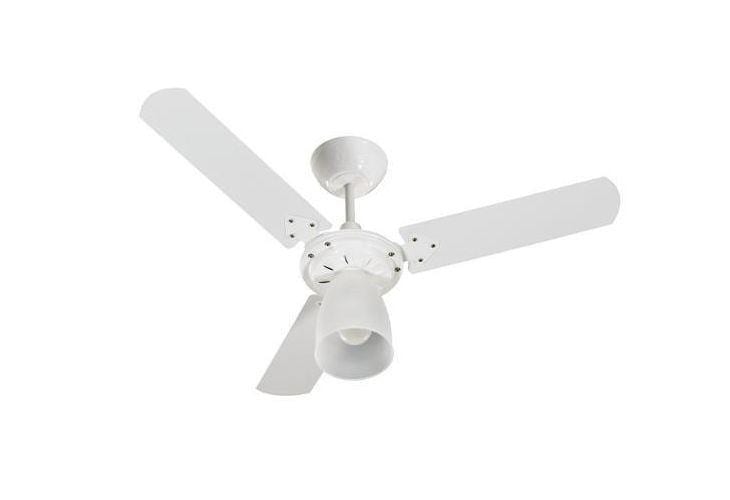
1. Ventisol Wind Ceiling Fan White 3 Speeds Super Economical
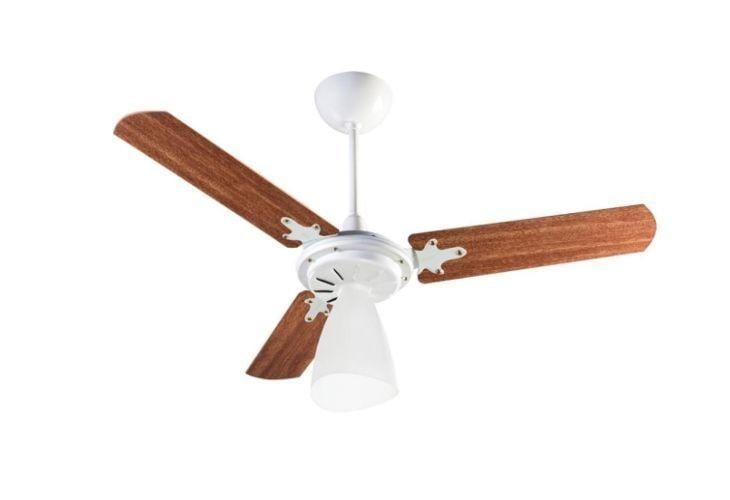
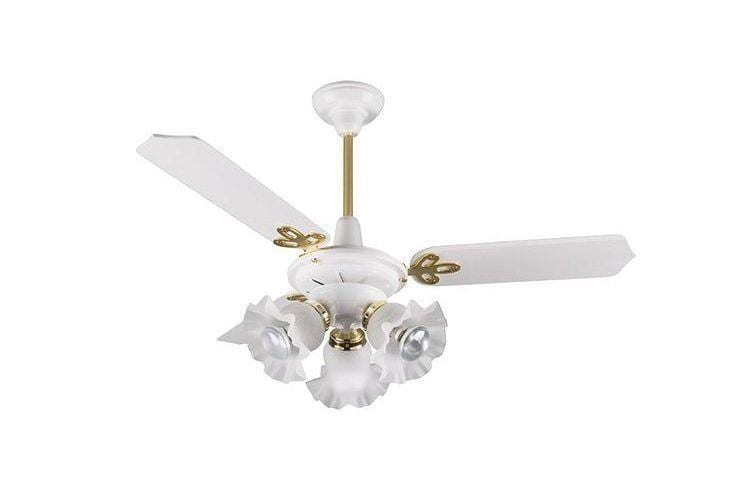
2. wind ventilator Ventisol Light v3 Premium White/Mahogany 3 speeds - 110V or 220V
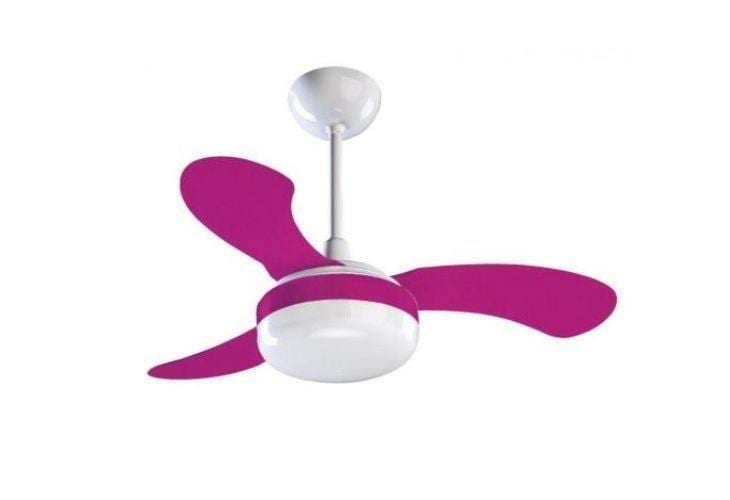
3 - Ventisol Petit Ceiling Fan 3 Blades - 3 Speeds Pink
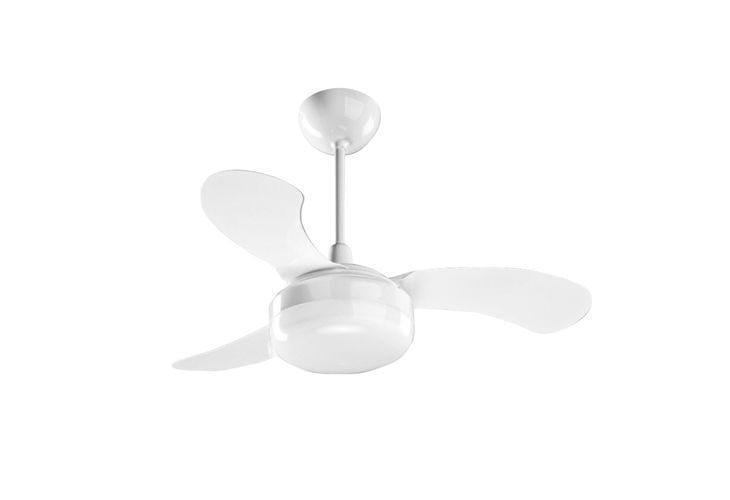
4. ventisol ceiling fan Petit White 3 blades 250V (220V)
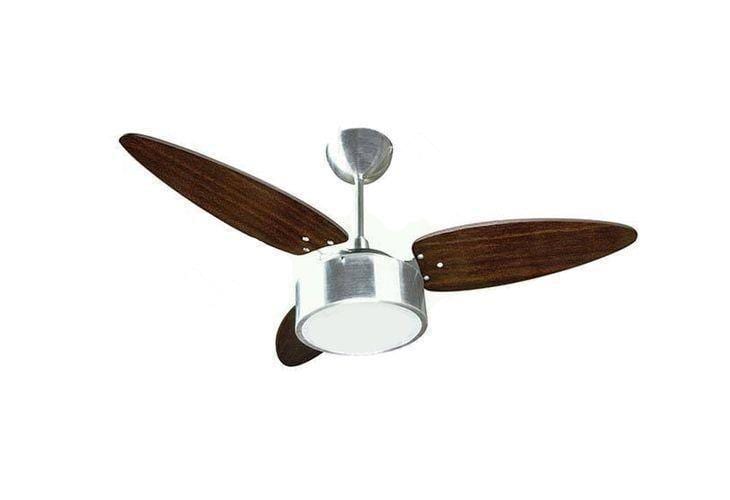
5. ventisol ceiling fan Fharo Tabaco 3 blades 127V (110V)
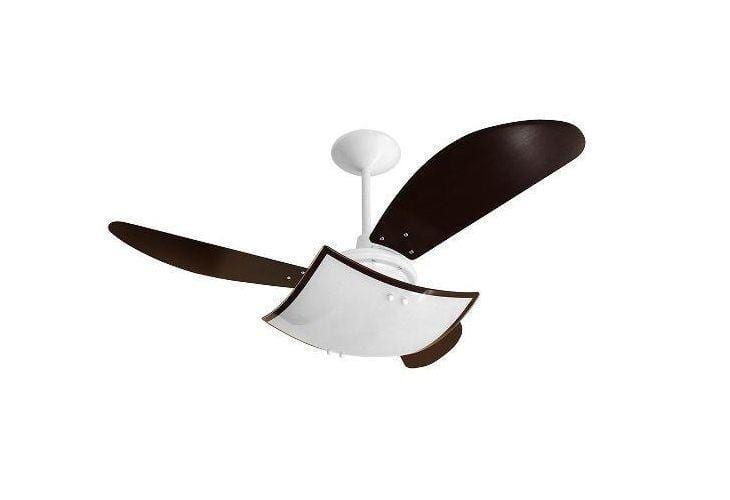
6. Tron Marbella Ceiling Fan with 3 Speeds, Lustre and Exhaust Function - White
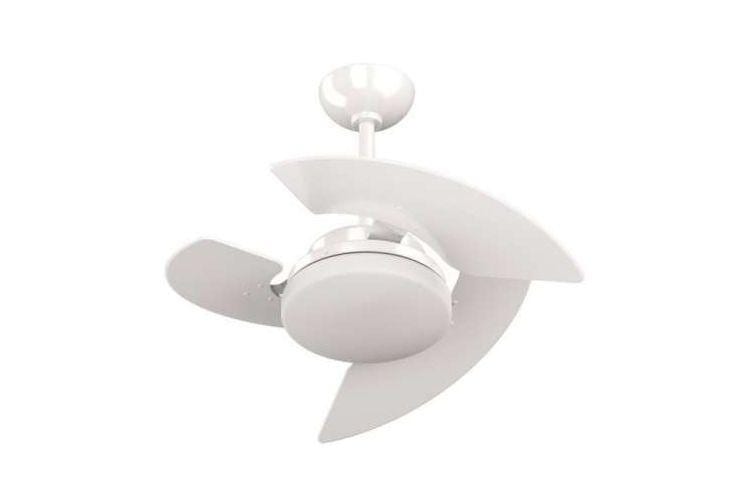
7. ceiling Fan Arge Majestic Topazio White 3 blades Double Sided 130w
8. venti-delta ceiling fan Smart White 3 speeds 110v
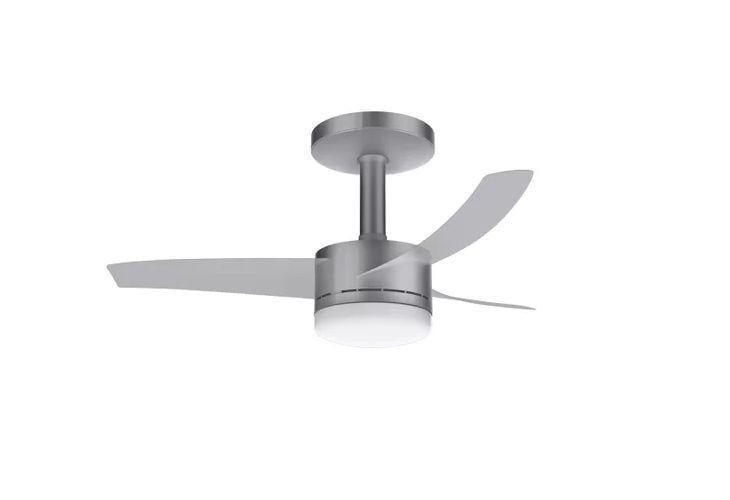
Arno Ultimate Silver Ceiling Fan - VX12
10. 3 blade Aventador Fan CLM White 127v
With professional instructions, you can be sure to assemble the ceiling fan the right way. The tools needed are simple and you probably have them all at home. Ensure your safety, always, by turning off the power to do the work and good assembly!