Table of contents
Changes in decoration do not always mean absurd expenses, because the transformation of an environment depends not only on the choice of materials that will be used, but also on the knowledge of simple and easy "do-it-yourself" techniques.
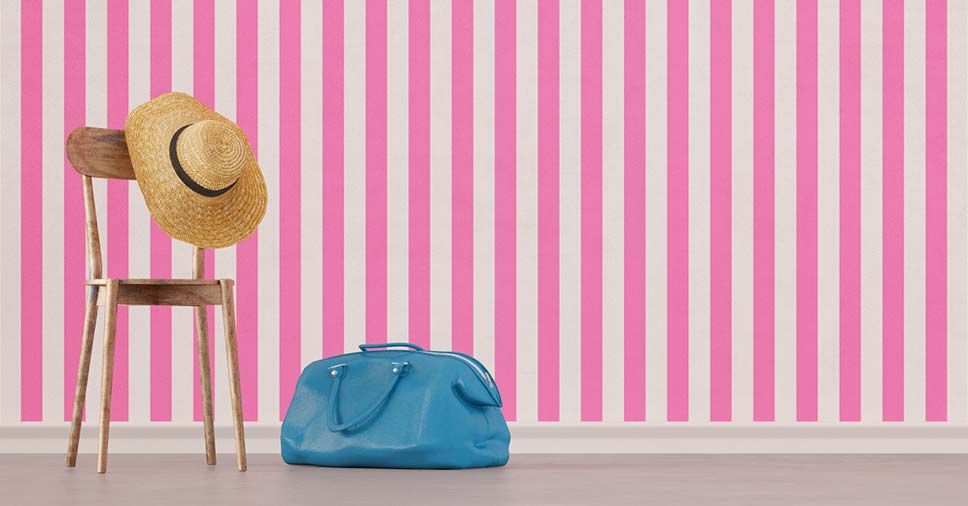
Painting stripes on the wall emerges as a more economical option when compared to wallpapers with the same or similar prints, and is an alternative that adds fun and sophistication to spaces in which the rethinking of the decoration is welcome.
The inspiration for this tutorial was originally presented by the Nur noch website.
Materials required
- Two colors of wall paint;
- Ruler and pencil for marking;
- Tape;
- Foam roller (medium and small);
- Small brush.
Step 1: Background
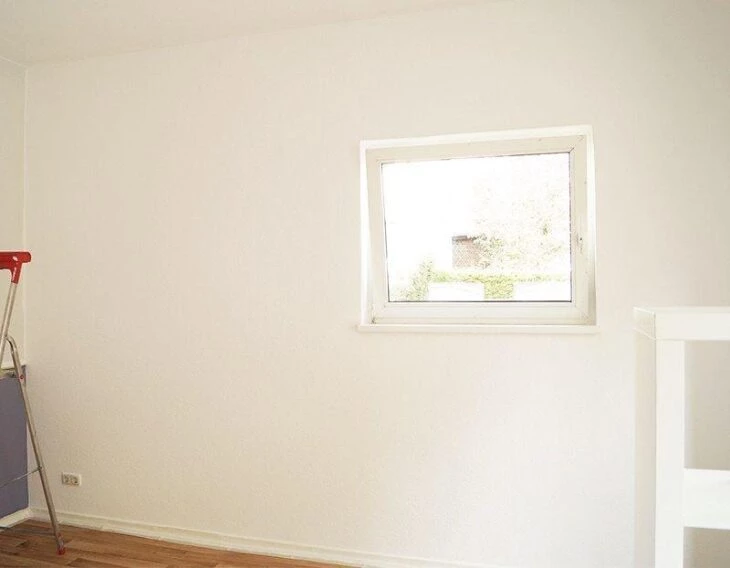
Choose two colors for the stripes on the wall. With only one of them paint the wall completely using the medium foam roller, as if it were a background. This will be your first stripe color.
See_also: Kids' Party Theme: 25 Ideas to Celebrate in Style
Step 2: Marking the stripes
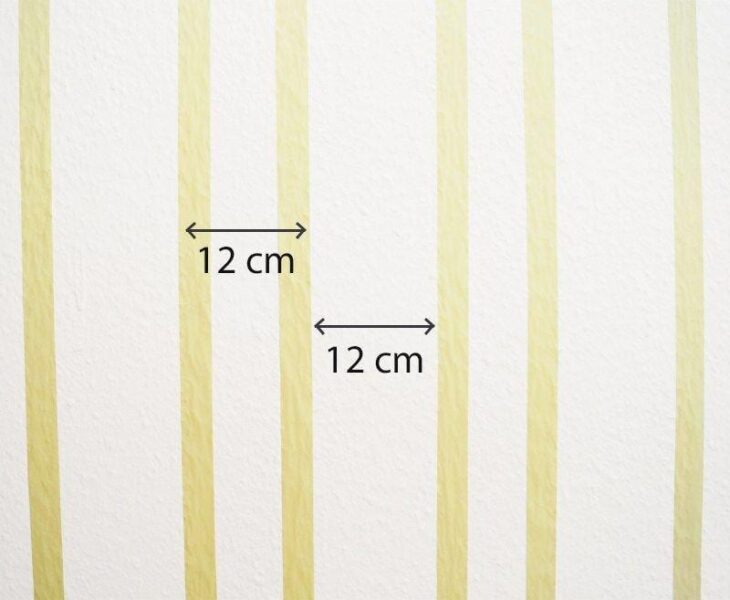
Check the size of your wall and calculate the width and number of stripes you want. Mark first with a ruler and pencil, only pass the tape when you are sure of the measurements. In the example, 12 centimeter wide stripes were chosen.

Step 3: painting with the second color
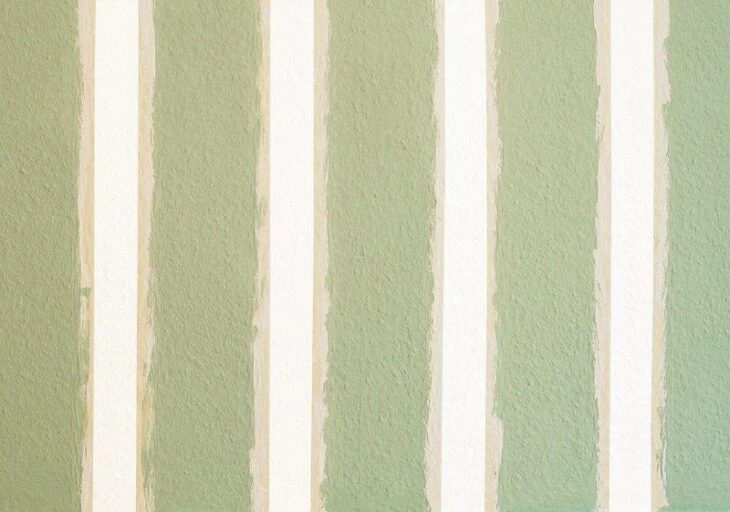
For perfectly finished stripes, before starting to paint with the second color, paint the edges of the marked stripes with the same color as the background again with the small brush, this will seal any imperfections in the tape. After drying, paint the stripes with the chosen second color using the small foam roller.

Remove the adhesive tapes when the paint is not yet completely dry, this will prevent damage to the paint, such as peeling parts.
Remember that: horizontal stripes enlarge the environment, while vertical ones cause the sensation of amplifying the height of the spaces where they are applied. Do it yourself!
See_also: Men's room pictures: 40 ideas for decorating


