
Table of contents
If you are going to remodel or paint your house, you must pay attention to an important step in this process: the application of paste on the walls. It is the paste that guarantees a smooth wall, without holes or irregularities, and ready to receive the paint.
First of all, it is necessary to know the difference between the different types of fillers and, thus, choose the most suitable for you. Acrylic filler has greater durability and is water resistant, therefore it is indicated for external areas and humid environments, such as kitchens and bathrooms. Easy to apply, this type of filler has a good filling power, so it can be used to cover several typesOn the other hand, PVA, also known as putty, is not resistant to humidity, so it is indicated for internal and dry areas, such as living rooms and bedrooms.
Do you have a wall in your house that needs a makeover? Don't be afraid to do it all yourself. At first it may seem complicated, but wallpapering is something you can do yourself, even if you are not an expert in the subject.
How to put up a wall
Even if you have never plastered a wall before, it is possible to do it yourself and achieve the desired result.
See_also: Country house: 85 projects from rustic to modern to inspire you
Before you start, it is important to be aware of some basic instructions.
See_also: Minnie's Cake: 95 beautiful ideas and tutorials to perfect the cutenessWhenever you do any renovation at home, remember that safety is indispensable. In this case, don't forget to protect your hair, eyes, hands, and body. The ideal is to wear closed clothing, a cap, gloves, and goggles.
Don't forget to calculate the right amount of product, both to avoid waste and so that you don't have to go out in the middle of the job to buy more. To do this, it is best to follow the manufacturer's instructions. If this is not possible, talk to a specialist or someone with more experience, or ask the salesperson at the store. But remember that the amount will depend on the wayof application, the condition of the wall, and the result you want to achieve.
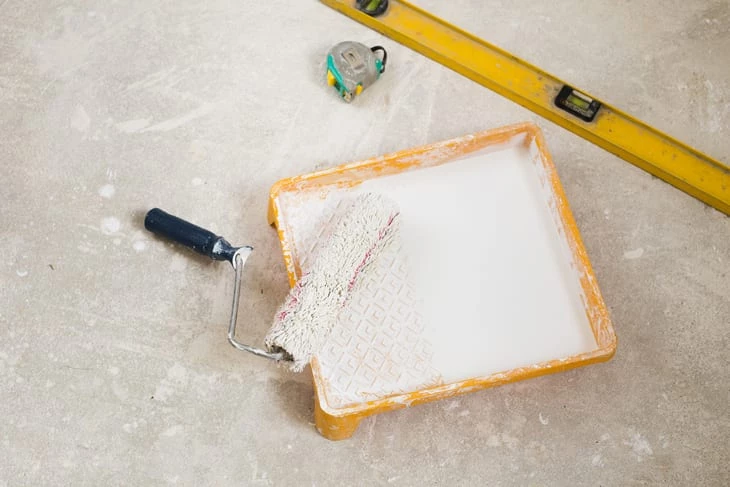
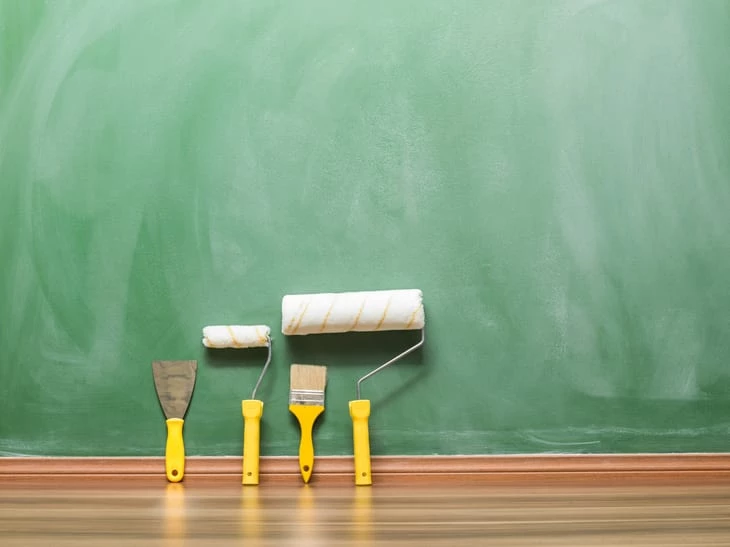
Materials required
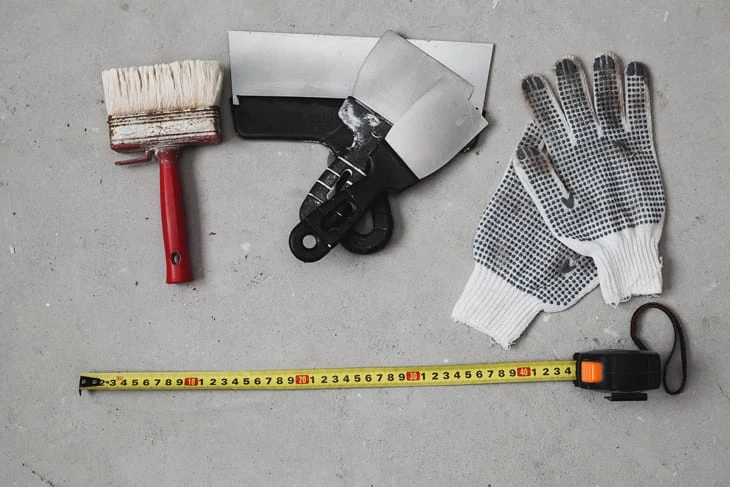
To putty the wall, in addition to the putty, you will need:
- - Sealer;
- - Wallpaper;
- - Steel trowel;
- - Spatula;
- - Roll of wool;
- - Brush;
- - Eye protection mask;
- - Cap;
- - Gloves.
Step 1: Secure furniture and objects
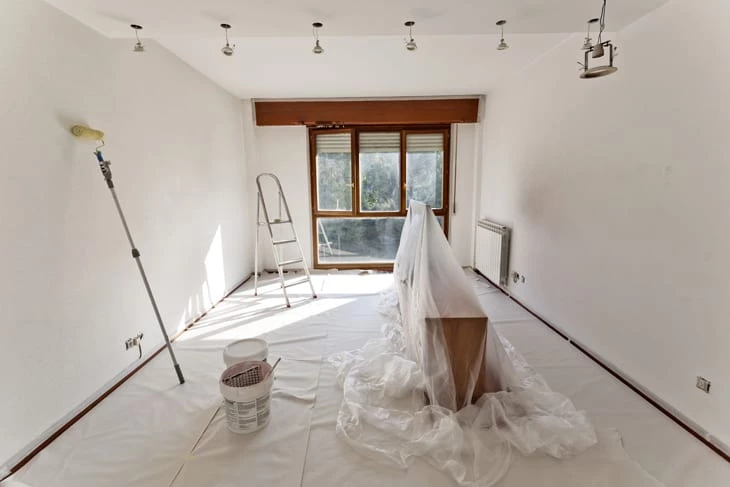
Any kind of renovation is messy, dirty and can damage furniture and materials in the room. Remember to remove all furniture and objects from the room where you are going to do the procedure. If some furniture cannot be removed, as is the case of built-in cabinets, cover them with cardboard, plastic or some very thick fabric. This will prevent them from being damaged.scratched or damaged during the work.
Step 2: Cover the floor

After removing all the furniture, it may seem that there is nothing left to protect, right? Wrong! The floor can also be damaged during construction and, because of that, it also needs protection.cleaning the room when you're done.
Step 3: Prepare the wall
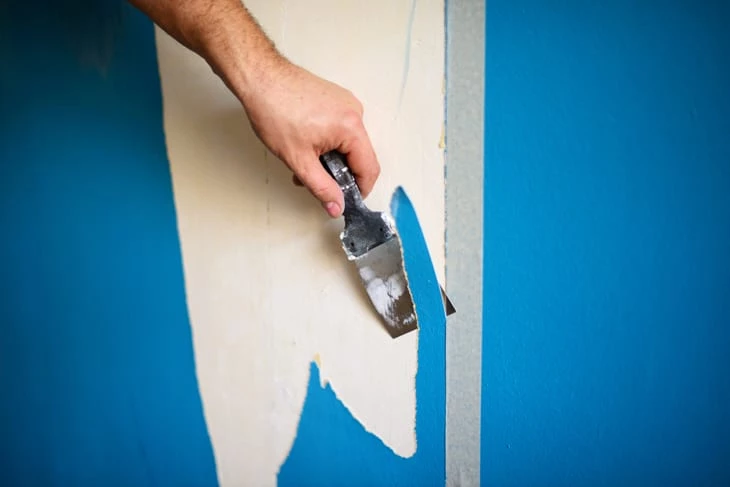
Before receiving the paste, the wall must be free of holes, mold, dirt or humidity. To do this, first sand the entire surface, trying to make it uniform and leaving it with a smooth texture. Depending on the state of the wall, it may be necessary to use a spatula to remove the remains of plaster. Then, with the help of a soft broom, remove the dust from the wall. This will guarantee an effecthomogeneous and facilitate the application of the sealer and, consequently, of the putty.
Step 4: Apply the wall sealer
Now is the time to apply the sealing emulsion, which will seal the wall, fill the pores, and help fix the paste. But don't forget: before applying it, it is necessary to dilute the product. To do so, pay attention to the manufacturer's instructions contained in the can.
With the wall already sanded and clean, and the product diluted, apply the sealer with the help of a wool roller or brush and let it dry according to the time indicated by the manufacturer. Usually, the wall will be dry and ready to receive the paste after a period of 1 to 4 hours.
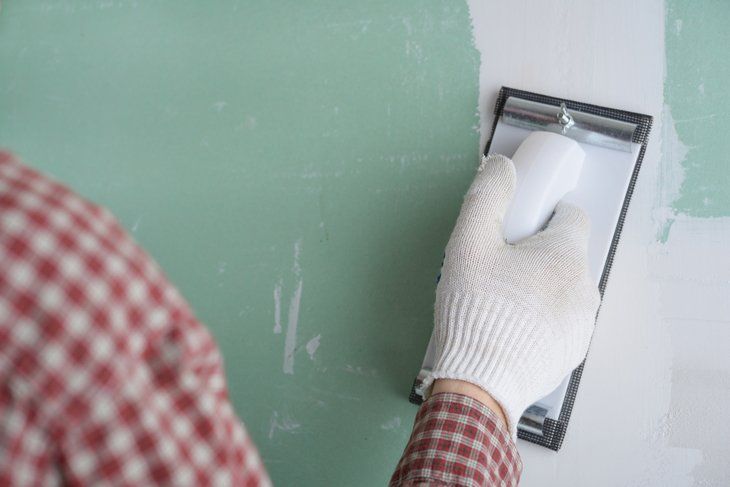
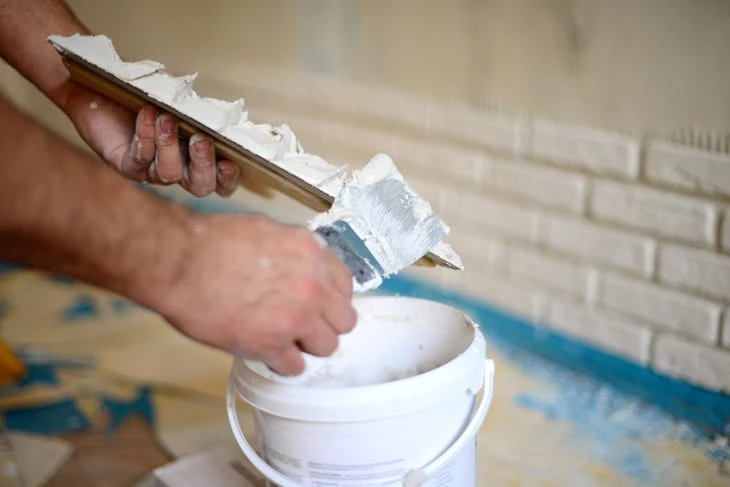
Step 5: Apply the 1st coat
After waiting for the sealer to dry, it is finally time to apply the putty. To do this, use a spatula and a flat steel trowel. Before you begin, remember not to mix the putty, because the more you stir, the easier it will be to create bubbles, which could end up marking the wall and ruining the smooth, uniform effect you desire. Carefully remove the putty from the can with theThen, apply it to the wall with the help of the trowel, trying not to leave holes or create bubbles in the product.
To avoid waste, the ideal is to apply the paste in bottom-up movements. This prevents the excess product from falling on the floor. Start by applying it in the corners of the wall, in horizontal or vertical movements, and then move away from them until the entire surface is covered.
A tip is to cover small areas, 2m X 2m for example, wait for the putty to dry for about 3 minutes, pass the trowel to remove the excess, and then continue to putty the rest of the wall, repeating this same process.
Step 6: Apply the 2nd coat
To achieve a better result, you will need to apply at least two coats of putty. The first coat will repair the main irregularities, while the second will correct possible unevenness and remove excess putty.
Before applying the second coat, you must wait for the first coat to dry completely. It usually takes about 12 to 24 hours, depending on the environment. But to know the exact waiting time, observe the manufacturer's instructions indicated on the can.
When the wall is completely dry, apply the second coat of paste in the same way as the first, trying to correct any imperfections that remain and to even out any possible unevenness.
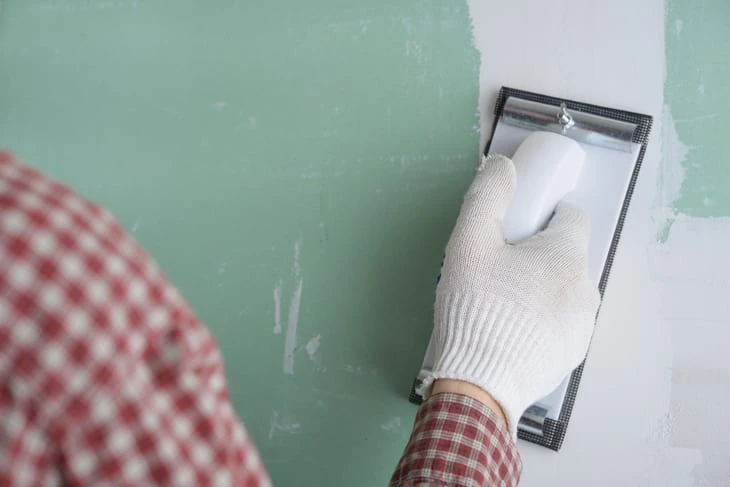
Step 7: Finalization
After you finish sanding, wait for it to dry completely and then sand once more. This step will remove any possible bubbles and guarantee a smooth surface. The ideal is to use 180 or 200 sandpaper. After sanding, wipe the entire wall with a soft broom to remove the dust and you're done! Your wall is properly sanded and ready to be painted!
After following this step-by-step, it is now easy to put up a wall by yourself. Now you just have to choose which wall you want to modify, buy the material, and leave it brand new.