Table of contents
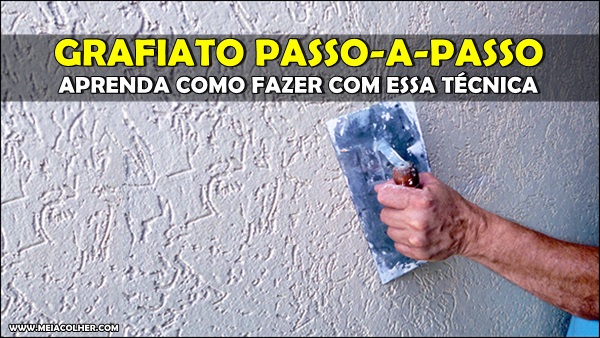
Considered an artistic technique for decorating and correcting walls and paintings, graffiti is a wall texture with a groove effect that provides a rustic, elegant appearance. With variable weights, the thicker ones form deeper, striking-looking scratches, and the thinner ones leave more subtle, smooth scratches.
Used as a finish on indoor and outdoor walls, indoors this texture demands moderation, with application only on some or part of them, while it is more common in outdoor areas, on walls or facade walls, protecting against infiltration and humidity.
See_also: Embroidered Dishcloth: 90 beautiful designs to inspire and tutorialsThe graffiti paste is found in construction materials stores, in various colors or white - so that specific colors can be applied later, and is one of the cheapest finishes on the market due to the possibility of DIY application.
How to do graffiti on the wall
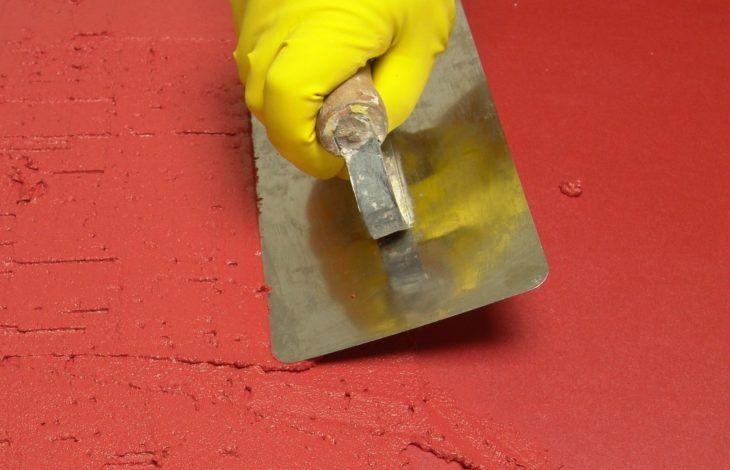
The renovation of an environment does not always require major renovation and the application of texture on walls is a great solution. Below are guidelines for the preparation of the surface and the correct choice of tools for the decorative effect of graffiti.
Materials required
To make the texture at home, you will need:
- Crepe tape;
- Plastic or canvas for floor protection;
- Spatula;
- Bucket;
- Stirrer;
- Easy scratching tool;
- Acrylic primer;
- Brush or paint roller;
- Putty for graffiti;
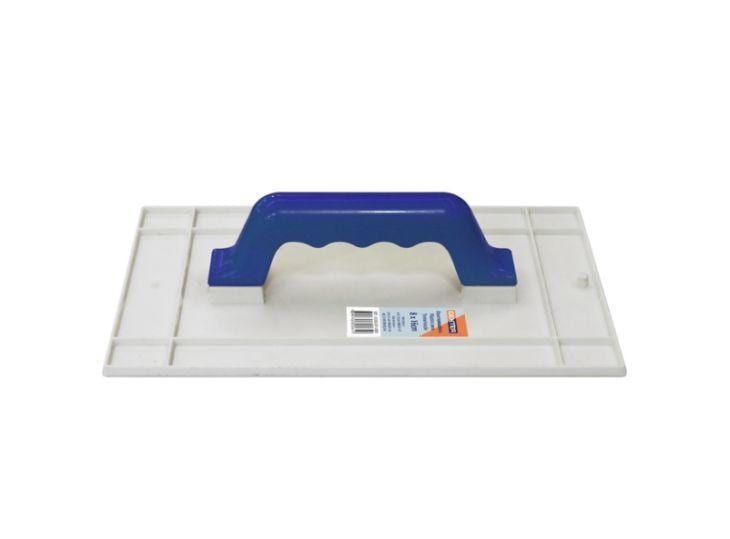
- Plastic trowel.
Step by step to make graffiti

We talked to contractor Dalcio Vieira Leite to find out exactly what steps are necessary to perform graffiti on the walls:
Step 1 : protect plaster moldings and baseboards with crepe tape, as well as floors and sidewalls with plastic or padding.
Step 2 The contractor Dalcio Vieira Leite recommends: "check for loose flaking paint and scrape it off with a spatula, as well as correct cracks and fissures before applying the graffiti paste".
Step 3 : so that no traces of dirt remain that could harm the application of the paste it is important to "clean the wall of dust, oil, or any other type of problem it may have", adds Dalcio.
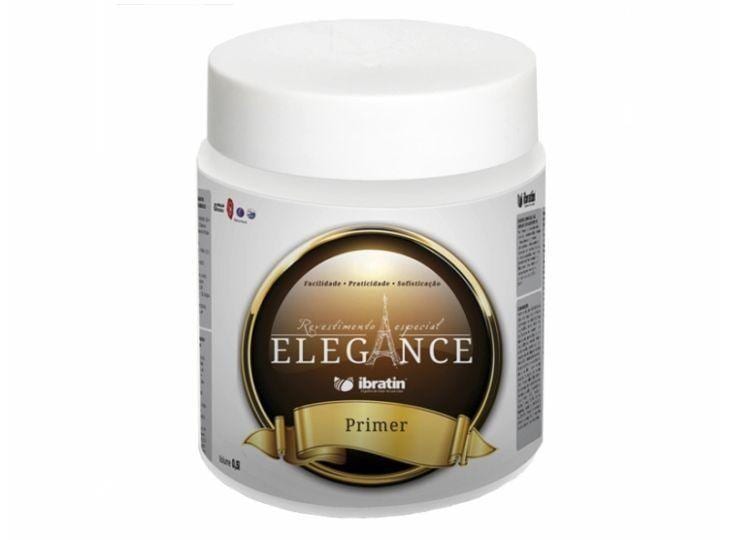
Step 4 : in a bucket or paint tray, dilute the acrylic primer with about 5 to 10% water and stir until it becomes a homogeneous mixture. Apply it with a brush or wool roller and wait 4 to 6 hours for it to dry.
Step 5 : in the bucket, dilute the paste for graffiti with 5 to 10% water and obey the proportion in case you use more than one paste package.
Step 6 Start the application of the paste on the wall in a uniform manner and maintain the thickness.
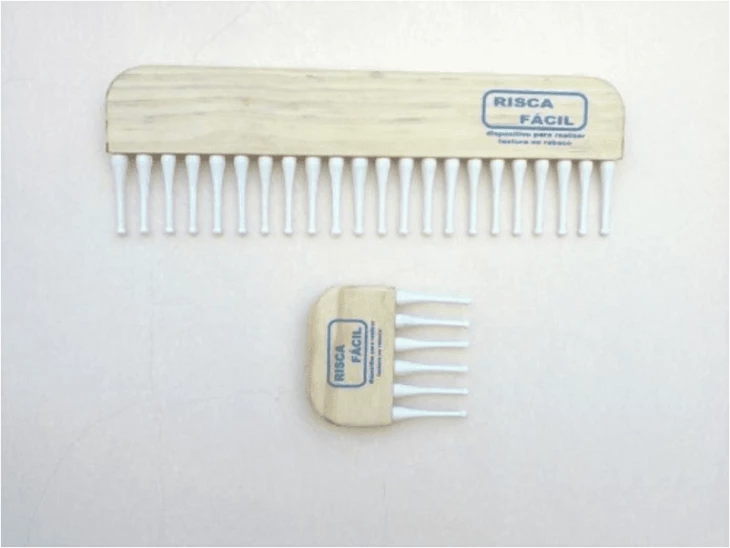
Step 7 : on the applied paste, pass the easy scratch tool, which consists of a kind of comb, from top to bottom, always maintaining the direction.
Step 8 : after combing, the wall will have a rough appearance and the excess paste will be removed with a straight edge, slid vertically and in the same direction as the comb was used.
Step 9 Wait 24 to 48 hours for the dough to dry completely.
Buy online the materials to make graffiti at home
Find in online stores the tools you need to apply the decorative effect of graffiti yourself.
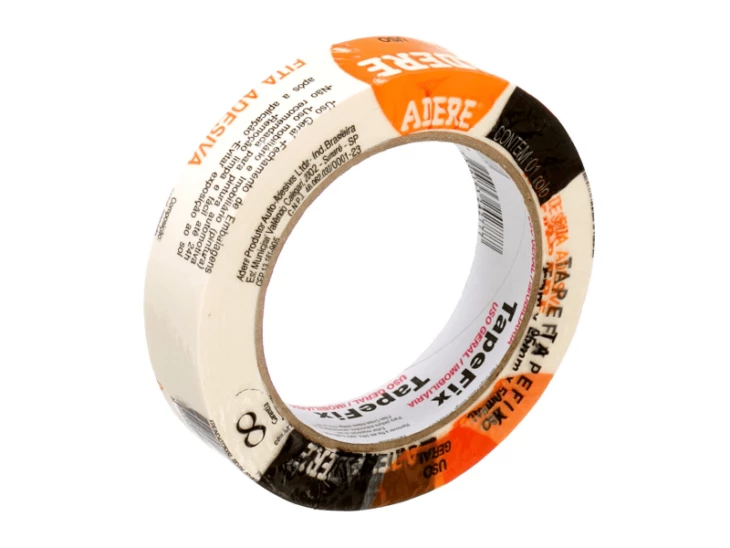
1. 25mm x 50m white crepe tape Adere
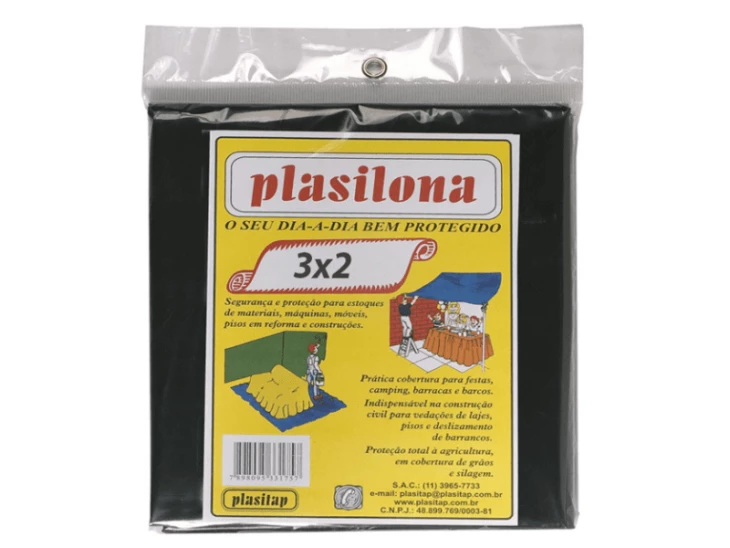
2. 3x3m Plastic Tarp Black Plasitap
3. 10cm Smooth Plastic Spatula Dexter

4. 12L Plastic Concrete Bucket Nove54
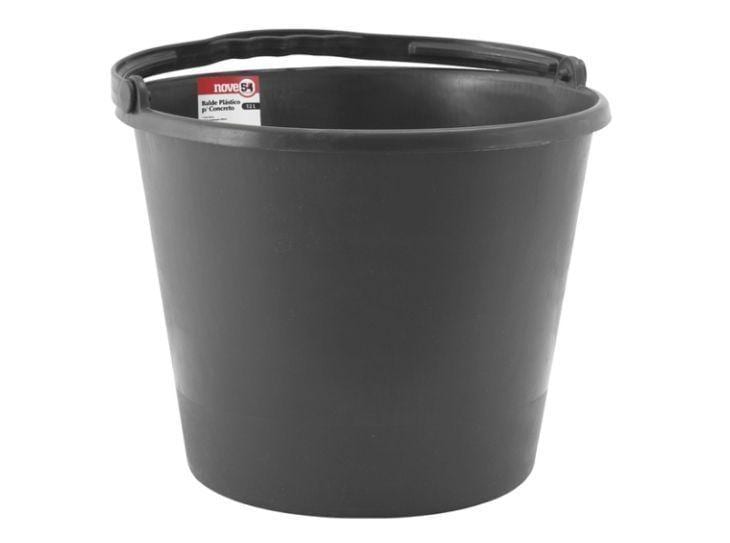
5. tiger paint stirrer
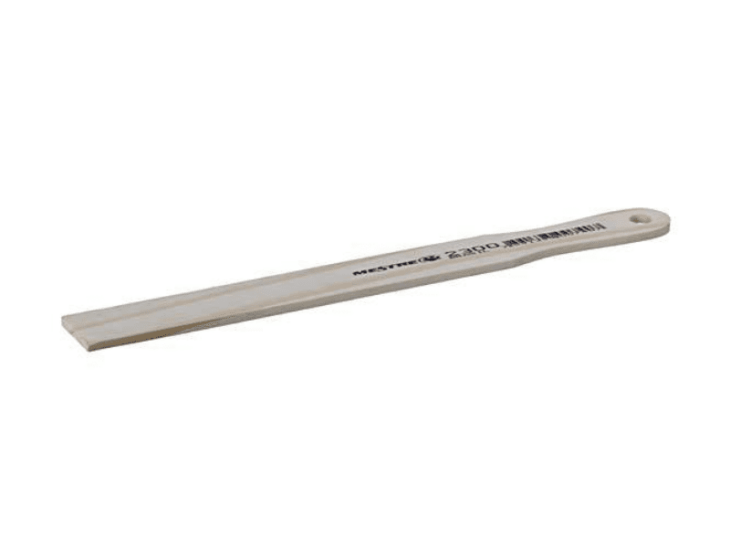
6. scratching machine Graffitiato Risca Fácil
7. 0,5L Ibratin Sealer Primer Acrylic Elegance White
8. 3" Simple 500 Wall Brush Tigre

9. anti-scratch roller 23cm 1376 Tigre

10. 6 kg Hydronorth Premium Graffiato Straw Texture

11. 16x8cm Dexter Plastic Trowel for Graffiti
Styling and composing decorations, graffiti presents versatility of application, adding personality to the most varied environments. As for cleaning and maintenance, its paste is composed of washable properties, and contractor Dalcio Vieira Leite recommends the use of new, soft brooms for the conservation procedure.
See_also: Types of wood: how to choose right for your home
