
Table of contents
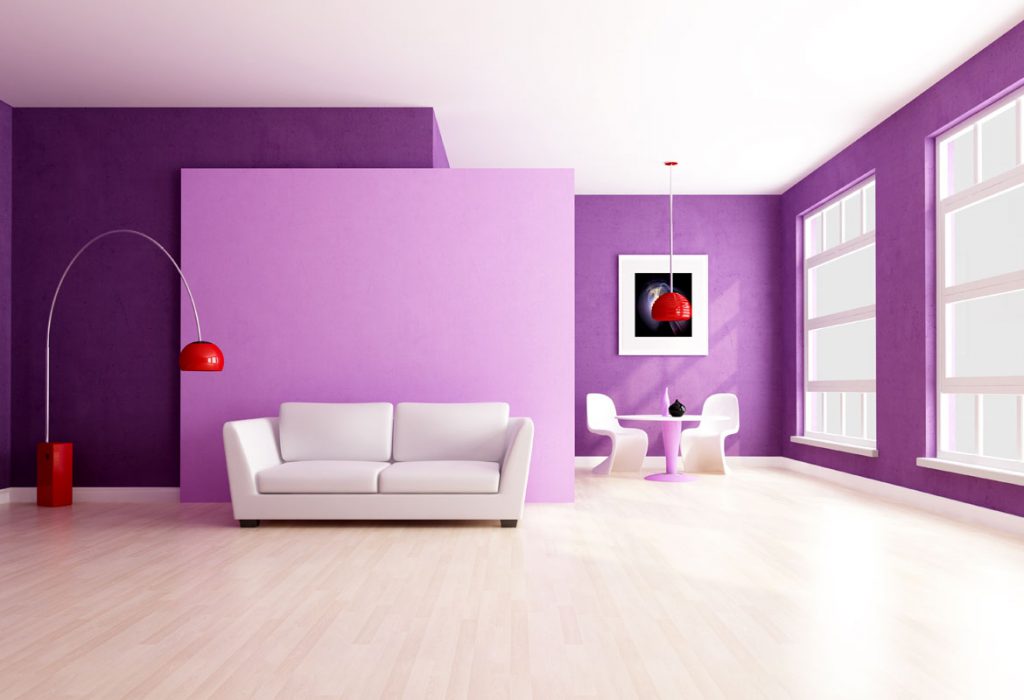
The term "DIY" or "do it yourself" is becoming more and more widespread on the internet, mostly due to tutorials on decoration and design. More than decoration objects, it is possible today to do amazing things inside your own home. For residents who have no interest in hiring specialized professionals for renovations, it is very possibleBringing style and personality to the home by spending little and developing skills that are often untapped. Painting the house yourself is one such case: with proper attention, it is possible to make a harmonious and professional painting.
According to Fernanda Souza Santos, professor of the Pitágoras School of Architecture in Belo Horizonte and specialist in strategic project management, after defining the color and the intention intended for each room of the house, the painting part is not such a difficult task, "taking the necessary care and paying attention to all the stages, it is possible to do an excellent job",points out the architect.
By following the exclusive tips from Nara Boari, marketing manager for Suvinil, a renowned paint brand that has been in the market since the 1960s, it is possible to create a new environment without necessarily having to rely on professional labor.
See_also: How to sharpen nail pliers: quick and practical tips to do at home12 tricks to paint your house like a professional
It is possible to do a painting job without necessarily hiring a team, but it is necessary to keep in mind that there are steps that need to be followed and that tips and tricks are important when doing something never done before.
- For masonry surfaces indoors, use acrylic paints with good washability;
- In external environments, opt for paints with hydrophilic characteristics, which make cleaning easier;
- Allow 4 hours between applying one coat and the next;
- Mix only the amount of water and paint that will be used on the day;
- Use a low-pile wool roller, it gives the surface a smoother finish;
- Observe the guidelines described on the label of the paint package, as they may change according to the type of surface;
- Apply a varnish or an enamel to wood surfaces, the varnish is a product that tints the wood leaving its veins showing, while the enamel paints the surface without letting the veins show;
- The procedure for painting the floor varies according to the type of surface, on ceramic floors the tip is to apply an epoxy primer with a roller to create an adherent base before receiving the acrylic paint;
- For painting on bricks, roofs or stones it is important to clean all dust and other residues for the application to be effective;
- On varnished surfaces it is necessary to use sandpaper until the shine is completely removed;
- Metal surfaces, such as gates and windows, can be painted with enamels;
- To make the painting last longer, waterproofing products must be applied, which prevent water infiltrations in the walls.
The architect Fernanda Souza also brings some relevant information when it comes to house painting: "To know how much paint is needed you need to calculate the area to be painted, for this you must measure the wall and multiply by the height of the right foot, then multiply this by the total number of coats, usually two or three.
See_also: Wooden Rack: 75 inspirations to warm up your decorationAnother tip is to buy 1/4 gallon of the chosen paint and test it on a small area: "The color of the paint on the wall may be different from the color in the catalog," he adds.
Materials required for painting 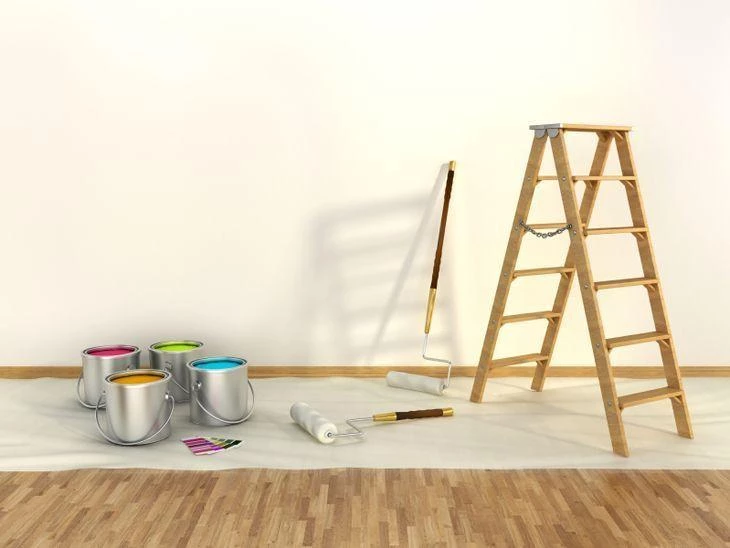
There are different materials for different stages of painting, from the preparation to the painting itself.
Paint Preparation
- Ladder: it is necessary to have a ladder on hand to reach higher points in the rooms;
- Spatulas: to remove loose parts and protrusions from the wall that is to be painted;
- Damp cloth: The cloth is used to remove dust from the wall after sanding;
- Crepe tape: to protect stops and baseboards and to fix tarpaulins and cardboard to the floor;
- Screwdriver: The screwdriver is needed to remove the switches, which is very important for the paint finish;
- Gloves: rubber gloves serve to protect the hands from paint and other products used in painting;
- Canvas: it is necessary to protect the furniture and the floor when preparing the paint.
It is important to keep in mind that the temperature interferes directly in the result of the painting: "If the weather is too humid it will be harder to dry, and if it is too hot, the paint may not spread well", points out architect Fernanda.
Painting
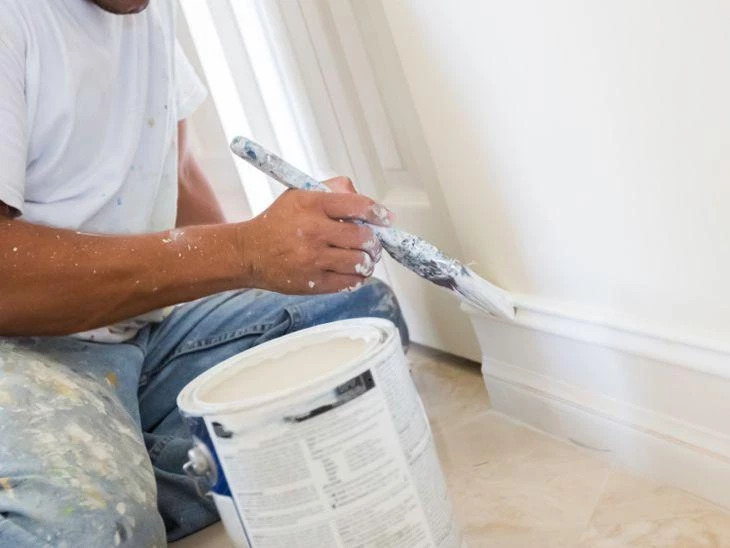
- Brush: The brush is useful for making paint cut-outs, in places that are harder to reach such as baseboards, corners, joints, and moulding cut-outs;
- Paint roller: The roller is used to paint large spaces, such as entire walls and ceilings;
- Roll extender: for painting higher areas;
- Safety goggles: Just as gloves protect during preparation, glasses are very important when painting;
- Container for diluting the paint: A bucket or some other place can be used to dilute the paint;
- Paint tray; The tray is the place where the diluted paint is placed for the roller to get wet;
- Can opener: It may seem strange, but when it comes to painting any environment it is necessary to open the can of paint.
Step by step to paint the house yourself
It is always necessary to take all possible care when performing interventions of great impact inside the house. As simple as it may seem to paint a wall, there are tips and instructions that are essential for the result to come out as expected and for the painting to be done in the correct manner. Following the step-by-step below elaborated from the tips of the professionals, the painting donewithout the help of an expert may even exceed all expectations.
- Sand the wall before you start painting;
- Remove any remaining dust with a damp cloth;
- Use putty to fill in holes and fix possible imperfections;
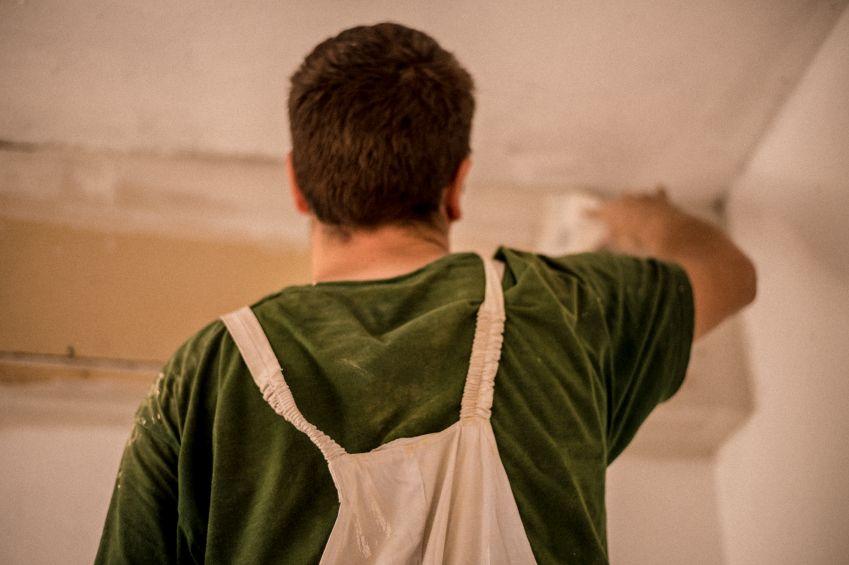
- Start with the ceiling if you are going to paint it too;
- Paint the wall all at once so that it does not get marked;
- Finish small corners and spaces with a brush;
- Wait the time determined by the paint manufacturer for the next coat;
- Do two or three coats for best results
Cleaning
Dealing with the dirt left in the house may seem like an even more stressful job than the painting itself, but the tips below, revealed by Nara and Fernanda, make this process easier too:
- Cloth: to clean the dirt off the floor after painting;
- Detergent: A neutral soap or detergent is useful for cleaning different types of dirt;
- Spatula: to remove and clean the paint that may have splashed on the floor;
- Sponge: the sponge is an essential item when it comes to cleaning possible splashes and dirt that remain after painting;
- Garbage bags: for the disposal of the plastic tarps, newspapers or cardboard that served to protect the furniture;
- Paper towel: for cleaning brushes and paint rollers after painting;
- Thinner: for cleaning the brushes in cases of solvent-based paint.
Before painting it is important to invest in cleaning the surfaces to avoid defects, the use of sealer before painting helps to close the pores of the wall and prevents the paint from being wasted.When the original W is gone, it's time to move on to another part of the wall and wait for it to dry.
Using the materials needed for each step of the painting project and following the tips and tricks of Suvinil and of the architect and teacher Fernanda, it is easy to paint the house without having to hire exclusive services. It is worth remembering that this can also be a pleasant moment when you can count on the help of friends, family members, and putting on good music to let new skillscome to the surface.