Table of contents
Having a well-decorated environment, with smooth and well-painted walls, makes the difference in any home. These, besides being used as a background for decorative elements such as pictures and posters, can still be the highlight in the decoration of a corner of the house. This, of course, if it has the ideal texture and a beautiful color chosen.
For this, it is extremely important that the wall receives the correct preparation before applying the chosen paint, ensuring a more harmonious result and without major problems. This is where the importance of the putty comes in.
It is this very important step in the wall treatment that gives the wall a smooth appearance, providing the correction of small imperfections resulting from the cement application process at the time of construction.
According to Márcia Bicaco, from Bicaco Arquitetura, this preparation of the wall using putty is still fundamental to protect and maintain a beautiful painting for much longer. "The use of putty will provide this protection and the uniformity of the wall, reducing the consumption of paint, improving its absorption and improving the appearance and resistance of the finish."
How to putty the wall

First of all, it is necessary to identify the type of wall that will receive the paste. if it is internal and has no direct contact with humidity, the interior designer indicates the use of PVA putty. as for external areas or those with constant contact with humidity, the most recommendable "is the choice for an acrylic putty", reveals Márcia.
The professional explains that while the former has the function of correcting small imperfections of the surface on which it will be applied, the latter should be chosen if there is a need to make the surface smooth, such as covering tiles:
What you will need

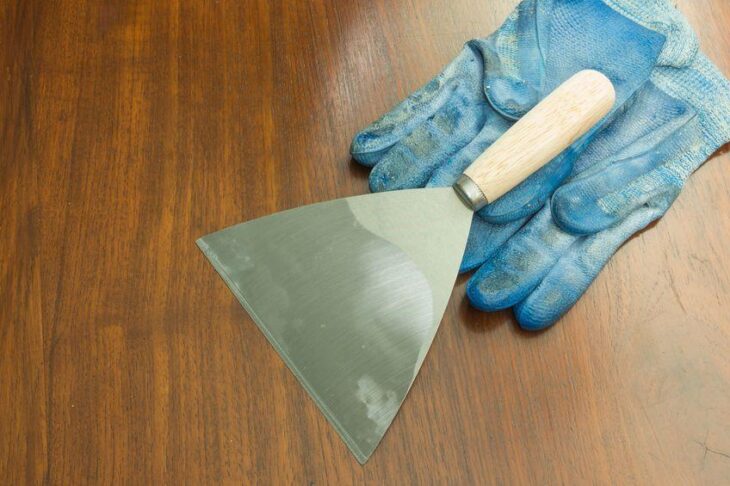
The materials needed for the application of putty are few and easy to find: a steel trowel or spatula, gloves, cap, and mask to avoid drying out the hands, hair, and nostrils, and the specific putty for your wall.
If you want to produce a textured wall, special rollers can be found in stores that specialize in building materials, which produce various designs like graffiti.
Step 1: Preparing the wall

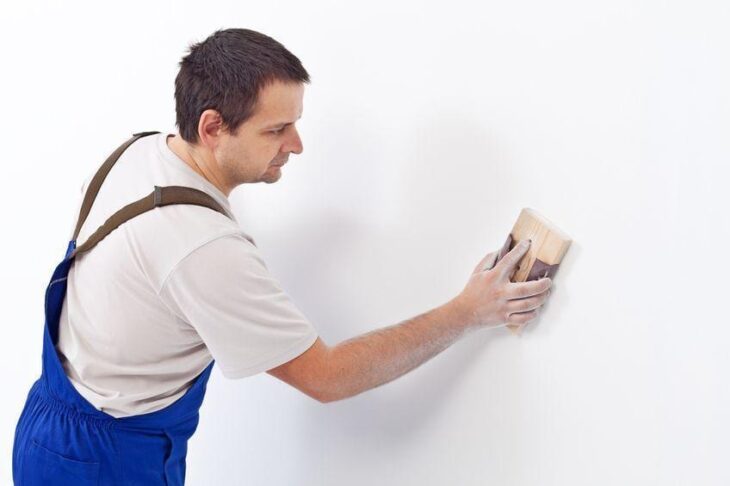
As the first step, Marcia highlights the importance of the wall that will receive the paste is in good conditions: "For a good application of the paste, be it PVA or acrylic, it is recommended to sand the wall well, removing any impurity and then apply a sealer. Any dirt or contamination can damage the adherence of the paste to the base".
See_also: Chlorophyte: sure tips for growing the air-purifying plantStill in relation to the sealer, the professional advises that its use is only necessary if the application of the paste occurs on a wall that has already been painted, or where there is direct contact with humidity, and in new plaster this can be discarded.
Another important point is that if it is a new wall, it must be very dry before the plaster is applied, and a period of up to 30 days is recommended for the plaster to dry completely.
If necessary it is worth cleaning the surface, using water and neutral detergent. If the wall has signs of mold or fungus, a mixture of water and sodium hypochlorite can be applied.
After cleaned and sanded, it is recommended to eliminate any sign of dust, either by passing a broom or even a soft cloth, so that some impurity does not interfere with the adherence of the paste to the wall.
Step 2: The use of sealer

If sealer is required, it must be applied at this point, with a paint roller, and must wait for it to dry before moving on to the next step. This time varies from 1 to 4 hours, depending on the condition of the wall and the brand of the product.
Step 3: Prepare the dough

The indications for using the paste vary according to the brand or manufacturer, and are usually found ready for use, without the need for adding any other product. If the paste you are going to use is too hard, the professional recommends the following procedure: "dilute the paste with water in a proportion of 5 to 10% of the volume. This solution must be well mixed to make it homogeneous andshould be applied within a maximum of 24 hours after dilution", he instructs.
Step 4: The application of the putty

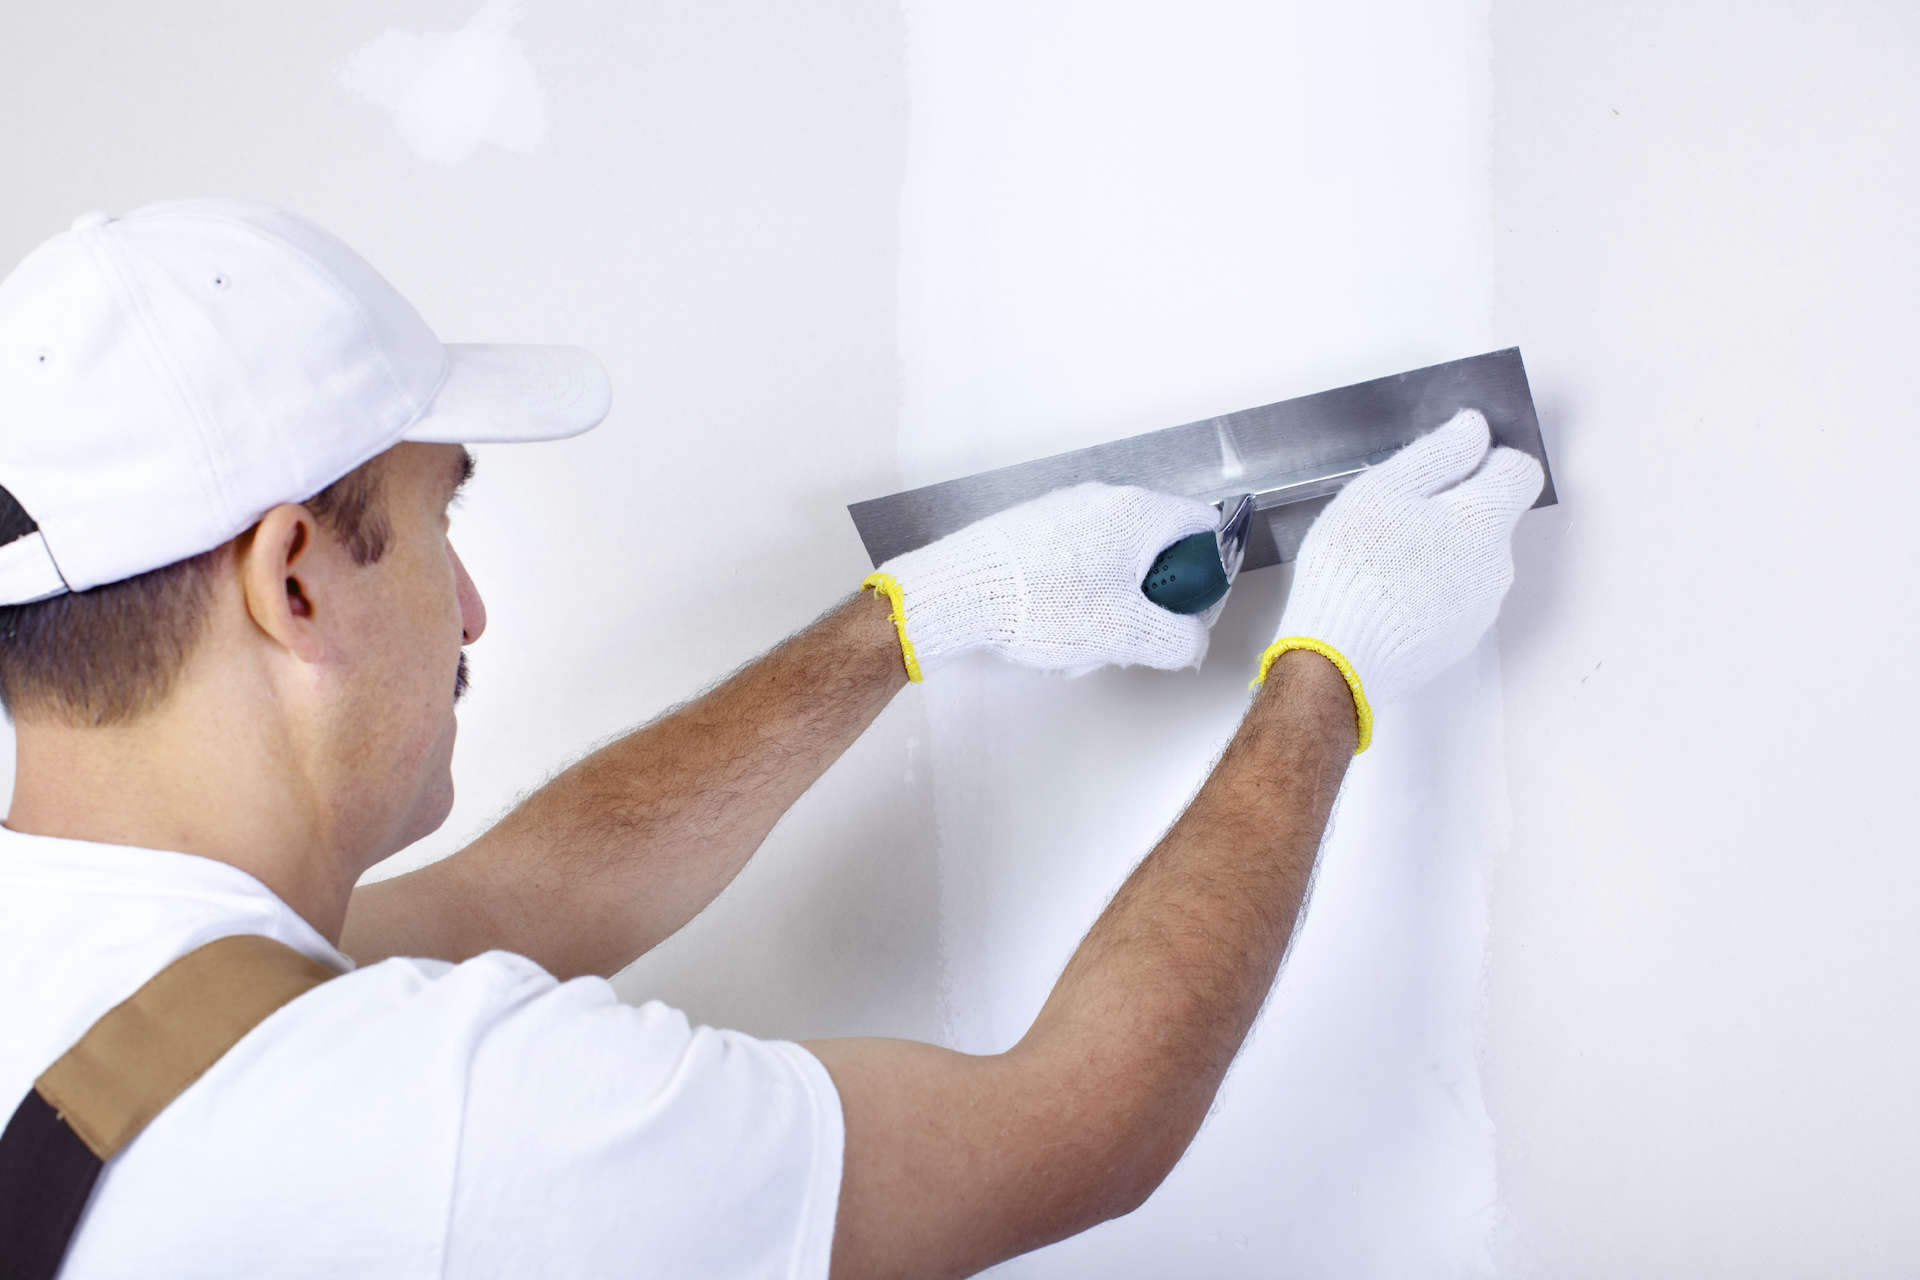
The next step is to apply the putty: "With the spatula, you feed the larger side of the trowel, and with this fed with putty, apply the putty, stretching it over the wall, seeking a fine and uniform application," teaches the designer.
The layers must be thin and can be applied horizontally or vertically, according to your preference. Wait for them to dry according to the manufacturer's instructions and then sand them to get rid of any imperfections.
Clean it again, avoiding any traces of dust, and apply a new coat, waiting for it to dry and sanding it, this time with finer sandpaper, just to ensure a completely uniform result. There, your wall is ready to be painted and enchant your environment.
See_also: Lotus flower: valuable tips for growing this beautiful water plantIt is worth reinforcing that these instructions are applied in a general way, and may be different according to the product chosen. Therefore, always pay attention to the manufacturer's instructions, and if you have any questions or setbacks, contact the brand's customer service.


